How the Claims option works #
The ACCUR8 system allows you to securely store all your claims data and related documents, providing your team with complete visibility of the information necessary for submitting and tracking incident resolutions.
Claims refer to the process of filing and managing requests for financial reimbursement related to issues that arise during transit, such as damaged goods or lost shipments.
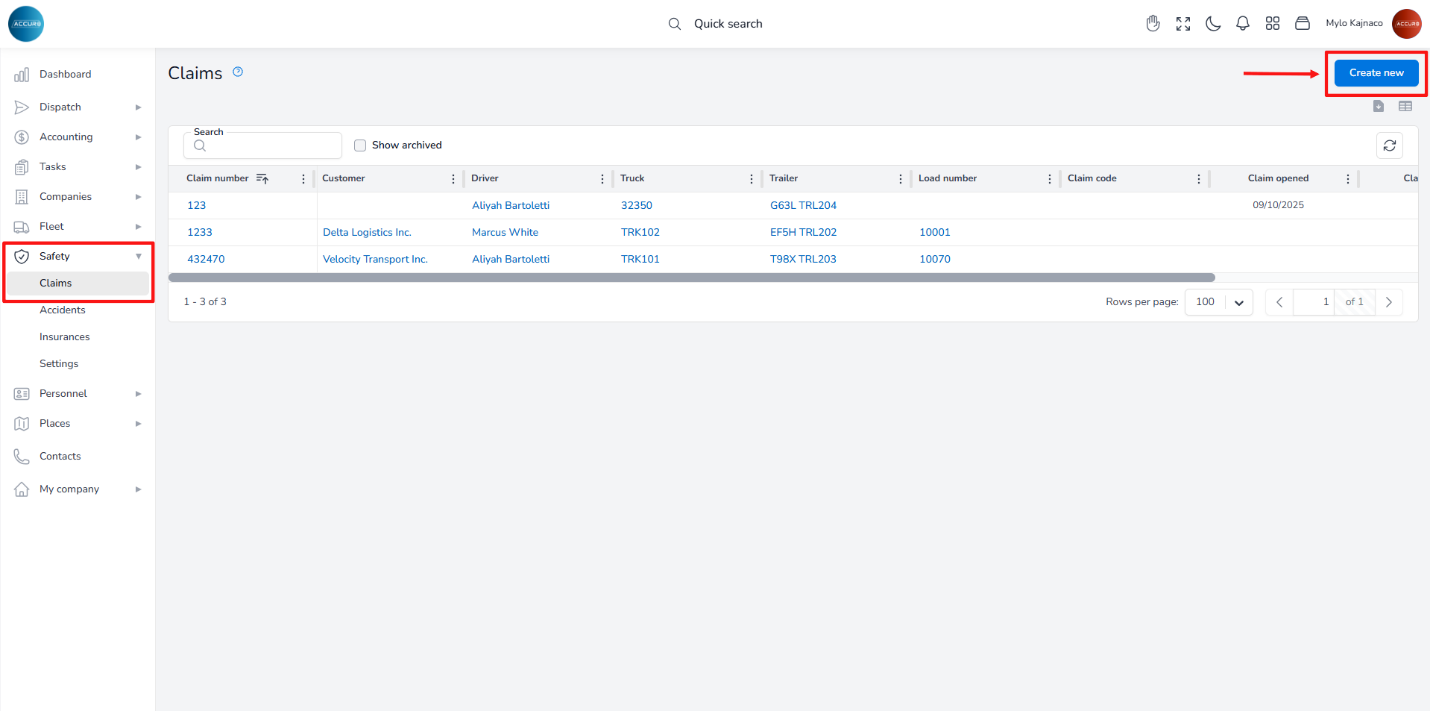
To create a claim, navigate to the left sidebar and under the Safety section, select Claims. Next, click the Create new button at the top-right corner.
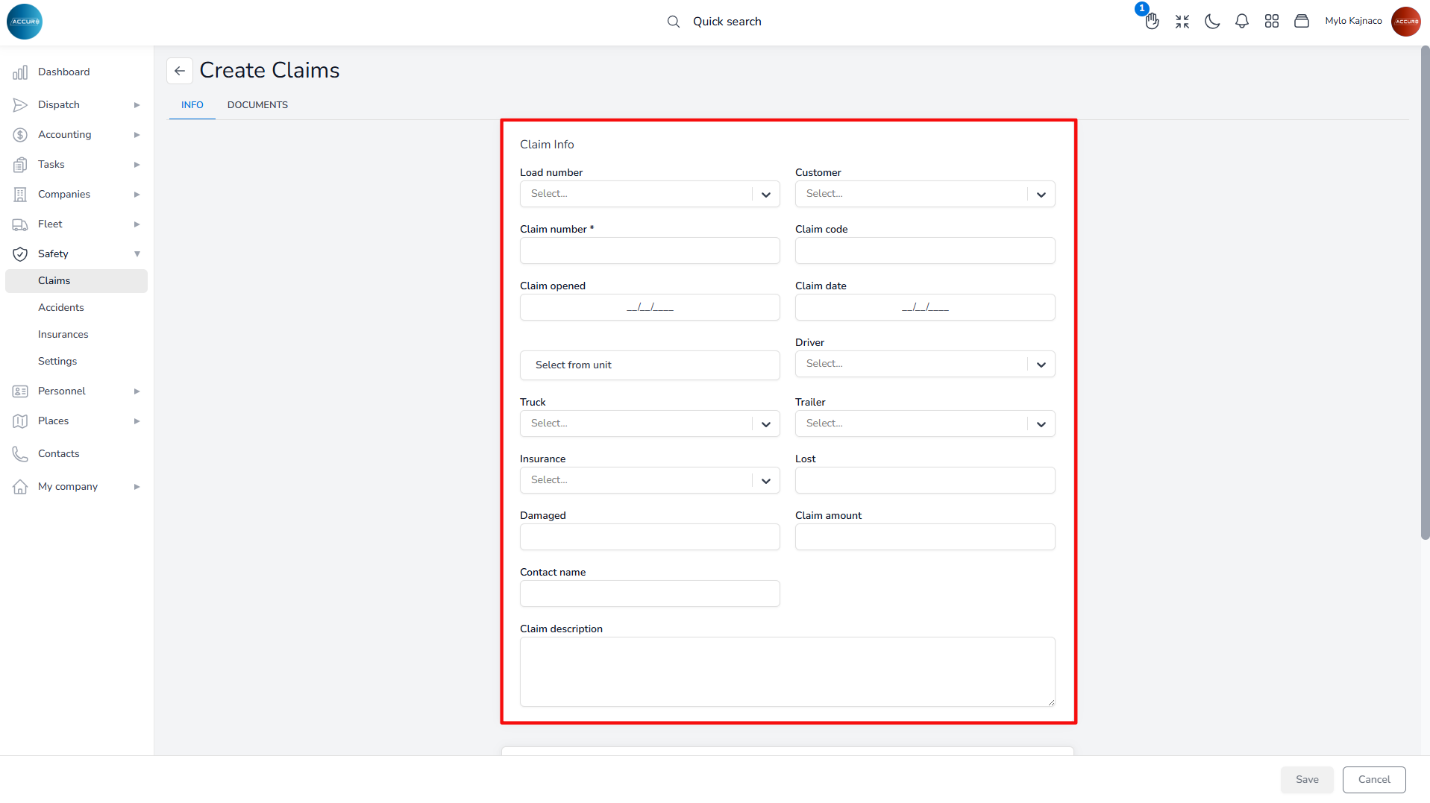
This action will open a page where you’ll need to fill out the Claim Info form.
After saving the claim, it will appear in the Claims list, as well as in both the customer’s and driver’s claims tabs.
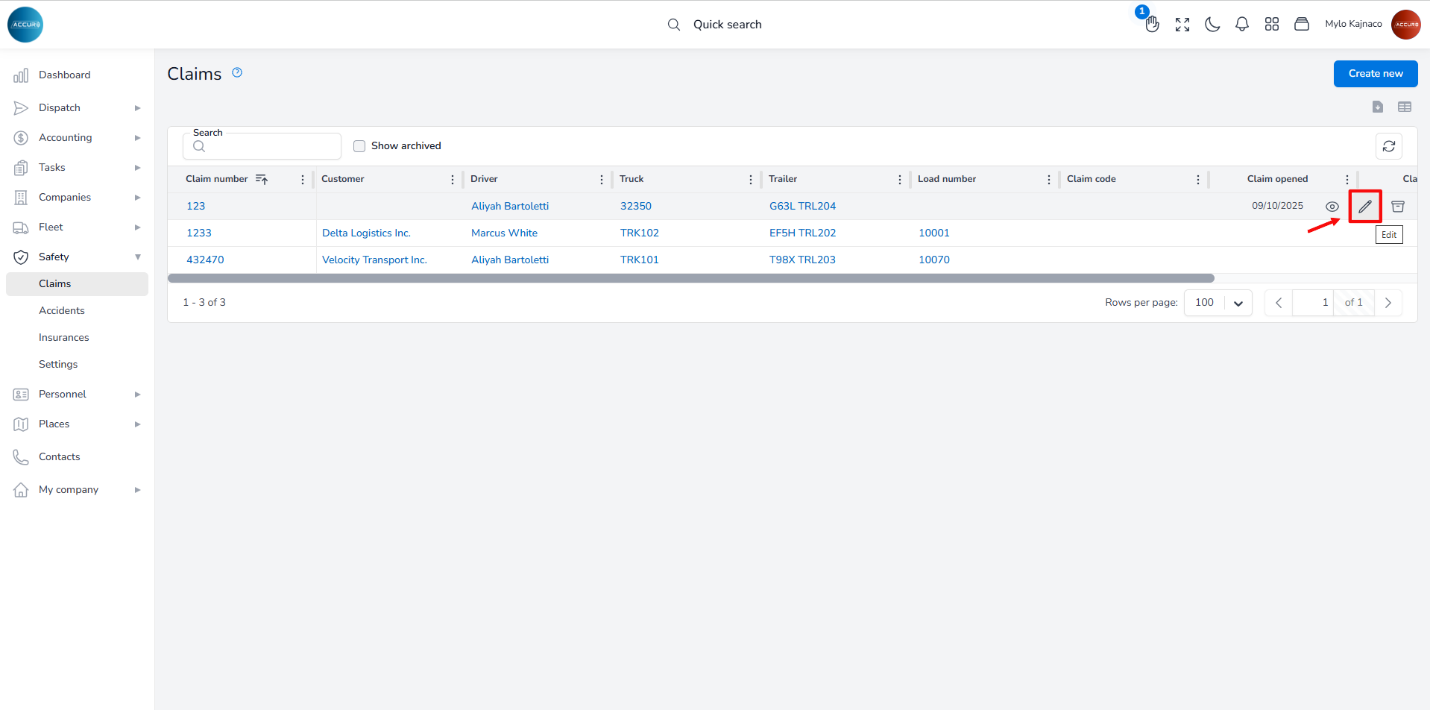
To edit a claim, navigate to the Claims list and hover over the claim you wish to modify. Click the pencil icon to open a new page where you can make any necessary changes.
Additionally, you can add notes under the Notes tab.
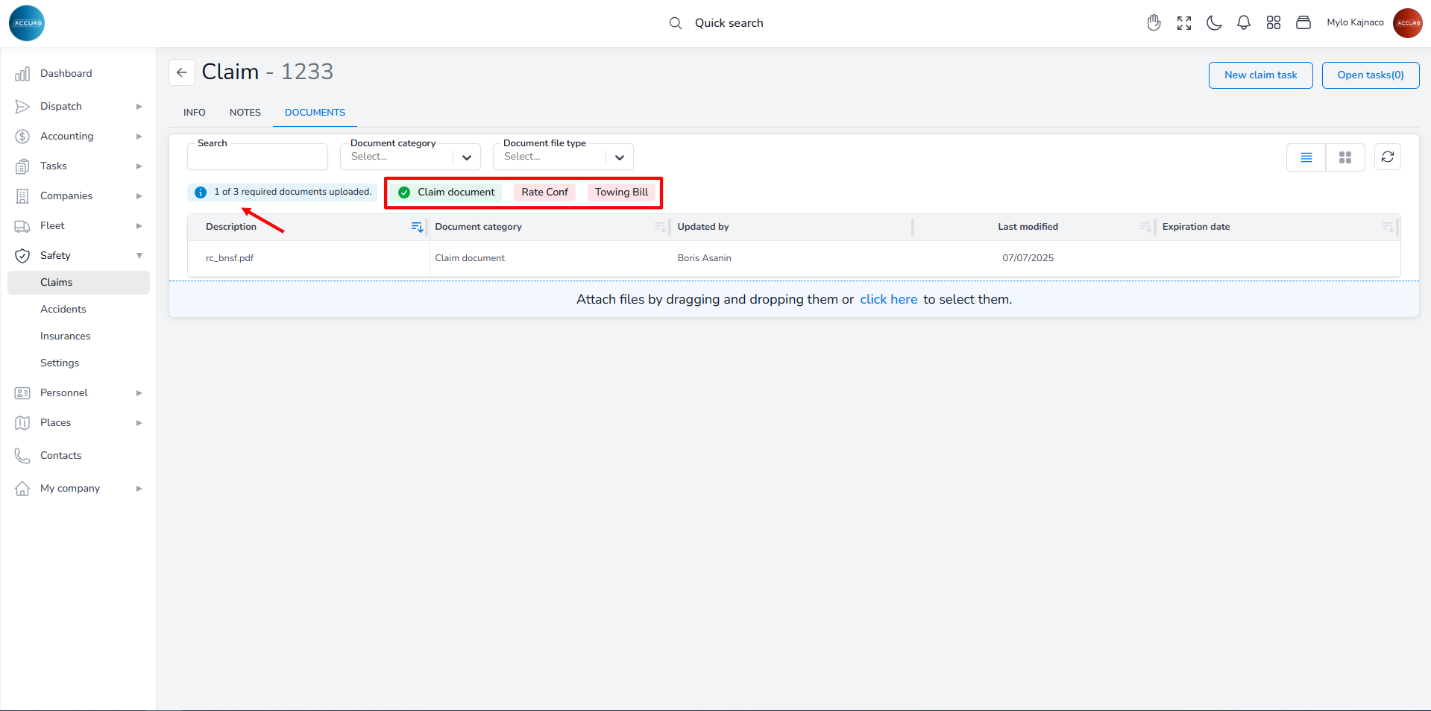
To add documents related to the claim, go to the Documents tab on the Claim’s page. Here, you will find a red notification indicating any missing required documents, along with a blue notification that displays the number of documents still needing to be uploaded.
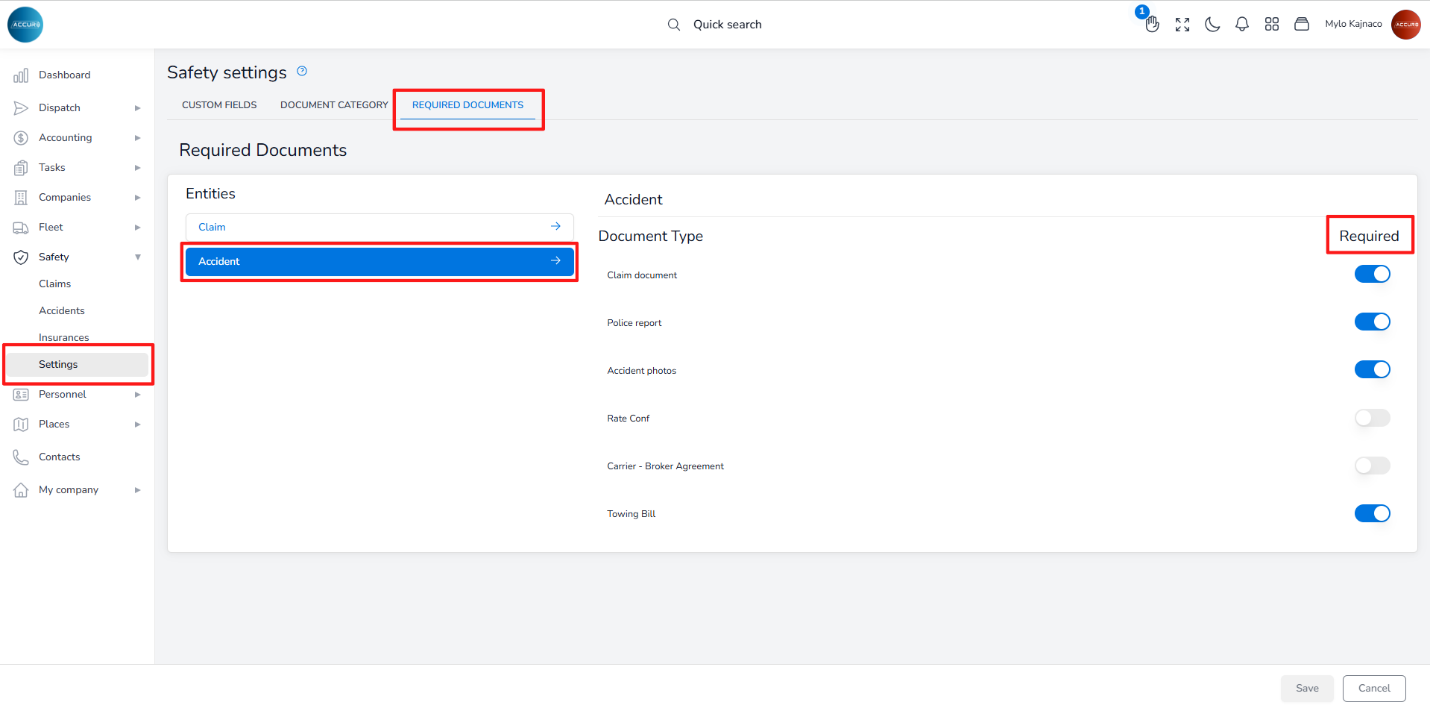
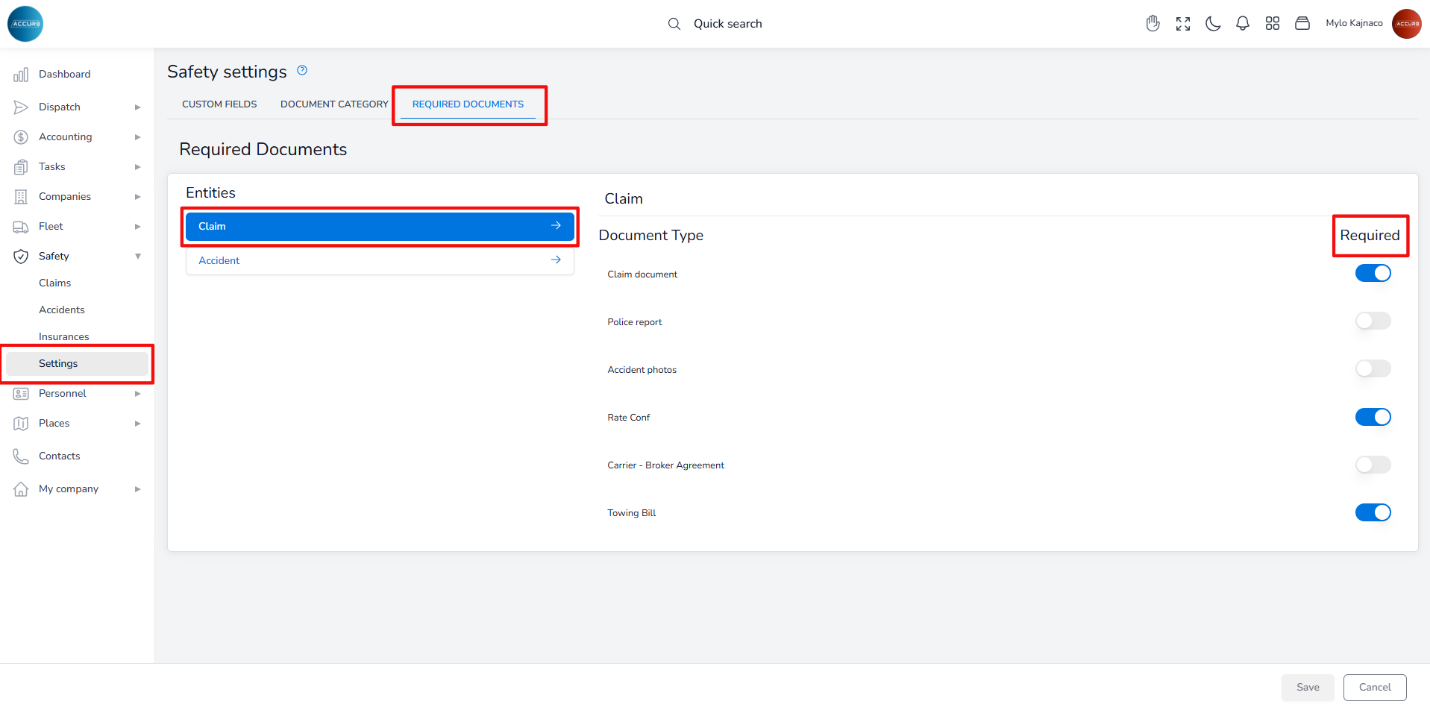
To specify which documents are required, go to the Settings section in the left sidebar. Then, under the Required documents tab, choose the Claim entity. On the right side, toggle the button next to each document type to indicate whether it is required or not.
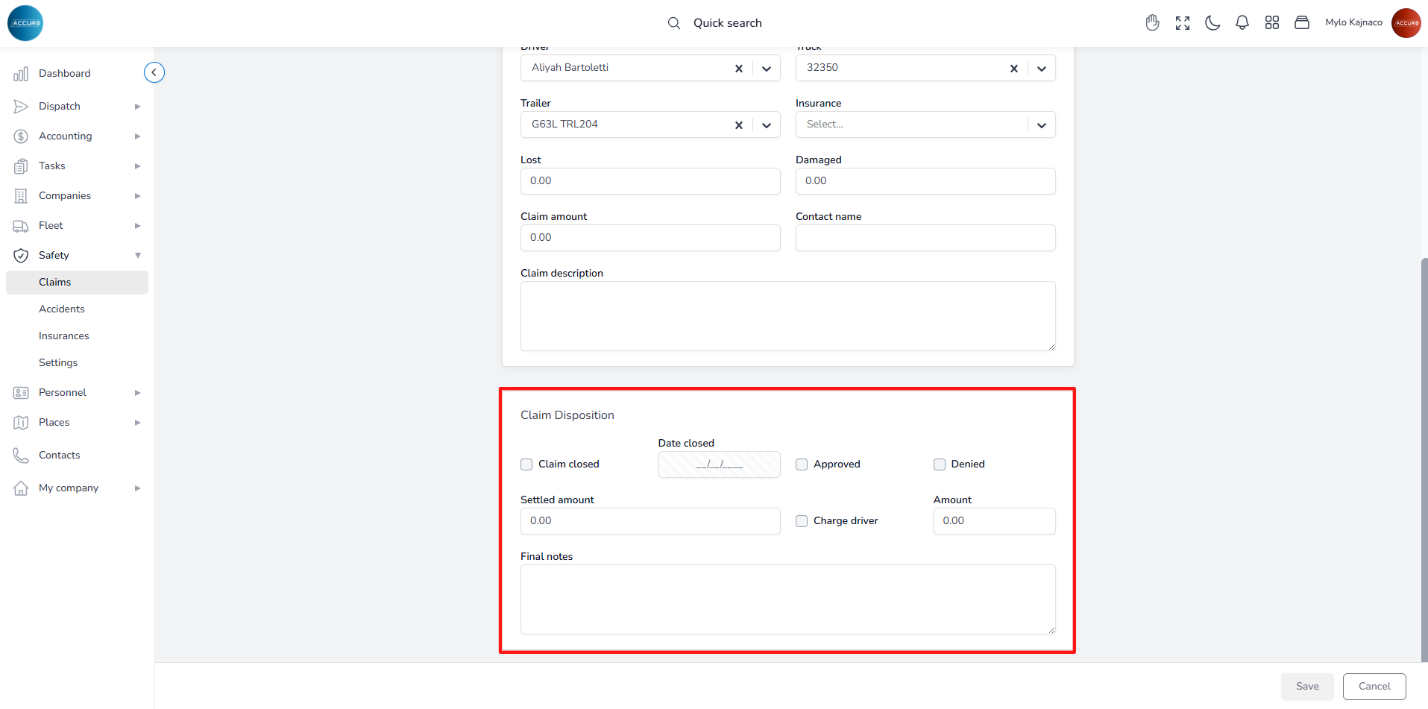
Once the final settlement for a claim is reached, you’ll need to complete the Claim Disposition form, providing all relevant information to ensure the data is up to date. This form can be found on the selected Claim’s page, under the Claim Info form.
How the Accidents option works #
The ACCUR8 system enables you to quickly respond to accidents by documenting evidence and all relevant data in one place, providing your team with complete visibility of the information needed for submitting and tracking accident resolutions.
An accident refers to vehicle incidents that occur during transit, ranging from minor fender-benders to severe crashes.
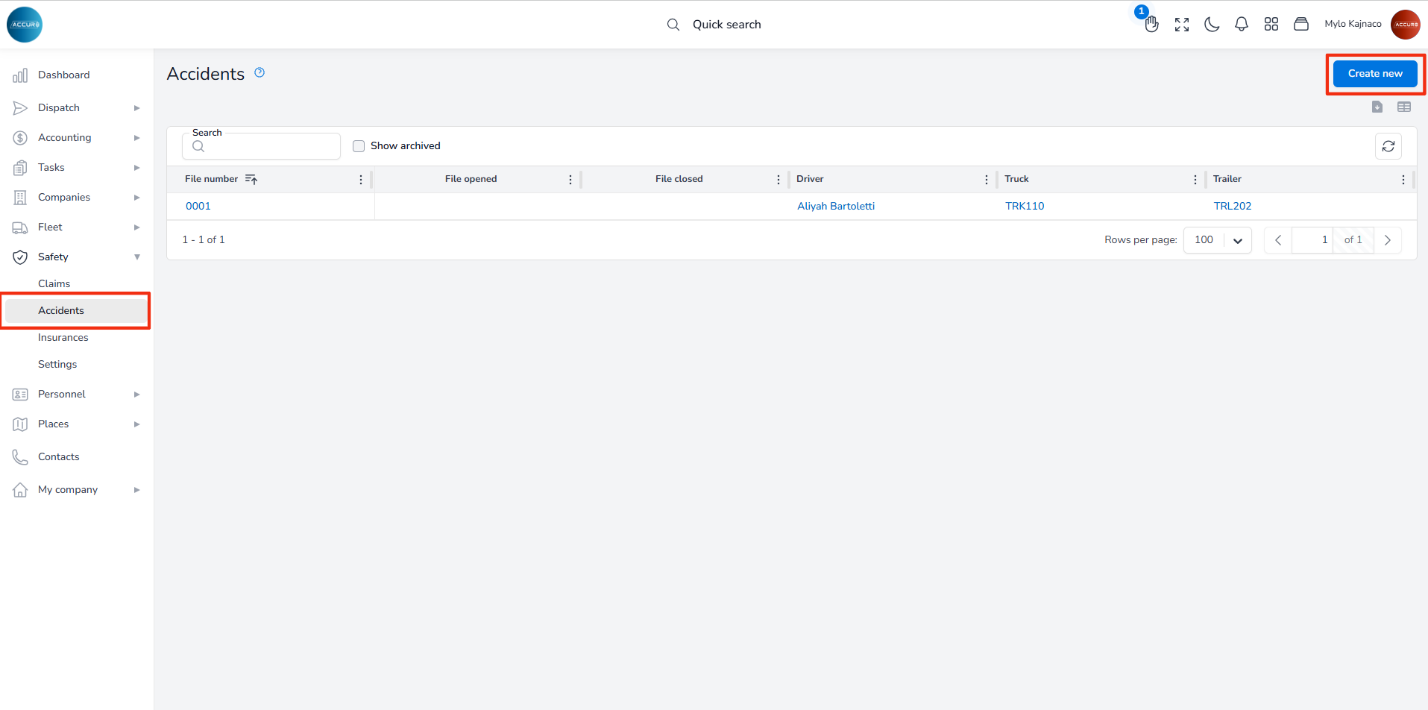
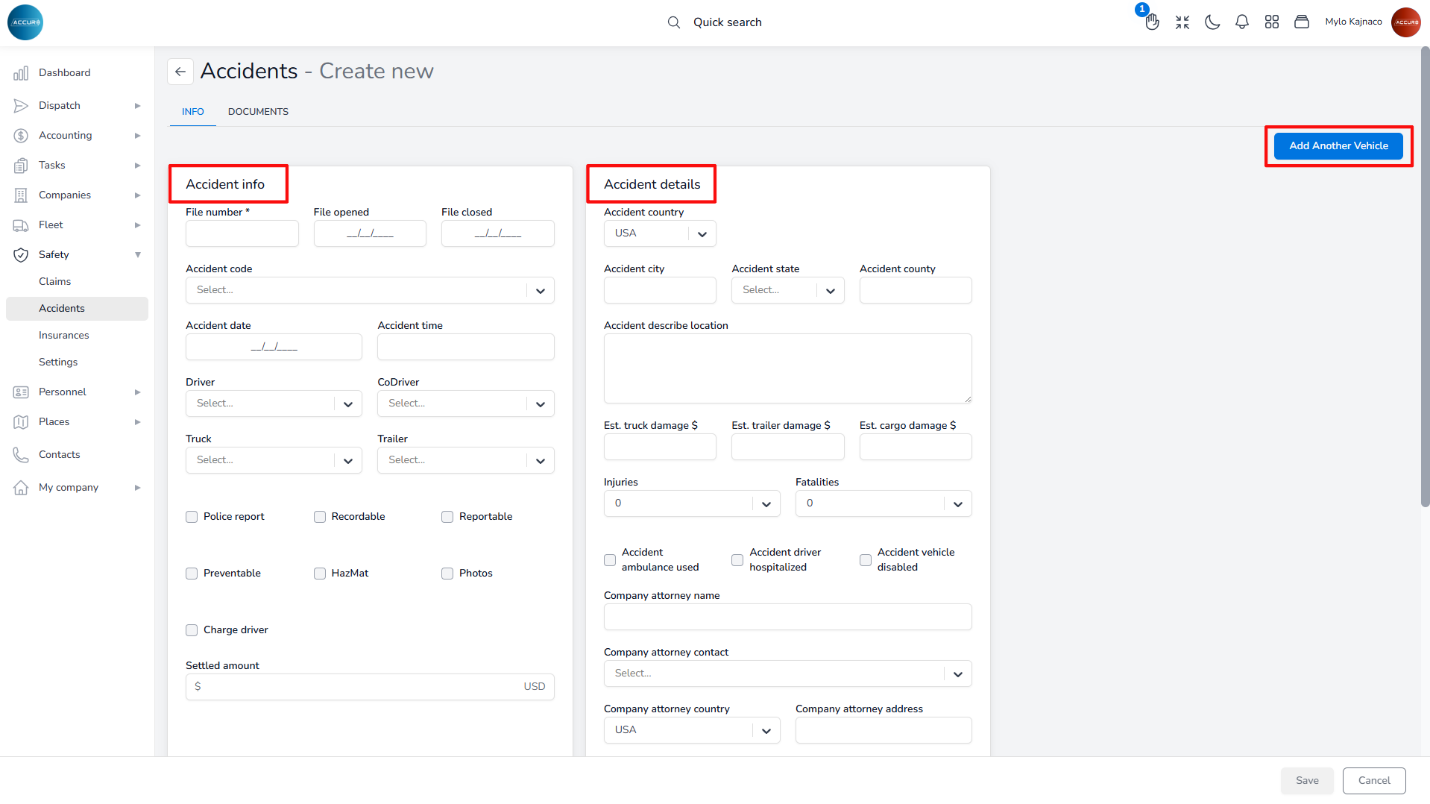
To create an accident case file, navigate to the left sidebar and select Accidents under the Safety section. Next, click the Create new button at the top-right corner.
This action will open a page where you’ll need to fill out the Accident Info and Accident details forms. If additional vehicles are involved, you can include them by clicking the Add Another Vehicle button and completing the corresponding form for each vehicle.
After saving the accident case, it will appear in both the Claims list and the driver’s Accidents tab.
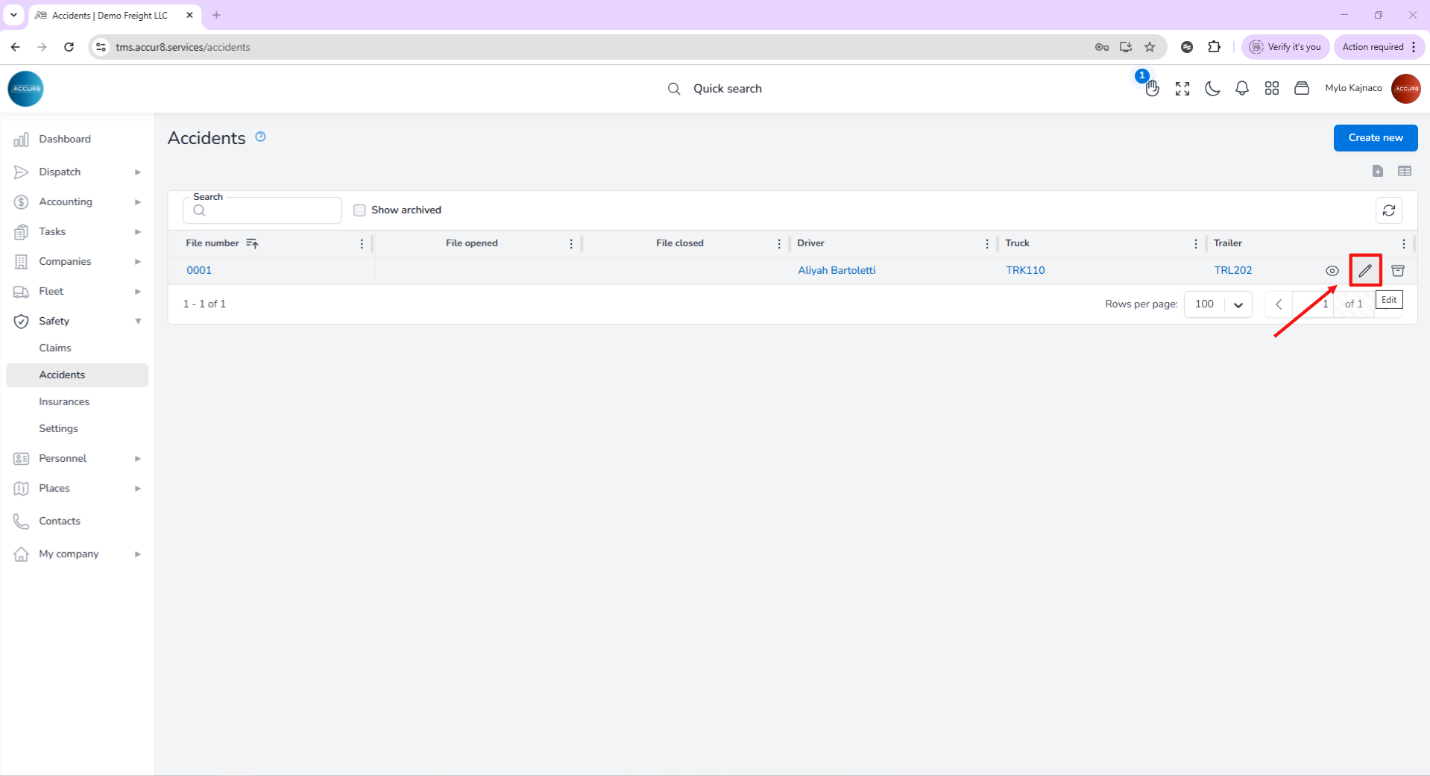
To edit an accident, navigate to the Accidents list and hover over the accident case you wish to modify. Click the pencil icon to open a new page where you can make any necessary changes.
Additionally, you can add notes under the Notes tab.
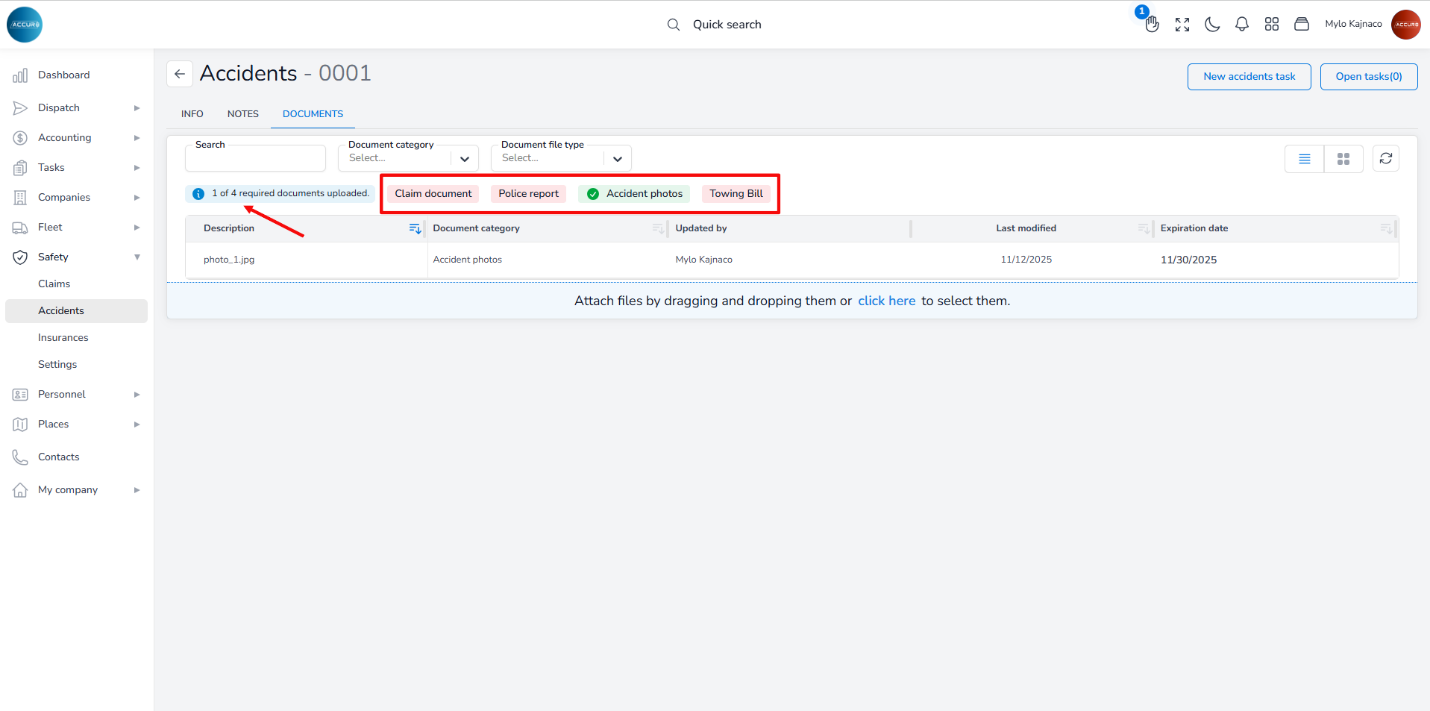
To add documents related to the accident case, go to the Documents tab on the Accident’s page. Here, you will find a red notification indicating any missing required documents, along with a blue notification that displays the number of documents still needing to be uploaded.
To specify which documents are required, go to the Settings section in the left sidebar. Then, under the Required documents tab, choose the Accident entity. On the right side, toggle the button next to each document type to indicate whether it is required or not.