Adding Fuel Card Providers to the System #
Before entering fuel-purchasing data, ensure the card providers are added to the system.
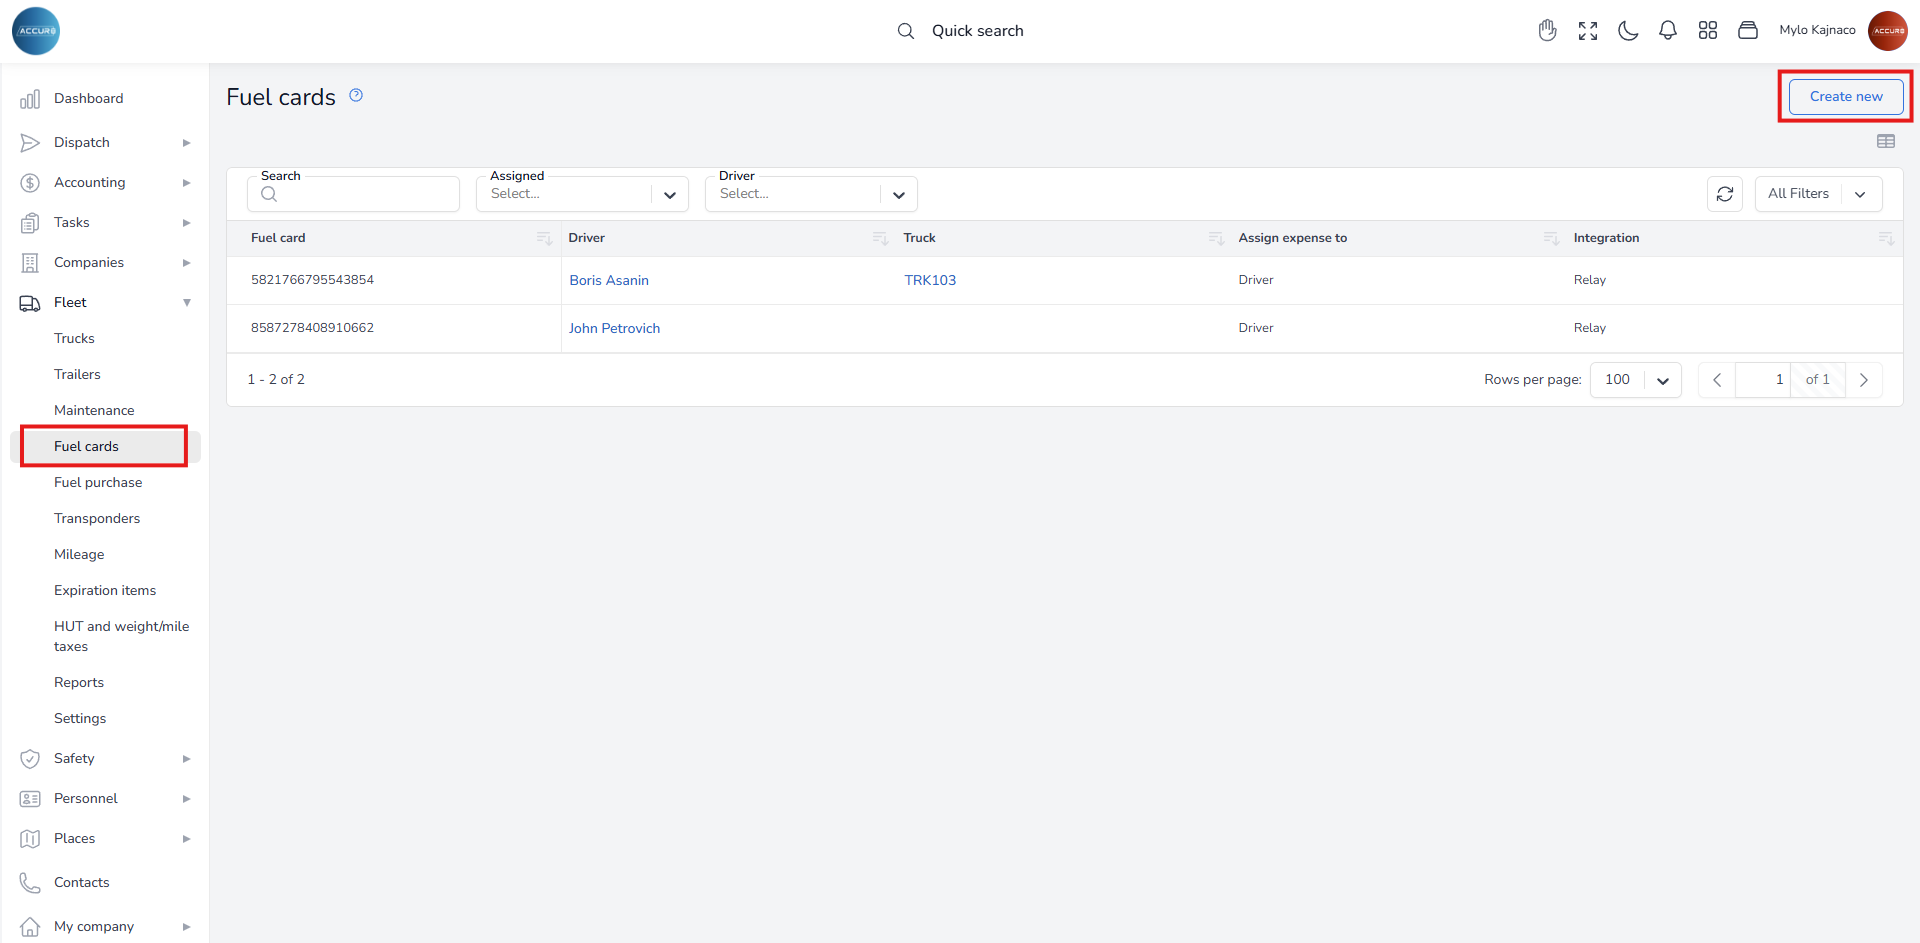
To do that, under the Fleet section on the left sidebar, click the Fuel Cards. Click the Create new button in the upper-right corner.
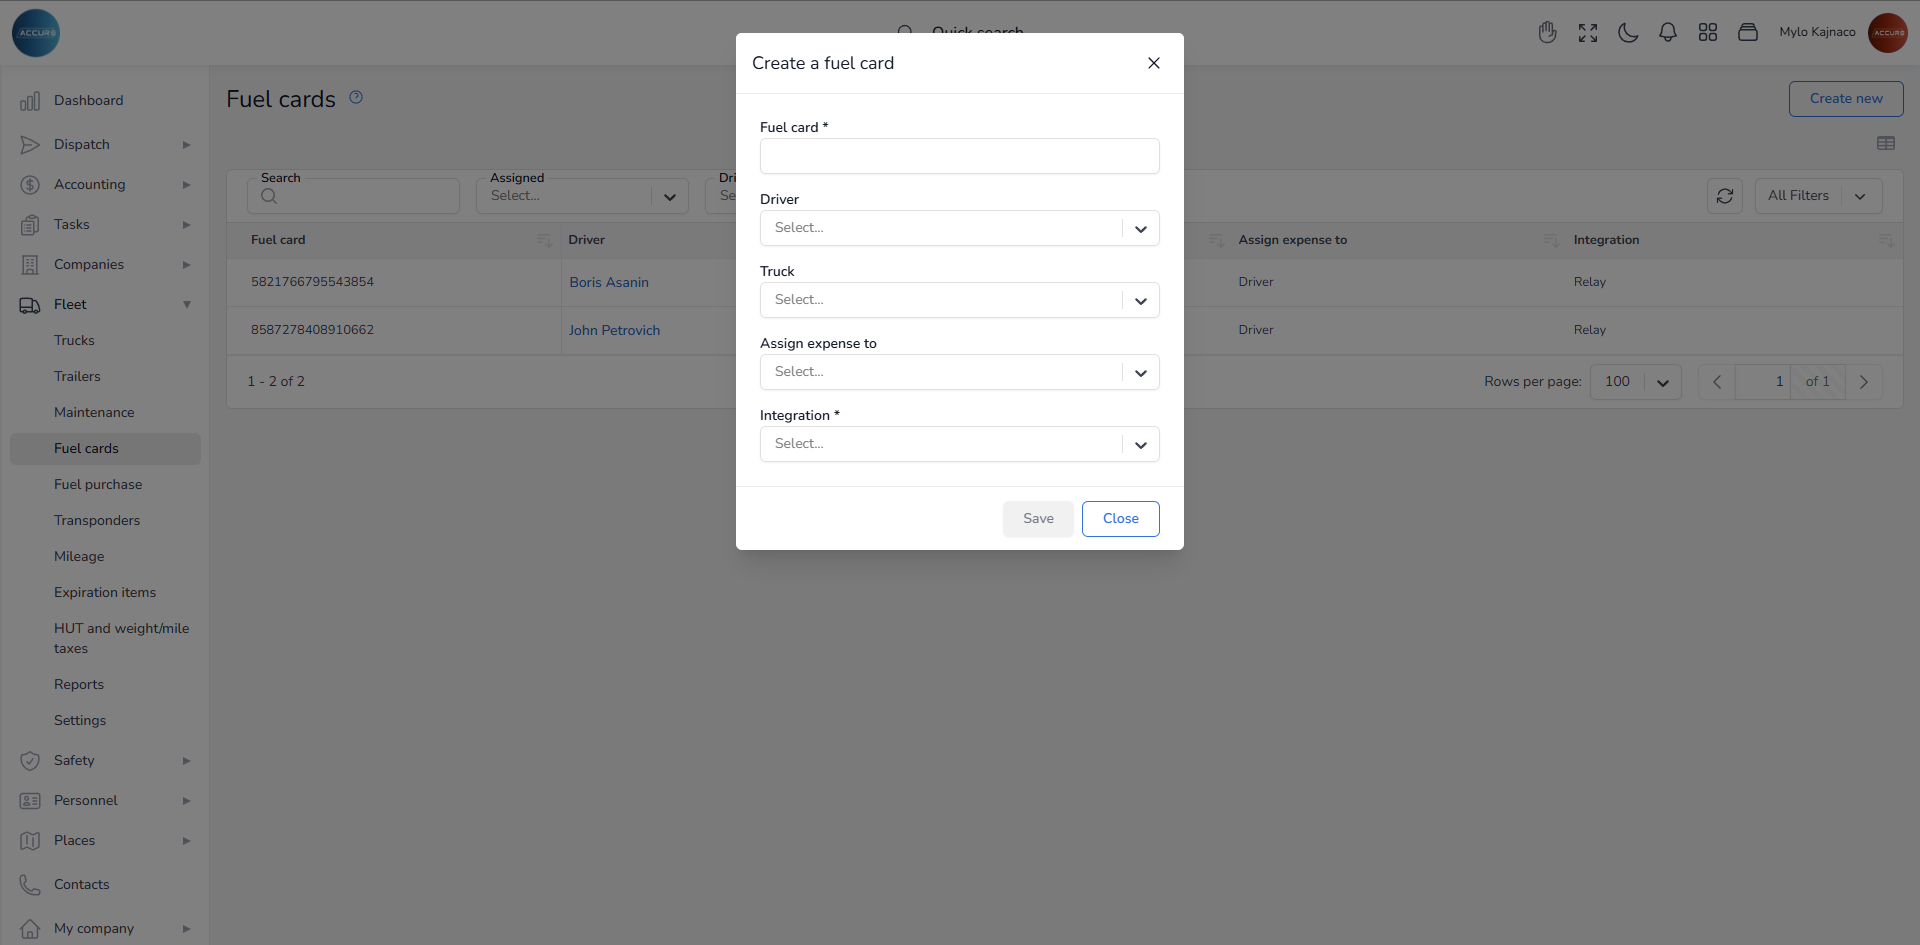
A dialog box will appear where you will enter the fuel card and select the driver and truck from the corresponding fields. Then choose whether to assign the expense to a driver or a truck owner, and finally select the available card integration.
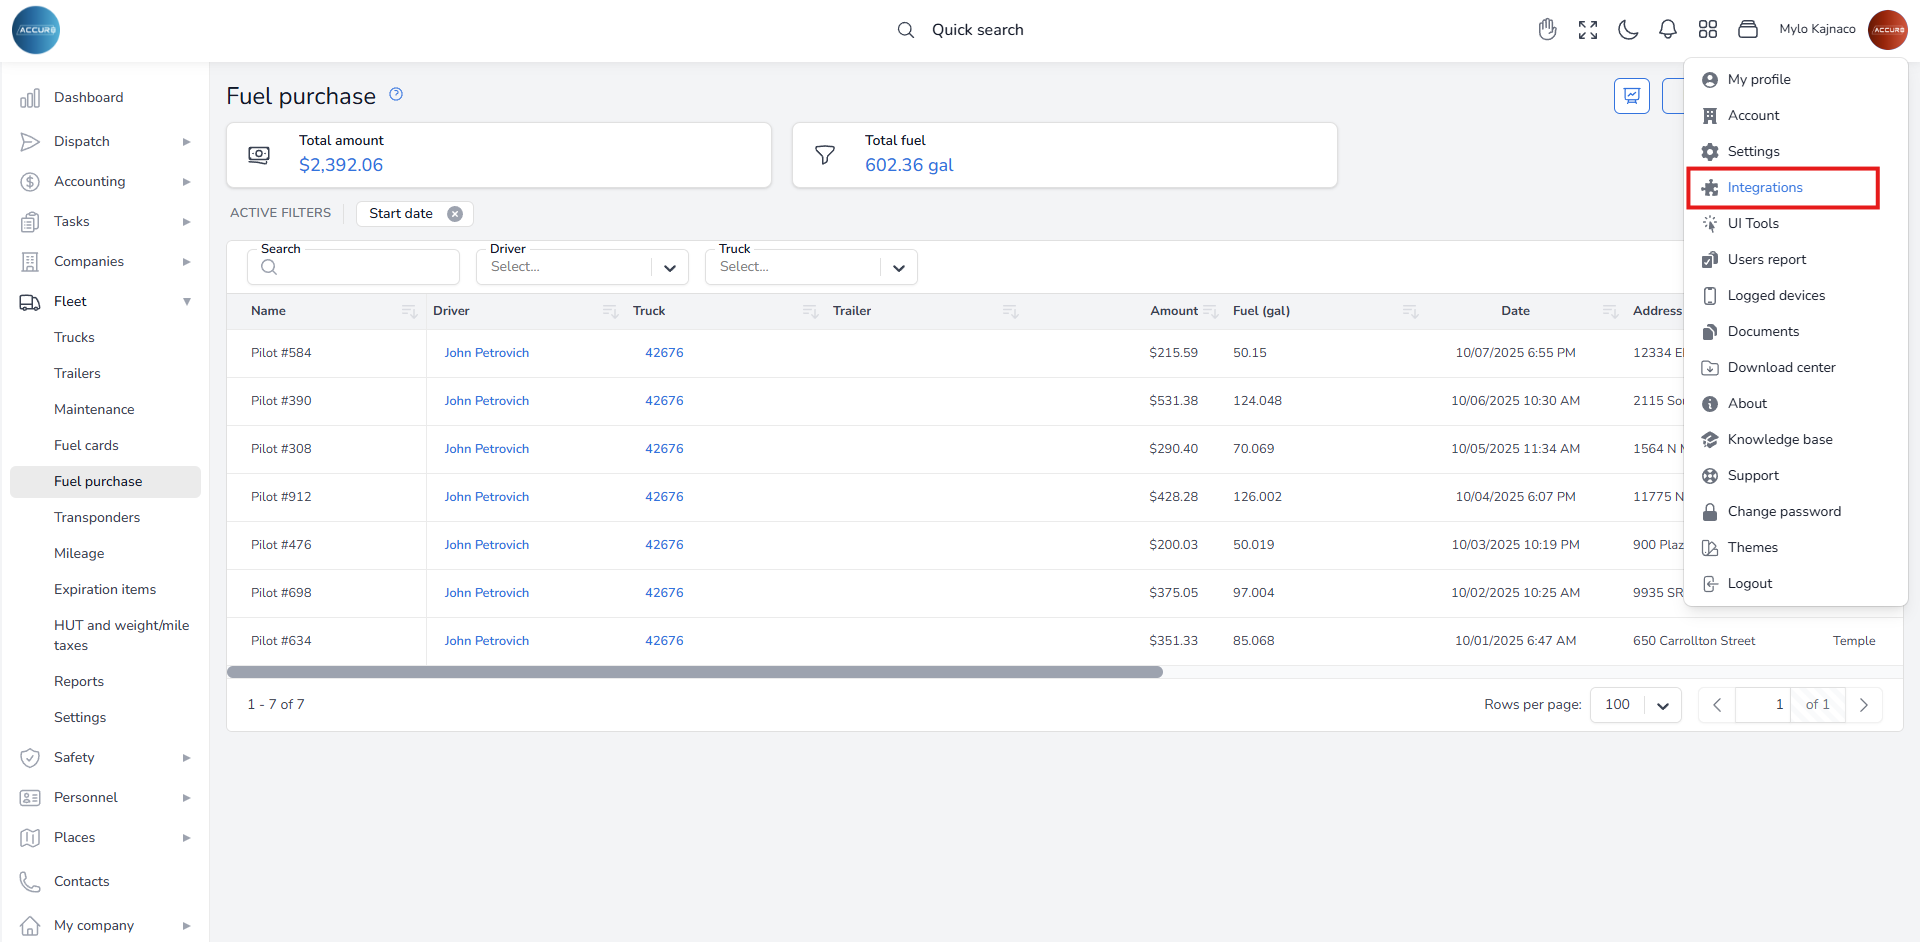
Note: To check which fuel cards are integrated into the system, visit the following link for a complete list of all available integrations: https://tms.accur8.services/integrations/. On the same page, you can also integrate a new fuel provider into the system, if needed.
Fuel Import Account Configuration #
After that, define the accounts to which all expenses from imported fuel cards will be recorded. During the fuel import process, the system determines which chart of accounts will be used based on the import category (direct or provider) and the entity responsible for the fuel charge.
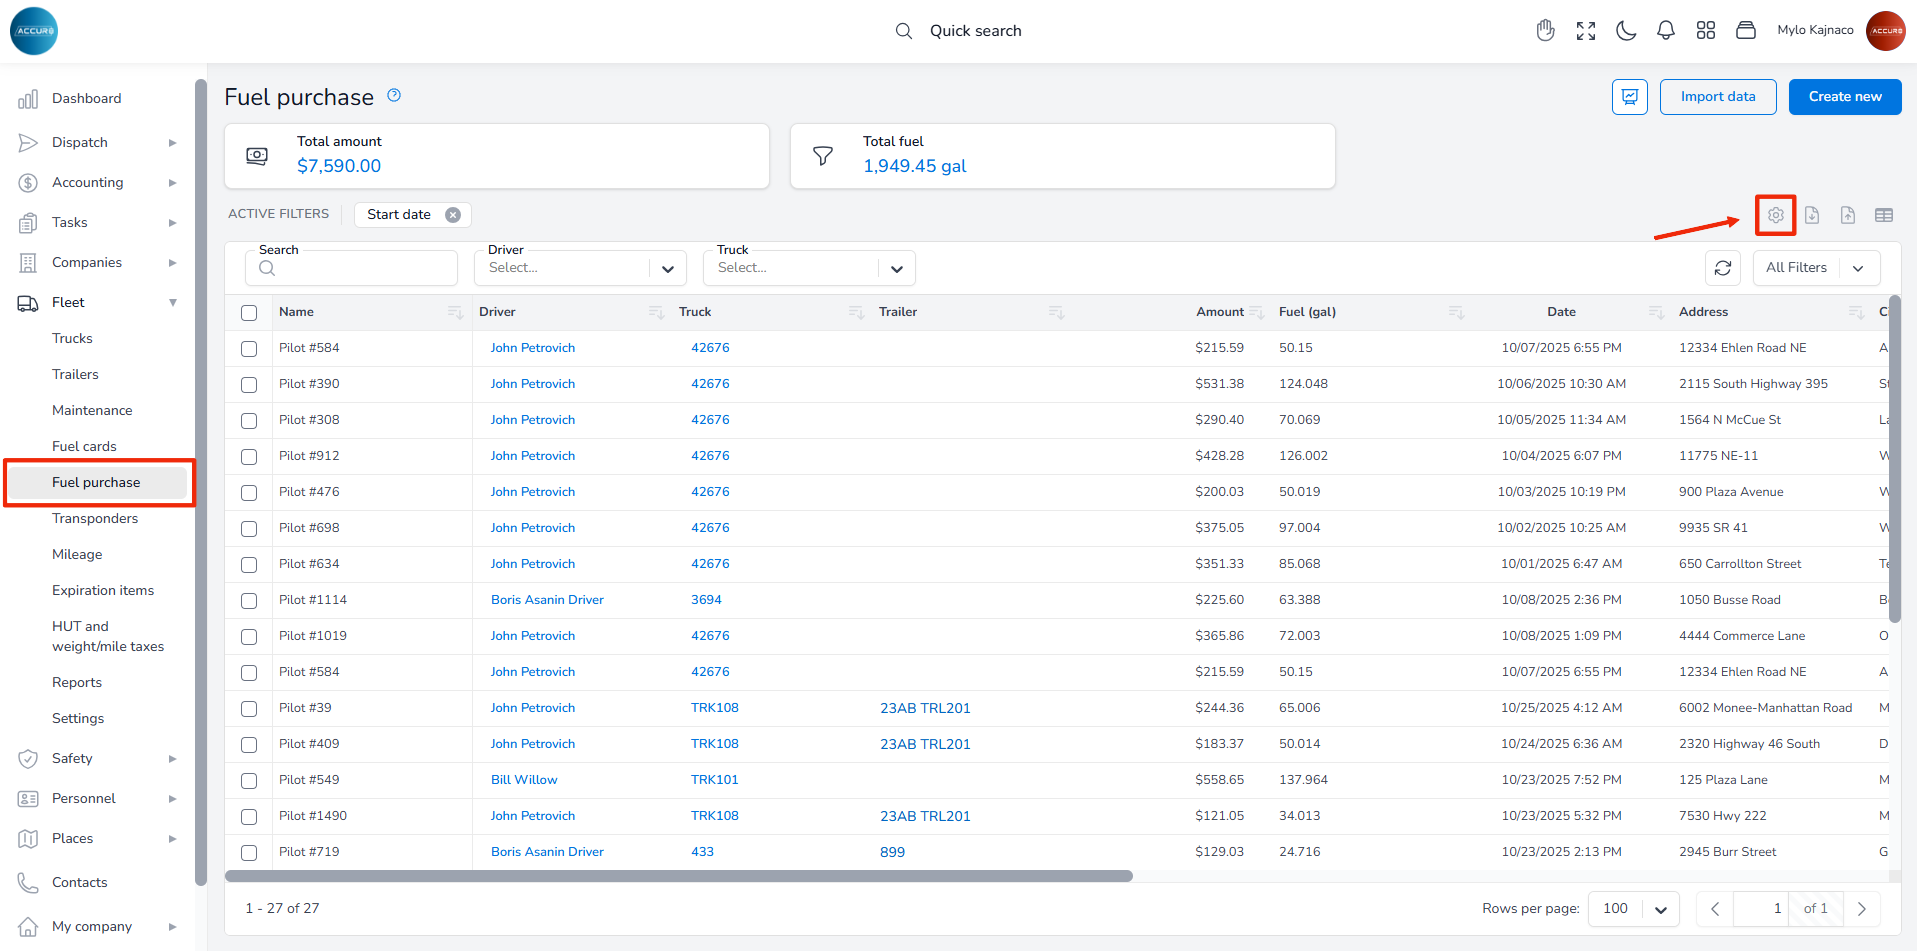
To configure fuel card import accounts, navigate to the Fuel Purchase section (or follow this link: https://tms.accur8.services/fuel-purchase) and click the Fuel Import Settings (gear icon). This action opens the window, where all accounts set in the system are displayed.
By default, the expense account is designated for fuel expenses, while the advance account is intended for fuel advances. However, the system includes an option to ensure that certain transactions are always charged, regardless of who pays for the fuel. This is the Advance-only option, which you should check when editing the fuel import settings from the list.
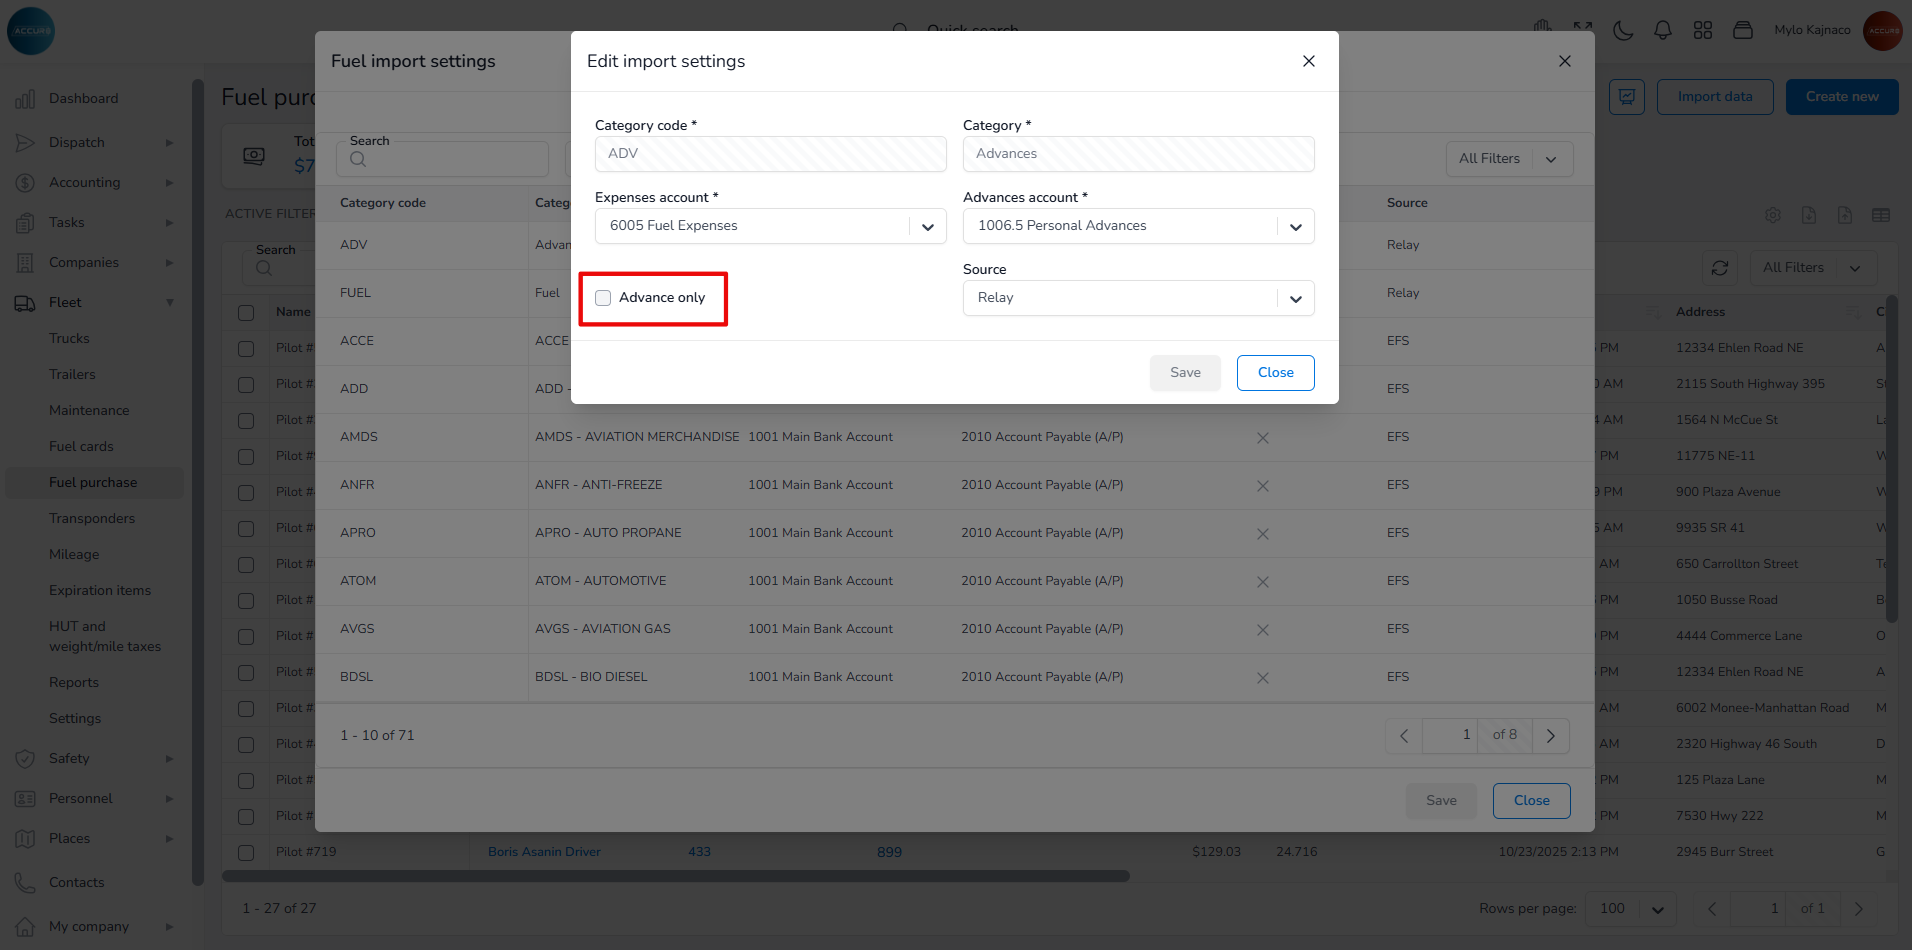
If the company chooses this option but does not check the Fuel pays option on the driver’s page, the system will not charge the driver. Instead, it will charge the expense account. This feature is particularly useful when a driver makes purchases other than fuel.
By default, these costs are categorized as Relay advances and EFS cash advances. It is recommended that the company keep these costs separate for better tracking and management.
The final step in the setup process is to determine whether the driver pays for fuel, and if so, at what price.
Configuring Driver Fuel Payment #
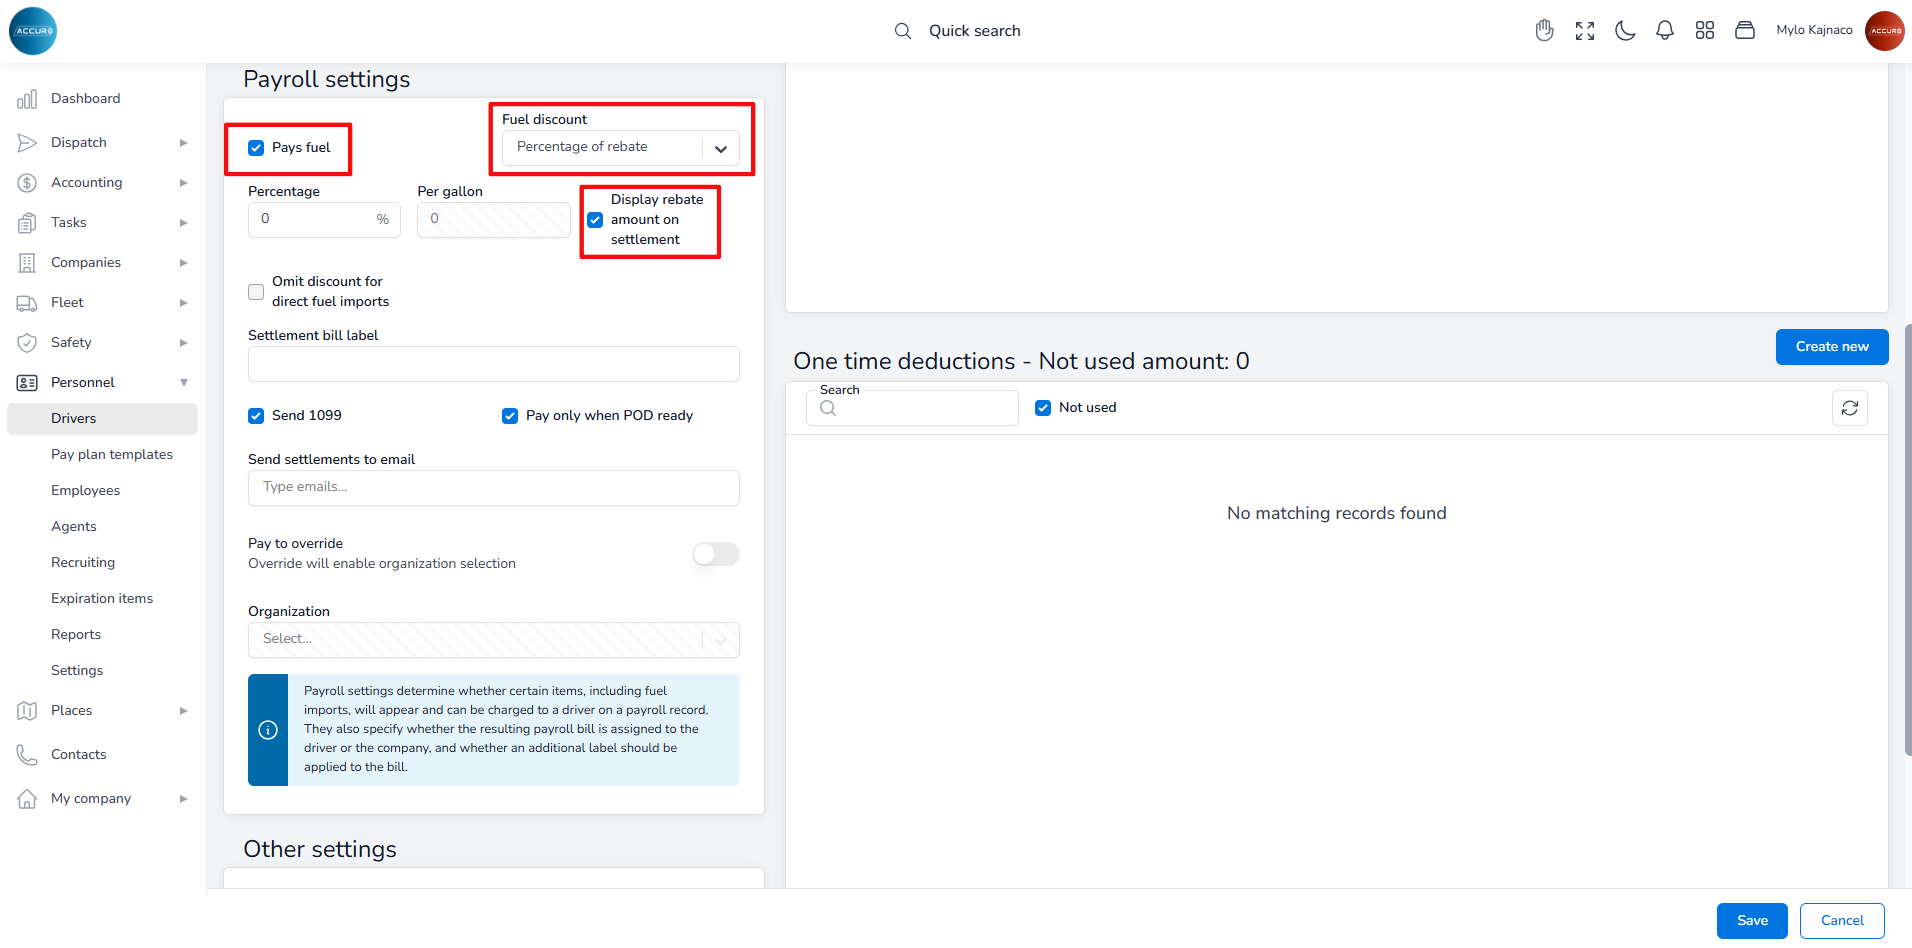
This configuration can be managed on each driver’s individual page under the Payroll Setup tab. In the Payroll settings section, checking the Pays fuel checkbox will enable the Fuel discount field. You can specify whether a driver receives a fuel discount and, if so, on what basis (per gallon or as a percentage of rebate). Additionally, you have the option to display the rebate amount as a separate figure in the settlement PDF by checking the Display rebate amount on settlement checkbox.
Importing Fuel Transactions #
After completing the general settings, navigate to the following page: https://accur8.services/fuel-purchase to import fuel transactions. To select a provider, click the Import Data button in the top-right corner, then choose your fuel provider from the available integrations.
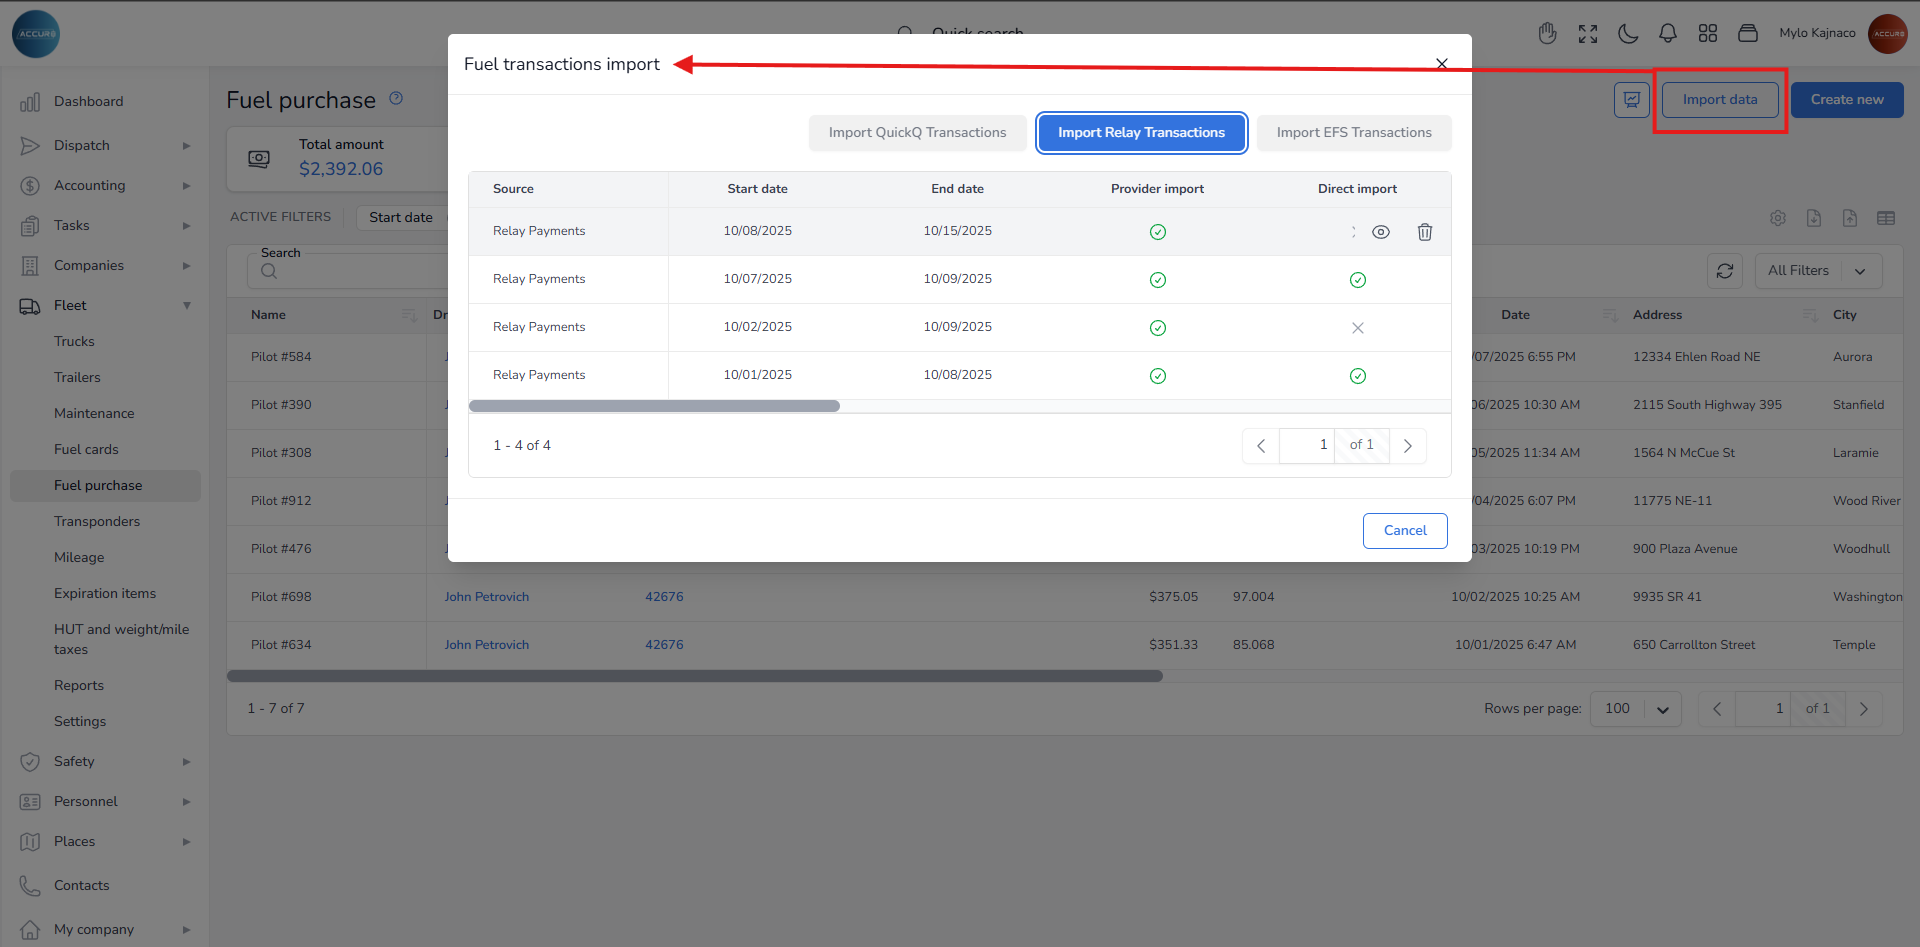
This action will open a pop-up window where you will enter the Start and End date in the corresponding fields. Below, you will need to check one of these options: Provider import or Direct import. Provider import refers to fuel sourced from fuel card providers, while direct import refers to fuel sourced from specific fuel station chains (such as Pilot Flying J). We recommend creating a separate import to generate two invoices for better clarity on who you are paying.
Next, select the Office and Group from their respective drop-down menus.
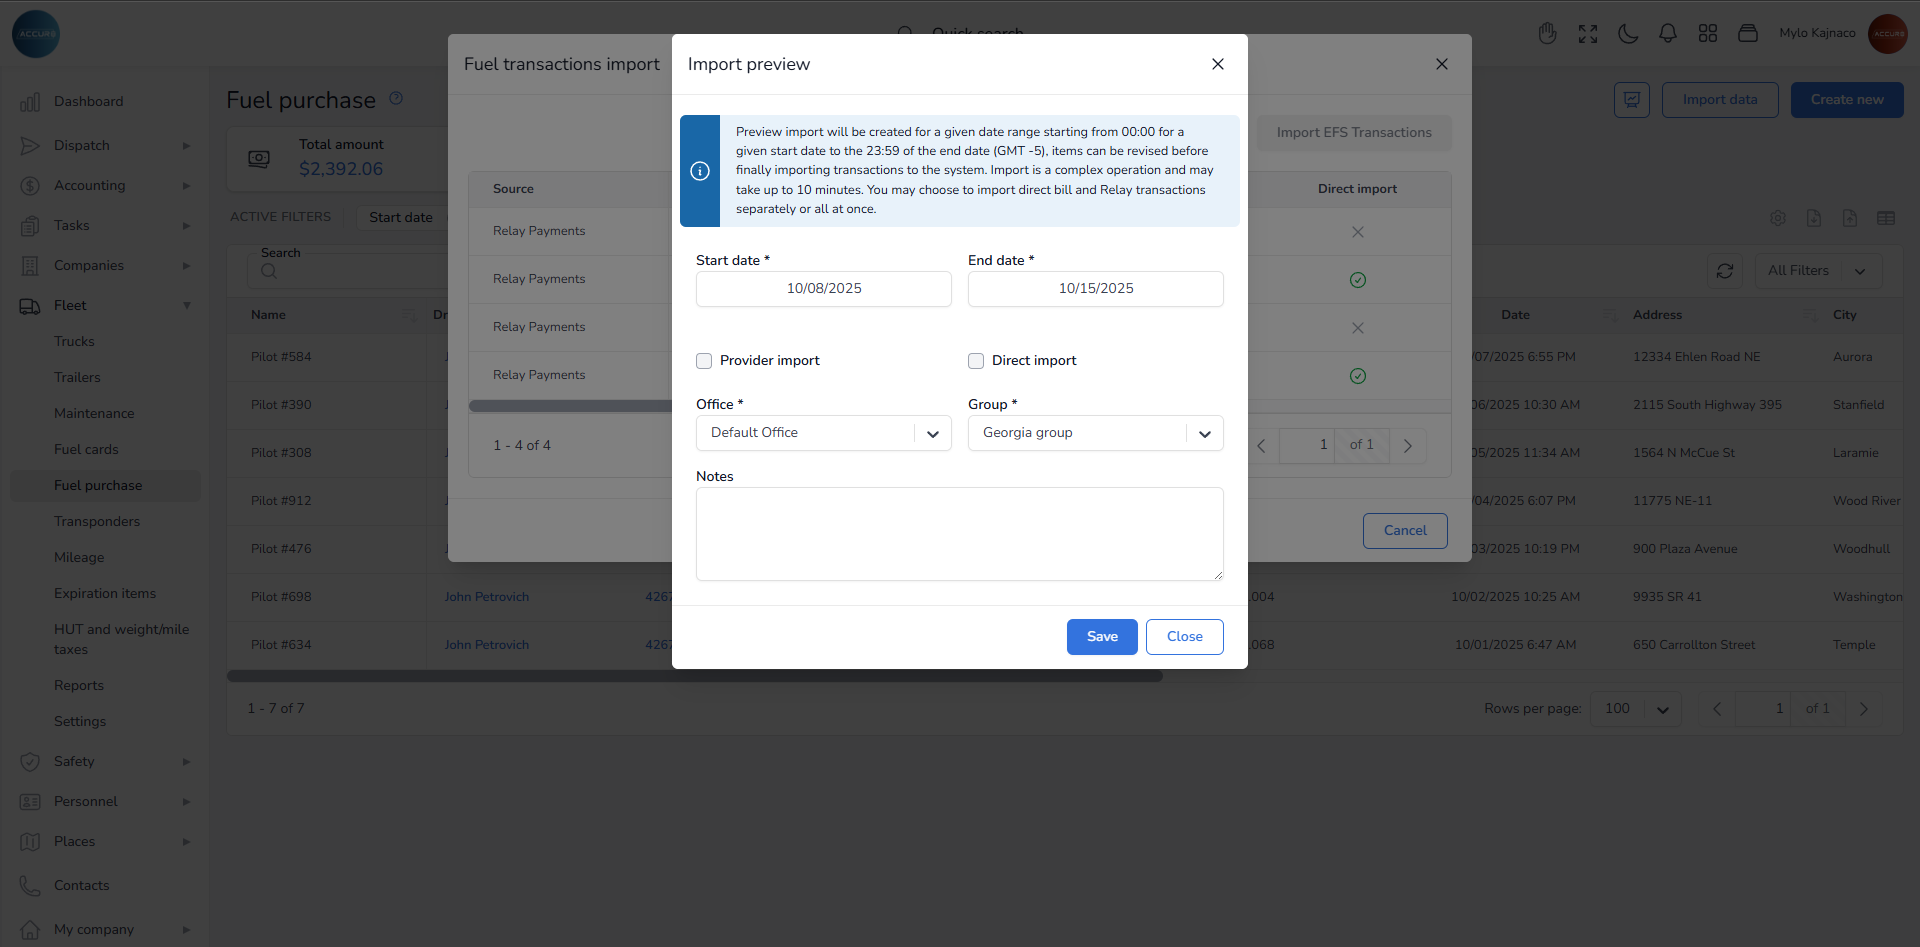
Note: Please be sure to read the blue notification at the top. It indicates that the preview import includes the entire date range, starting from 00:00 to 23:59 (GMT-5). The importing process may take up to 10 minutes, and you have the option to process direct bill and EFS transactions either together or separately.
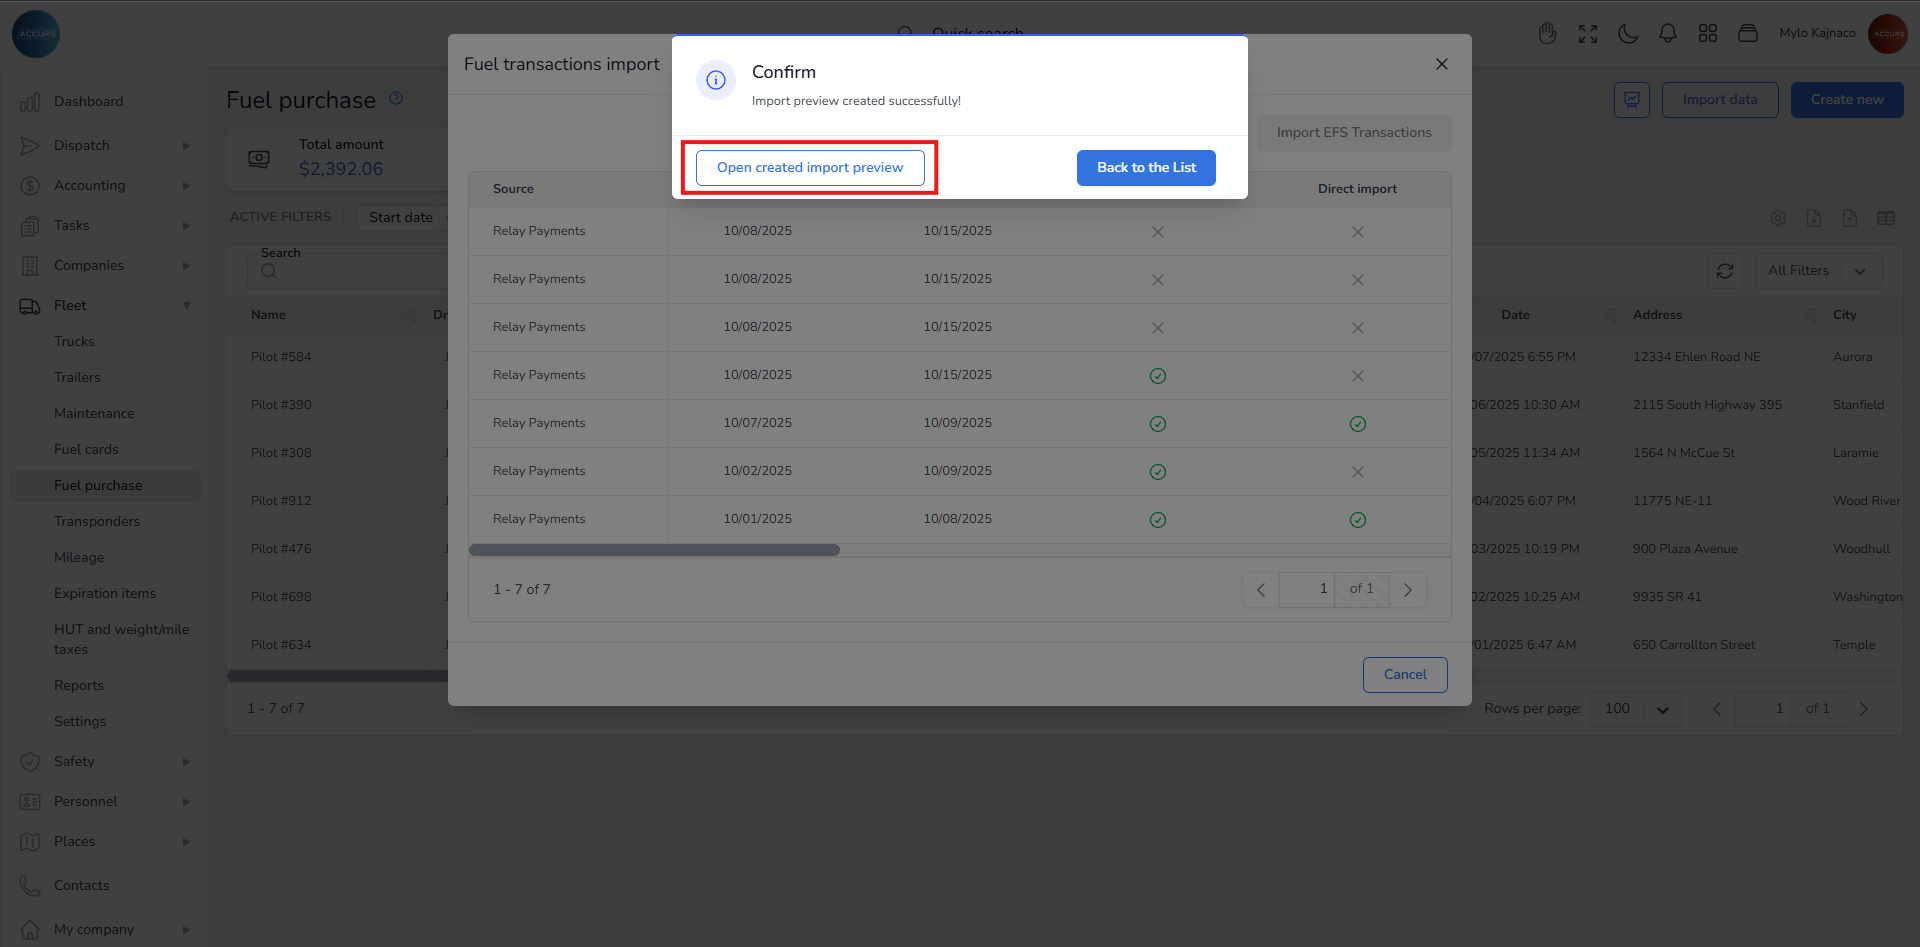
When you click the Save button, a Confirm pop-up window will appear with a note that says: Import preview created successfully. Now, you can make a final review or add changes before submitting the data into the system by clicking the Open created import preview button in the left corner of the window.
At the top of the fuel import preview page, the system will display warning notifications if any incorrect data has been entered:
Blue info icon – If you are using the direct pay option, you must select a different vendor to split the bill
Red alert icon – If the card associated with the transaction is not in the system, please return to the Fuel Cards section to add the card
Yellow info icon – If there are some data assignment mismatches, such as a card being used by two or more drivers

On this page, you will find a list of all fuel transactions recorded in the system. It includes the retail and total amounts, as well as the price charged to the driver or truck owner, all displayed in their corresponding columns. By default, the system records the total amount. Still, if a driver has received a discount, you can adjust that amount by hovering over it and clicking the pencil icon. Additionally, you can update any other relevant information as needed.
Above the list, you will find the Organization and Direct Pay Organization fields. The Organization field refers to provider imports, specifically fuel sourced from fuel card providers. In contrast, the Direct Pay Organization field relates to direct fuel imports from specific fuel station chains, such as Pilot Flying J. The option you select will depend on which one you checked when importing fuel data (for provider import, fill out the Organisation field; for direct import, the Direct pay organisation field).
Note: For companies using the same fuel card providers, it is advisable to set both the fuel card provider and direct provider in the Fleet settings under the Fuel import and taxes tab.

After selecting the appropriate options from these fields, please enter the date, posting date, and due date. Once you have completed this step, click the Confirm Import button in the bottom-right corner. This action will generate an invoice on the A/P Expenses page containing all related items and driver costs. Selecting any bill from the list opens a new window that outlines who is responsible for the fuel payment, as shown in the Charge to column. A green check mark appears when a bill has already been processed.
Items listed on the bill will be included in the upcoming settlement. Those marked with a green check have already been processed.
Additionally, the system will record all fuel purchases into the database for later use in IFTA tax calculations.
Importing Fuel Transactions Manually #
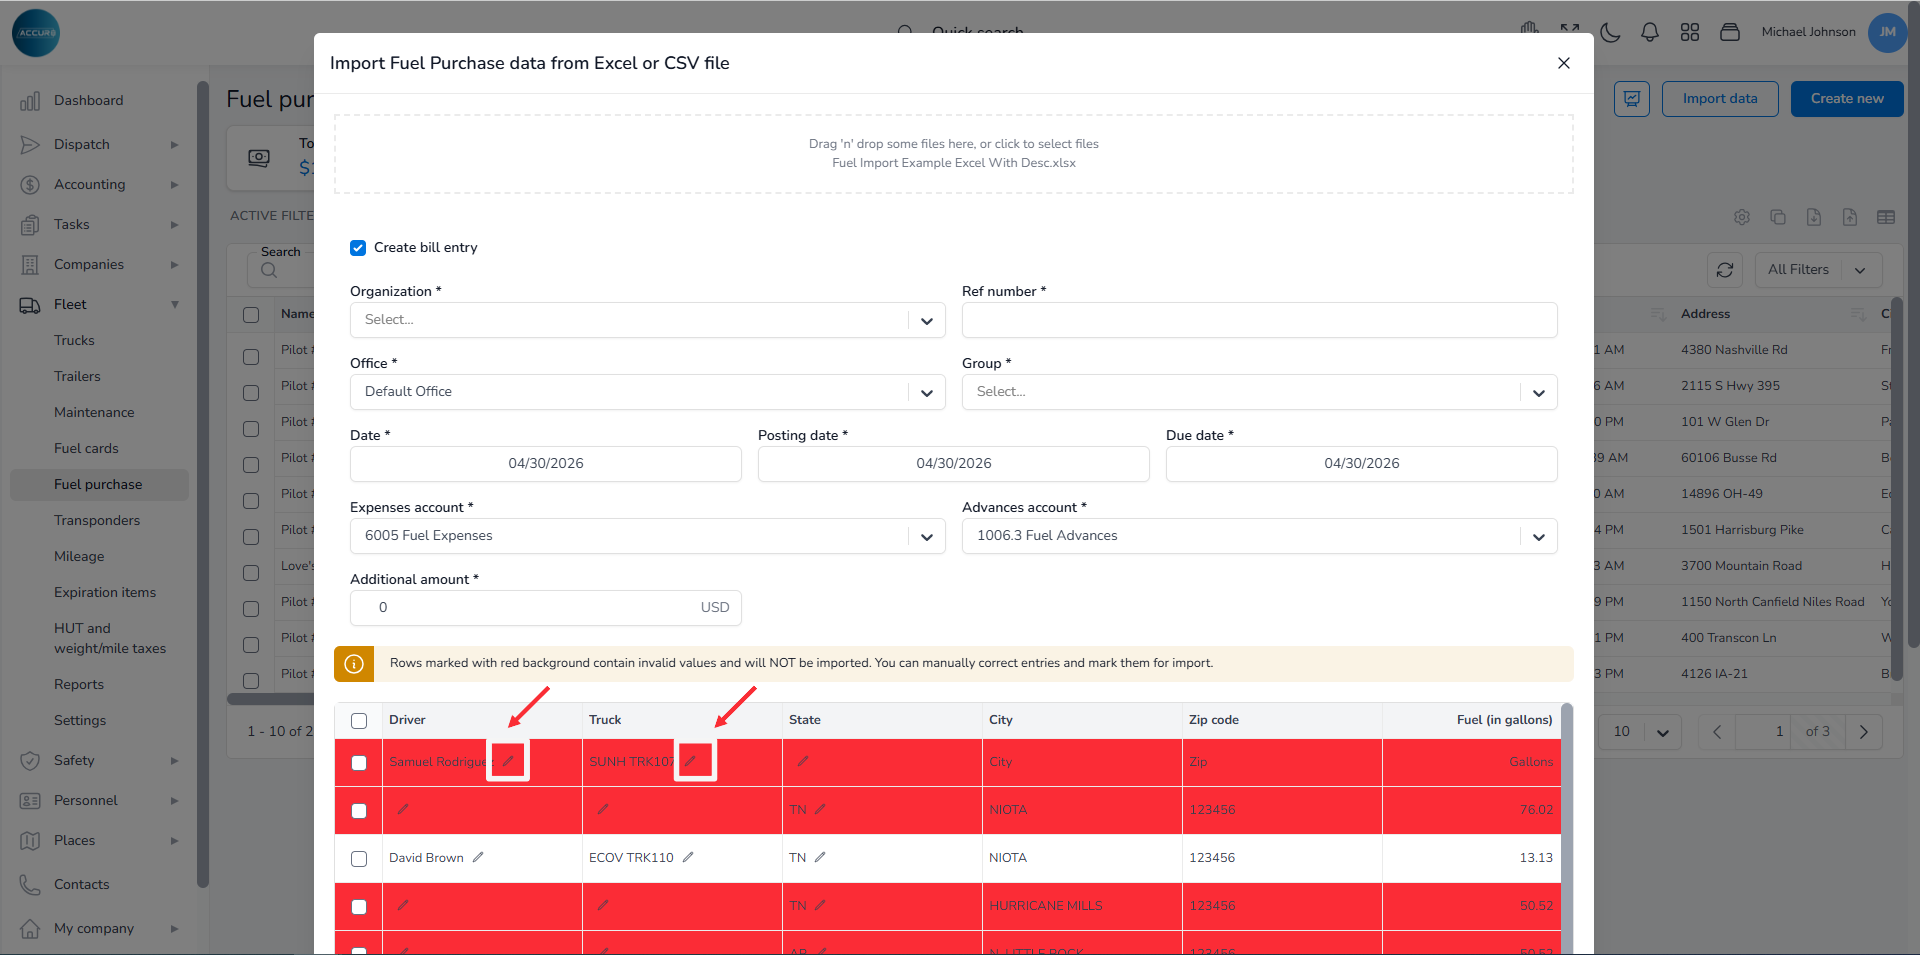
You can import fuel data manually by clicking the Import data from Excel or CSV file button at the top-right corner of the page. A pop-up window will appear, and by clicking the Drag ‘n’ drop option, you will upload the desired files.

If the data from the imported Excel file does not match the corresponding data in Accur8 TMS, the system will mark the discrepant entries in red. However, you can manually correct these entries by clicking the pencil icon in each field.
After checking and correcting everything, please fill in all the required fields above. Once you have completed this step, click the Import button in the bottom-right corner. This action will generate an invoice on the A/P Expenses page containing all related items and driver costs.
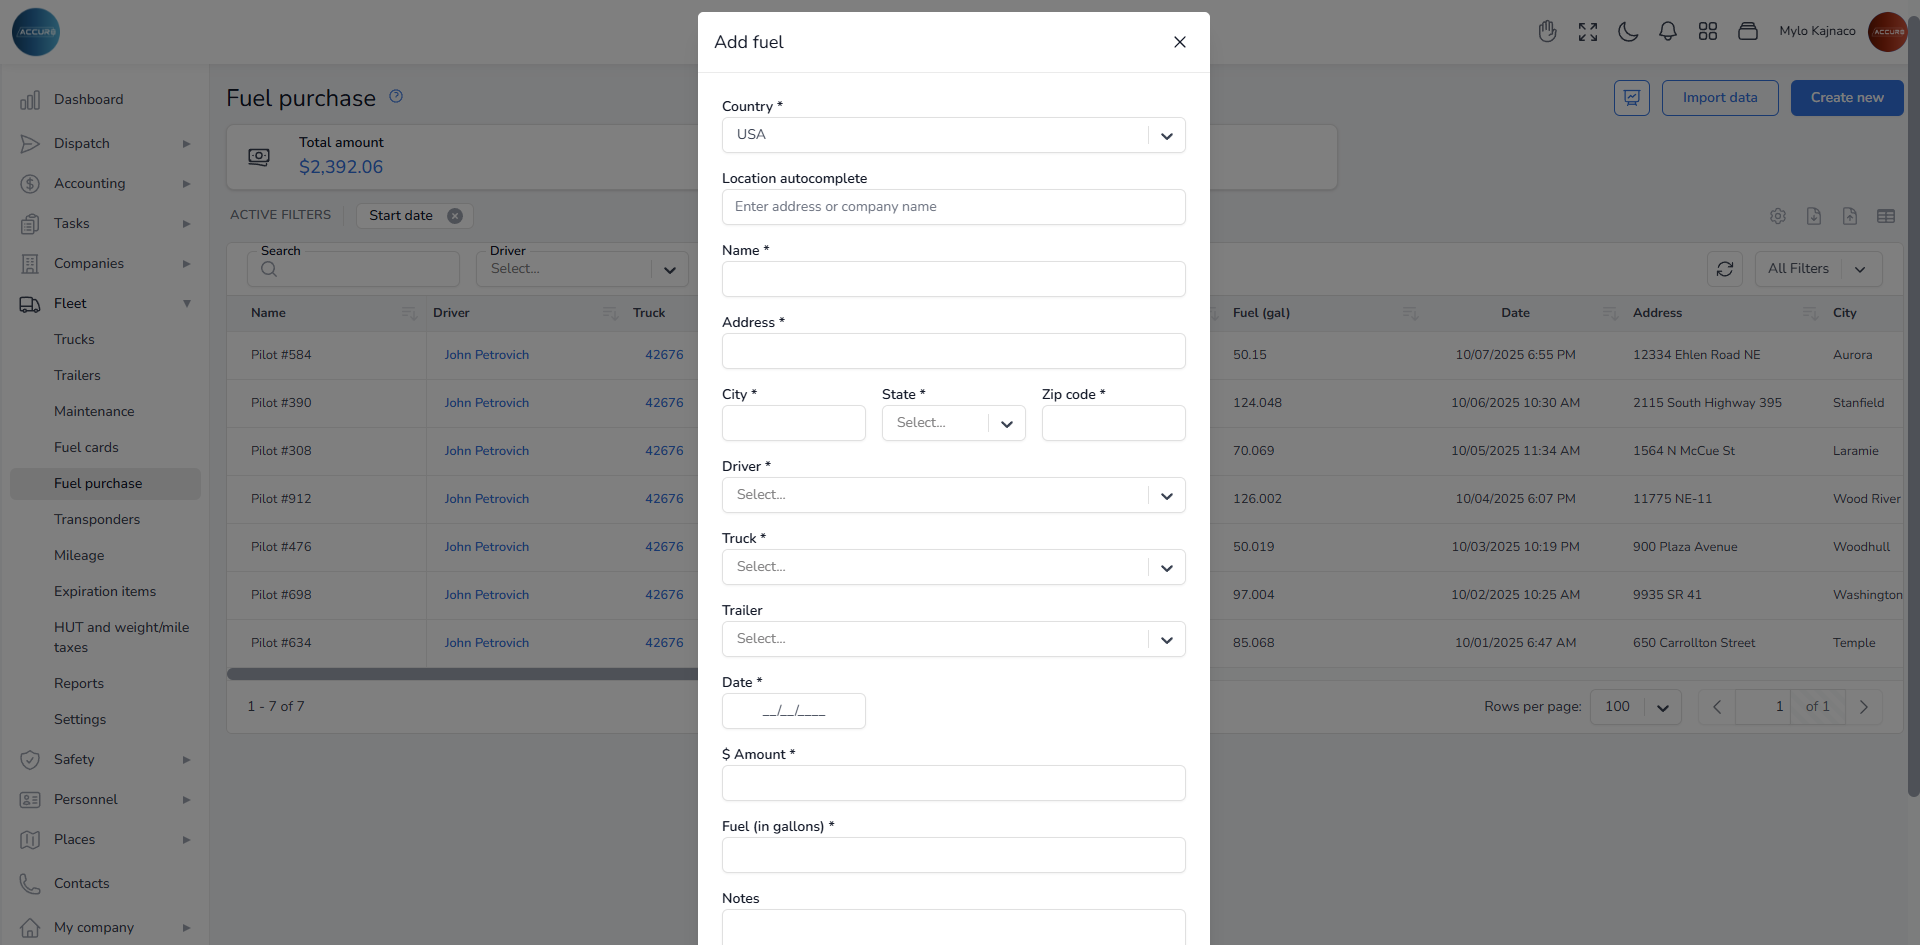
Creating Driver-Paid Fuel Invoices #
If a driver pays for the fuel with his own money, and the company is responsible for calculating the IFTA tax, then his invoices should be entered manually on the Fuel purchase page by clicking the Create new button and filling in all the required fields.