The ACCUR8 Driver Mobile app offers drivers a smooth workflow with easy navigation and real-time updates. Its user-friendly and modern interface provides quick access to essential tools, enabling drivers to efficiently manage dispatches, submit load documents and invoices, and track their paychecks. This allows them to focus on what truly matters: making safe and timely deliveries.
How to set up the app? #
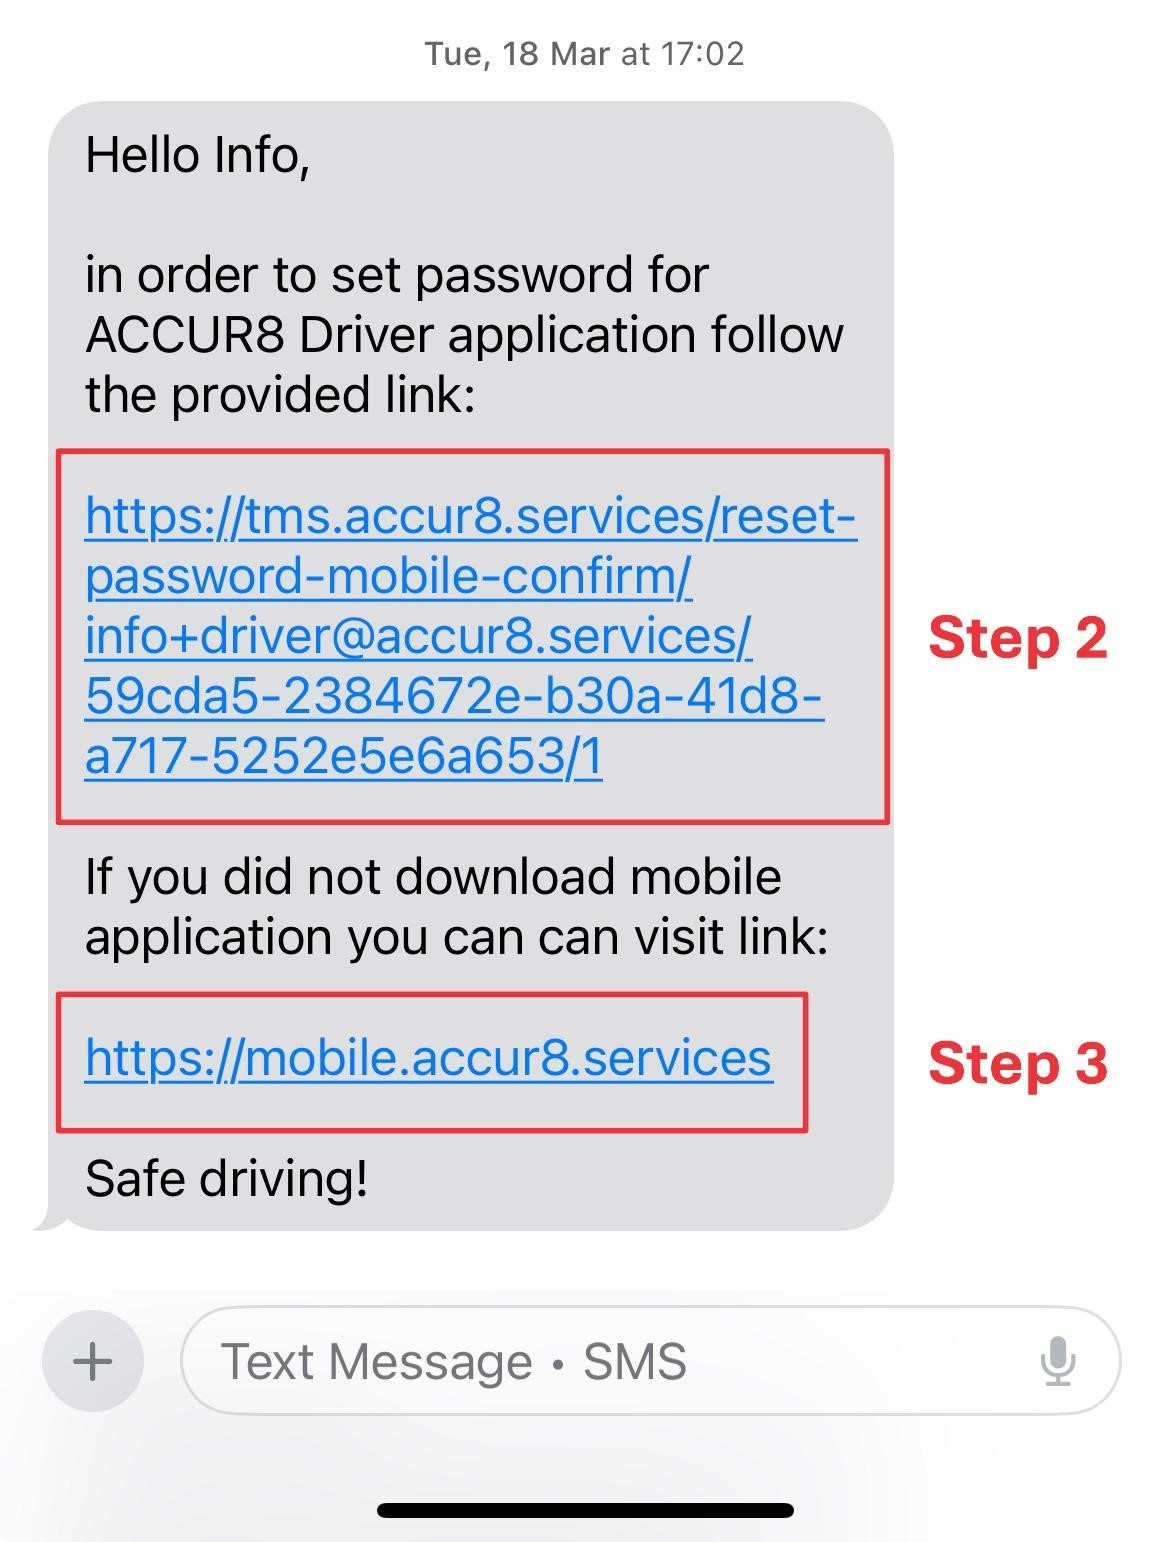
To set up the app, please follow these steps:
- Your company representative will send you a text message with a link that will take you directly to the ACCUR8 TMS platform.
- Click the link to set your password, which you will use later to log into the app.
- The link provided below will redirect you to either the App Store or Google Play Store.
- Download and install the app on your device. This process should only take a minute.
- Once the app is installed, open it and log in using your email address and the password you created.

*Note: The driver’s email address used on the platform and the app must match.
Start using the app #
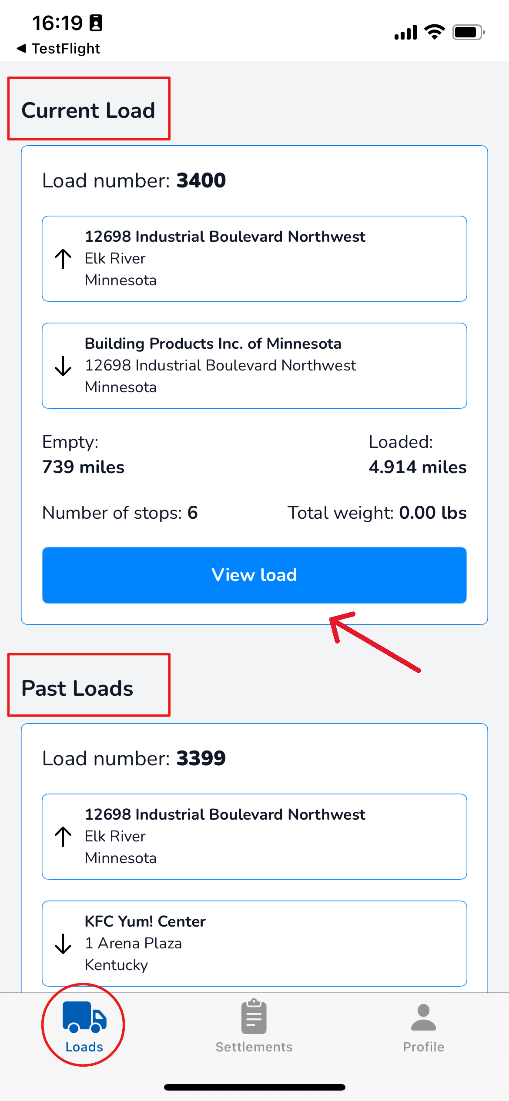
After logging into the app, you will find three sections at the bottom of the screen: Loads, Settlements, and Profile.
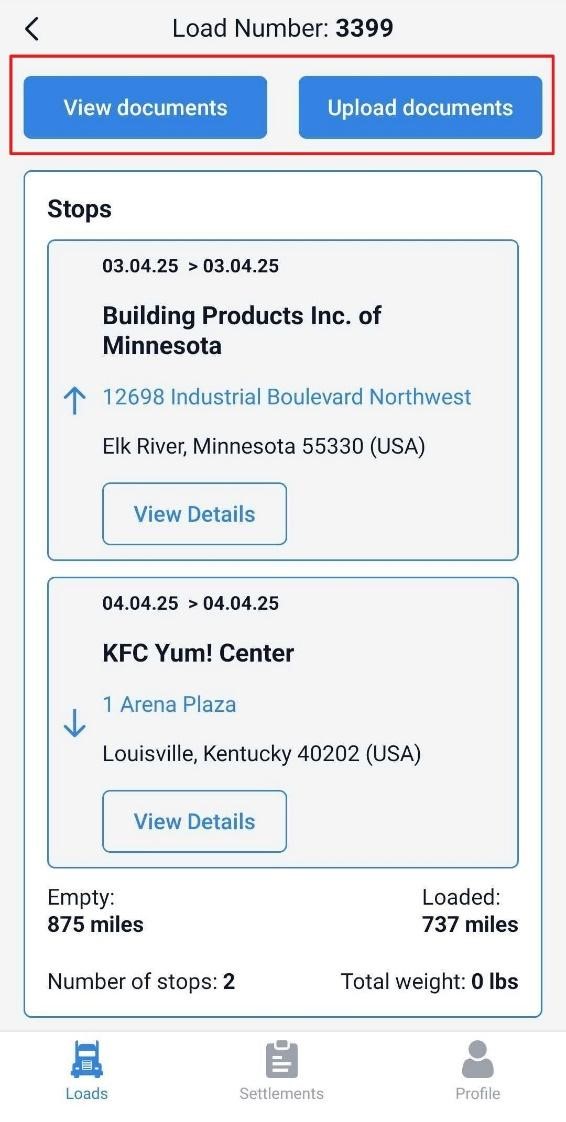
In the Loads section, your current load will be displayed at the top of the screen, with past loads listed below. The Current load refers to the load currently dispatched, while the Past loads refer to loads from the previous two weeks. To view the details of a specific load, click the View Load button. This will show you information such as the load number, pickup and delivery locations, empty and loaded miles, and commodities at the bottom of the screen. For each stop, you can click the View Details button to see the date and address associated with that stop. Additionally, an Open GPS Map button will open a map displaying the location of the stop.
*Note: You will receive a notification once the load has been dispatched.
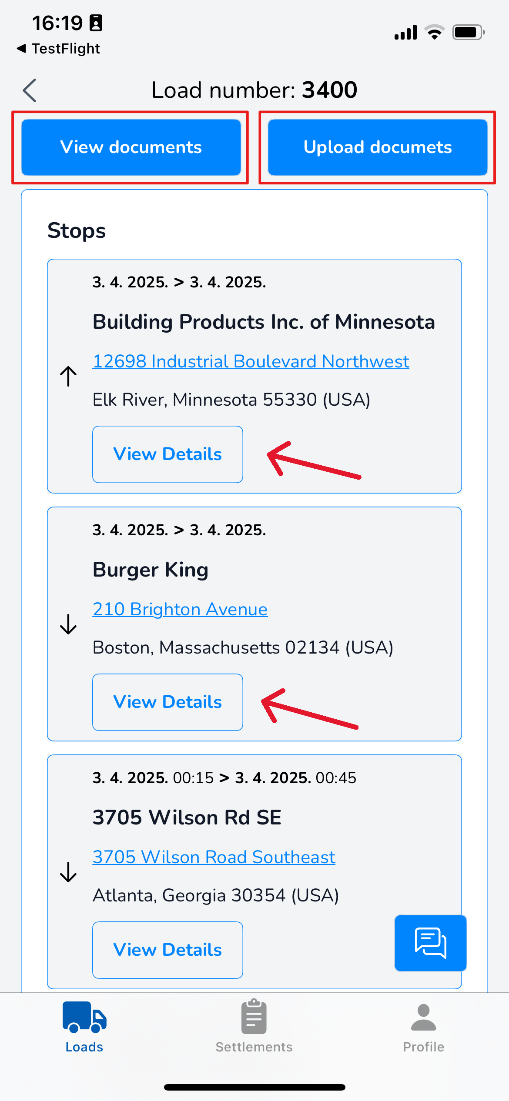
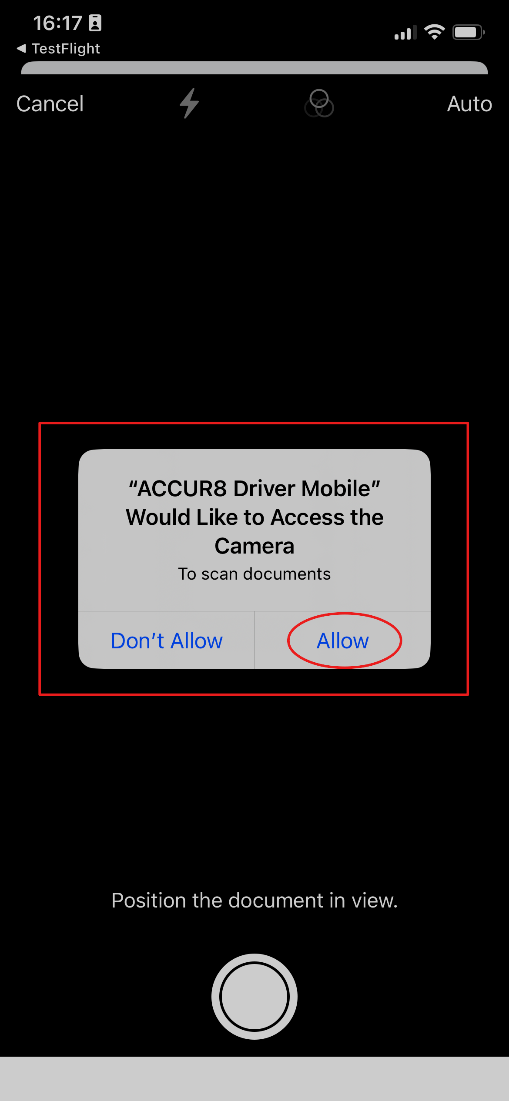
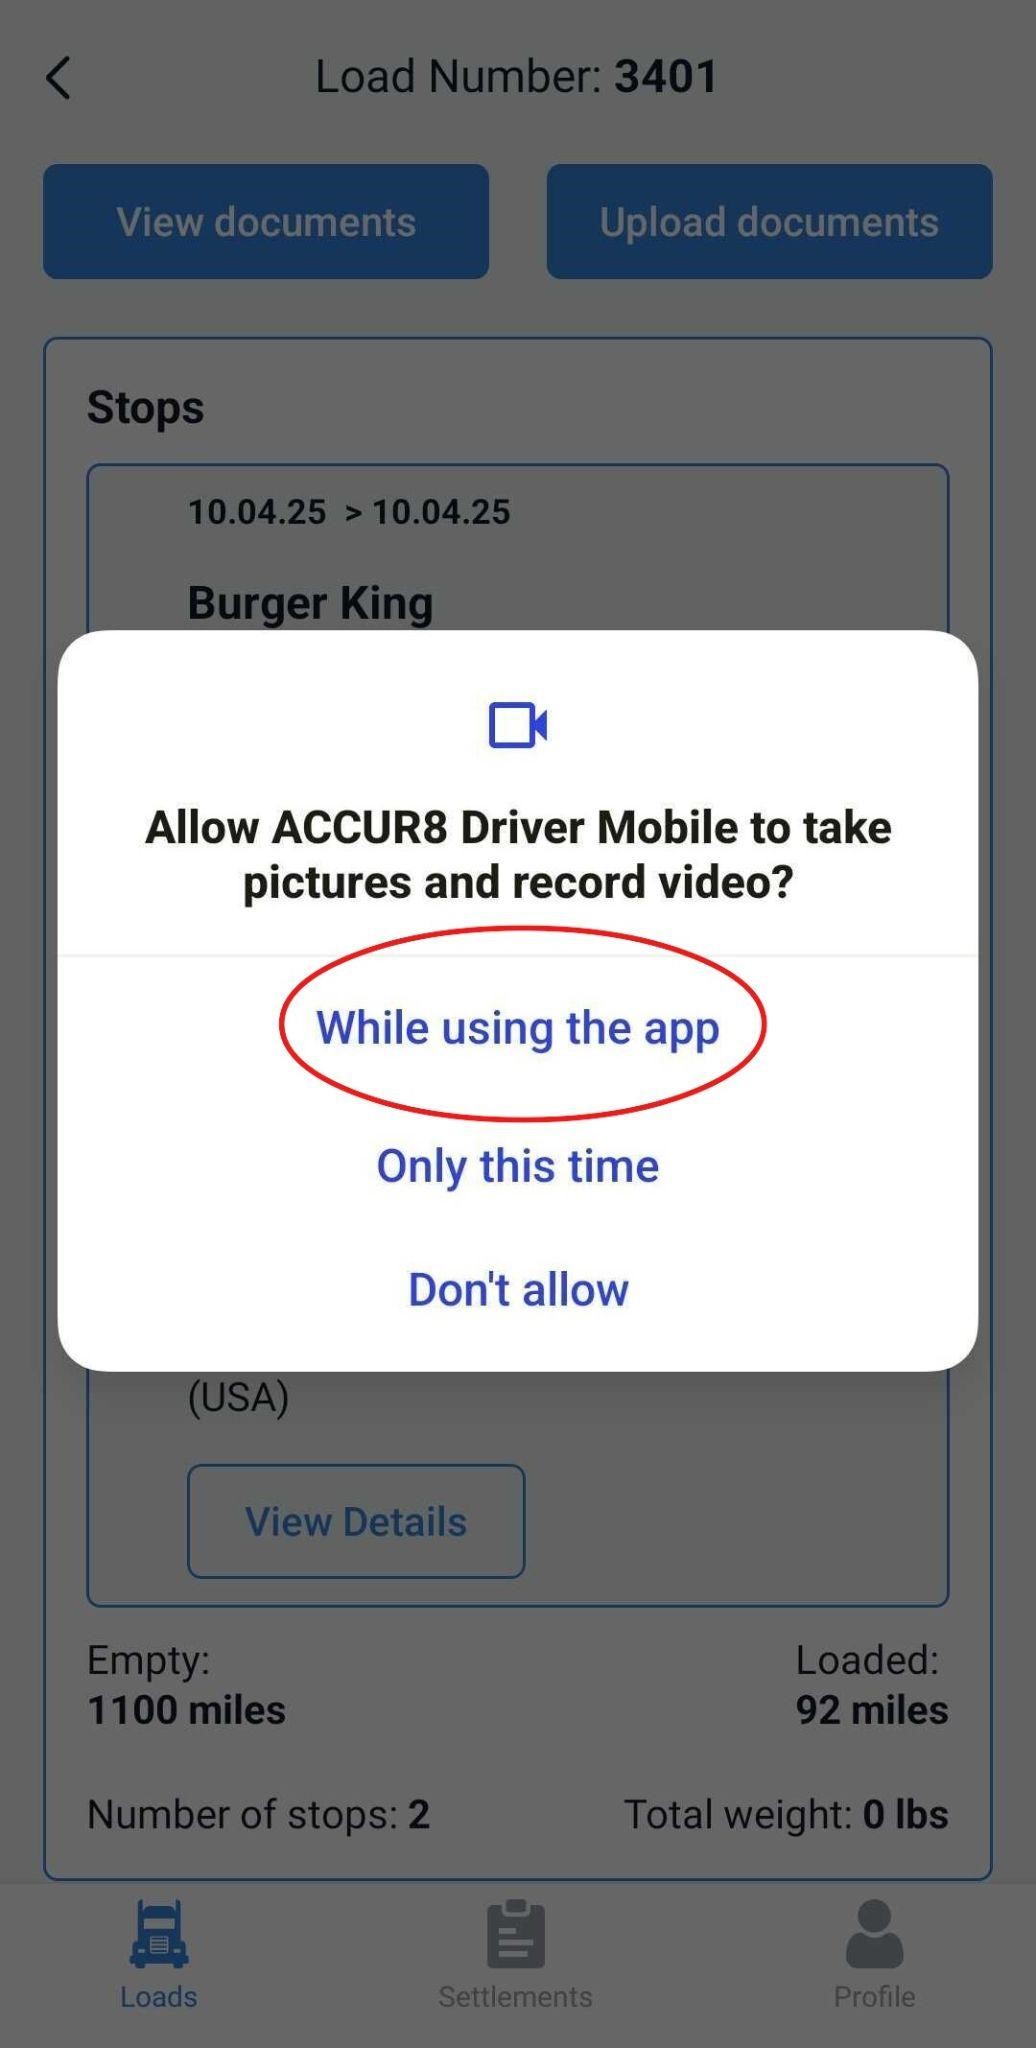
At the top of the screen, you will see the View documents and Upload documents buttons. The View Documents button allows you to see all uploaded documents, while the Upload Documents button enables you to submit necessary documents, such as proof of delivery (POD). The first time you click one of these options, you will be prompted to allow ACCUR8 Mobile to access the camera.
For iOS users: For Android users:
Please select the Allow option. Please select the While using the app option.
Once you’ve made your selection, you are ready to submit documents.
For iOS users: #
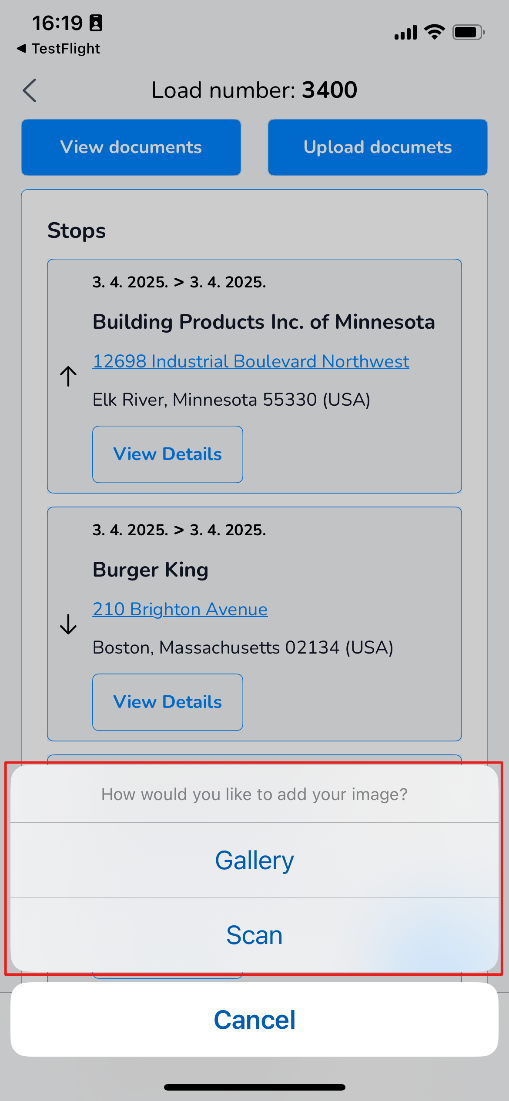
To upload a document, click the corresponding button. At the bottom of your screen, you will see two options: Gallery and Scan.
– Click the Gallery button to select a previously taken photo from your phone’s gallery. You can choose multiple images from the Gallery and merge them into a single document.
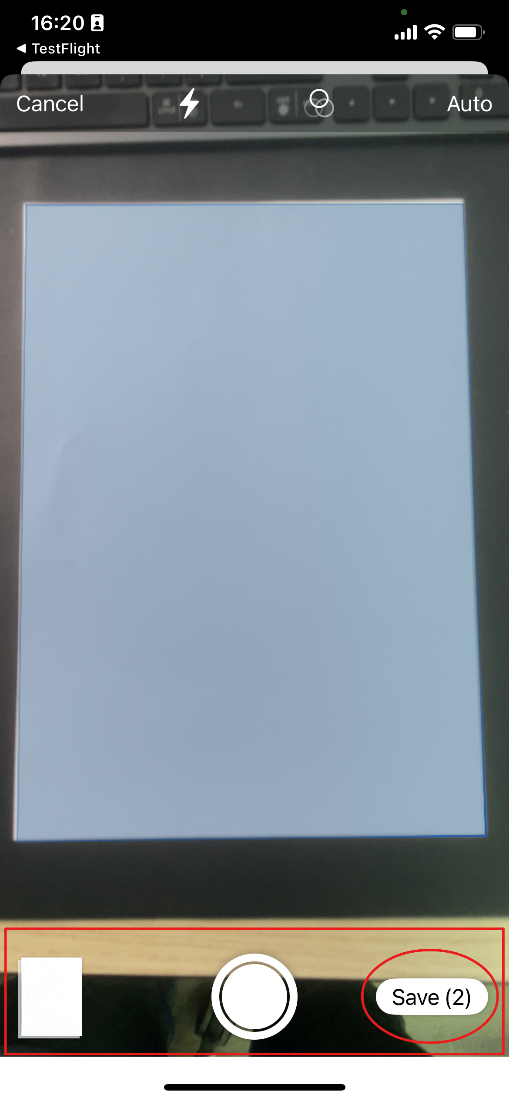
– Click the Scan button if you want to take a new picture of your document. You can take multiple photos at once and merge them into one document by clicking the Save button at the bottom-right corner of the screen.
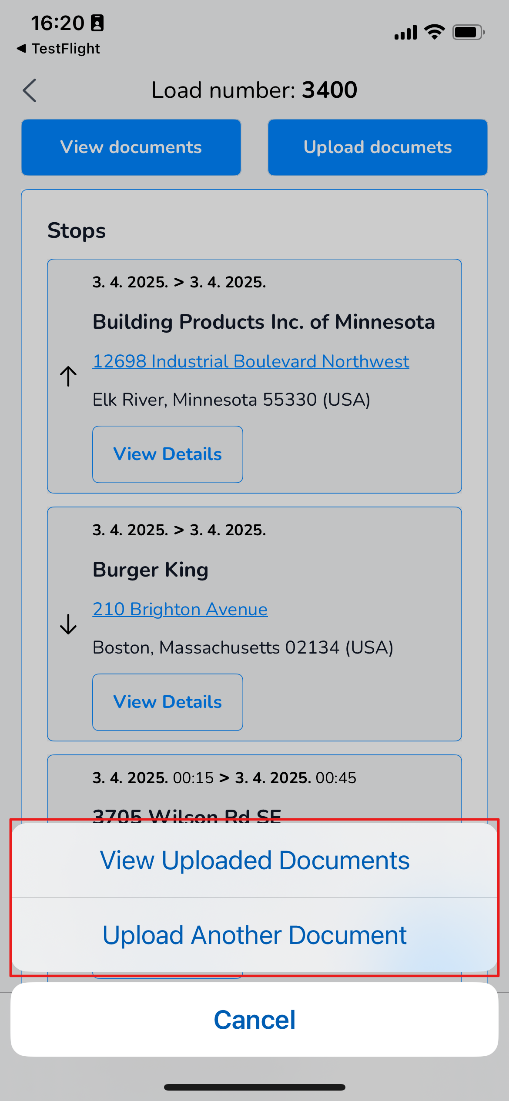
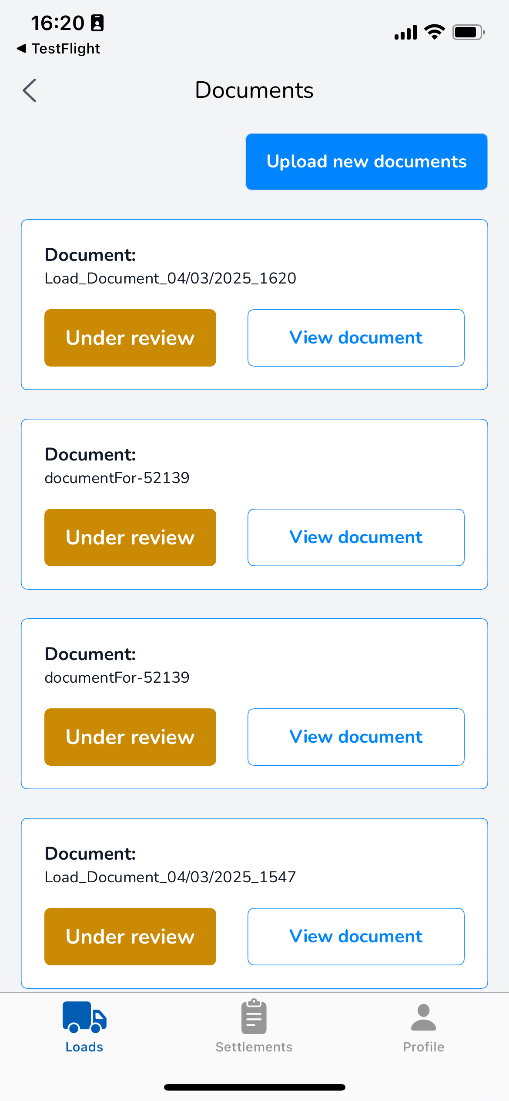
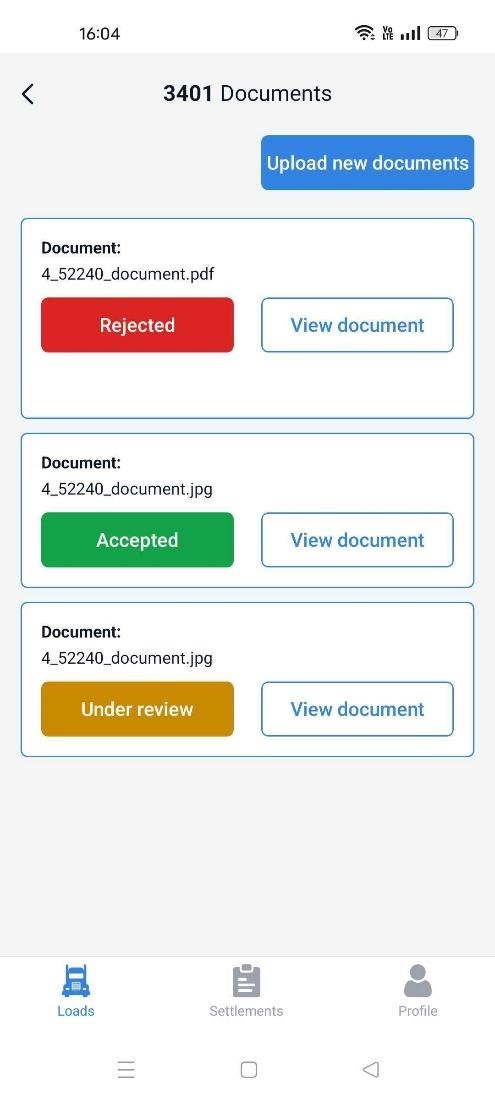
After that, you can choose your next step: to View uploaded document or to Upload another document. When you select the first option, you will see all your uploaded documents along with their statuses, indicating whether they are still under review, accepted, or rejected. If your document is rejected, you will find a Tap here to resubmit button under the Rejected section, which you can use to upload a new document.
For Android users: #
Important: The company you work for decides whether you will use a regular camera or the auto-scan feature for capturing documents. Below are explanations for both modes.
- Using a regular camera
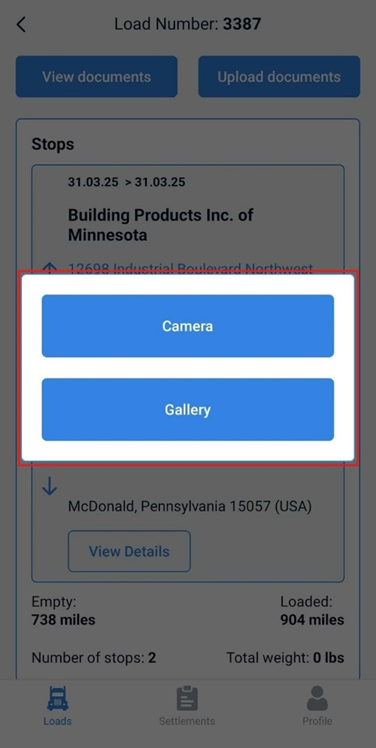
To upload a document, click the corresponding button. You will see two options on your screen: Camera and Gallery. Click the Camera button to take a picture of your document. Click the Gallery button to select a previously taken picture from your phone’s gallery.
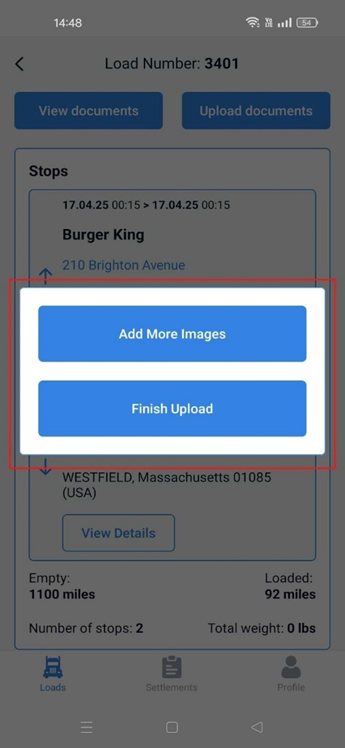
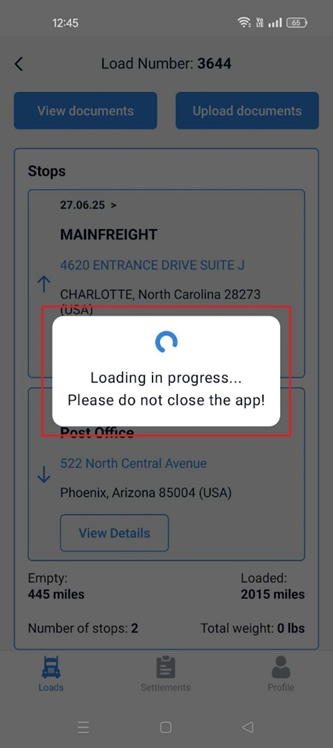
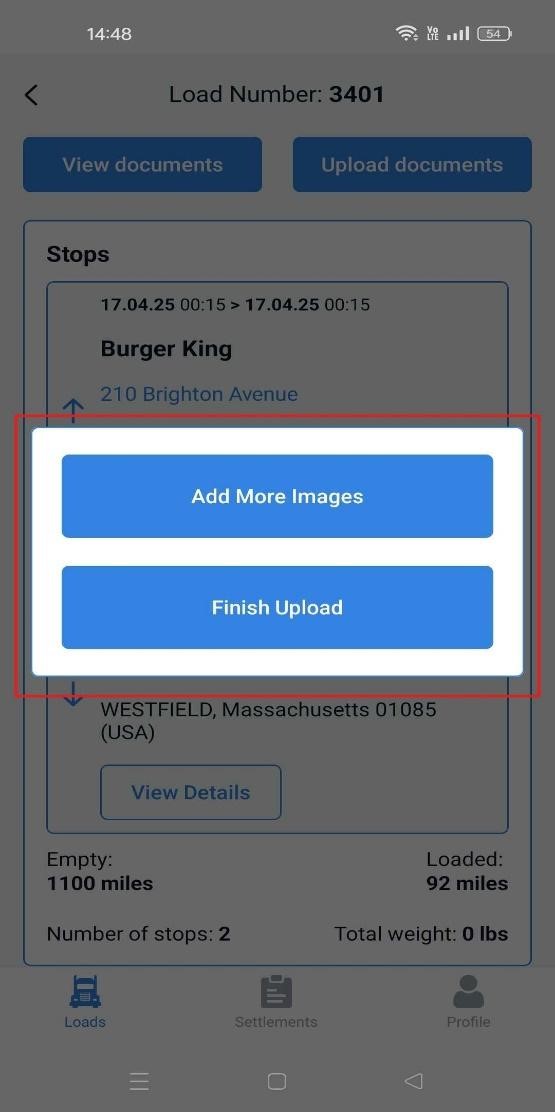
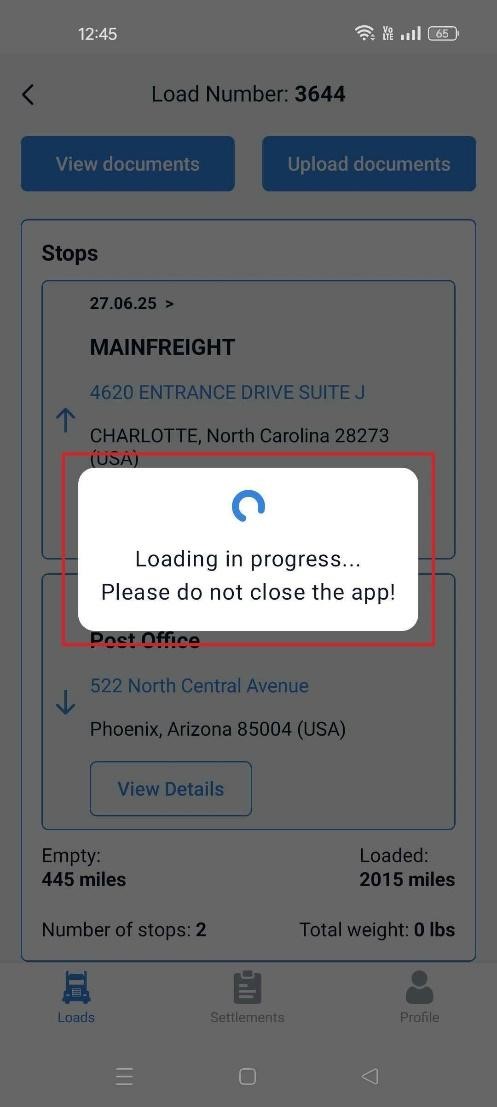
After you take the first picture, the Add More Images option will appear on the screen. You can add as many images as you like. Once you’re done, click the Finish Upload option. Please wait until the pictures are fully uploaded. You will see a message on the screen that says: Loading in process… Please do not close the app!
The same process applies when selecting a picture from your phone’s gallery.
- Using the auto-scan feature
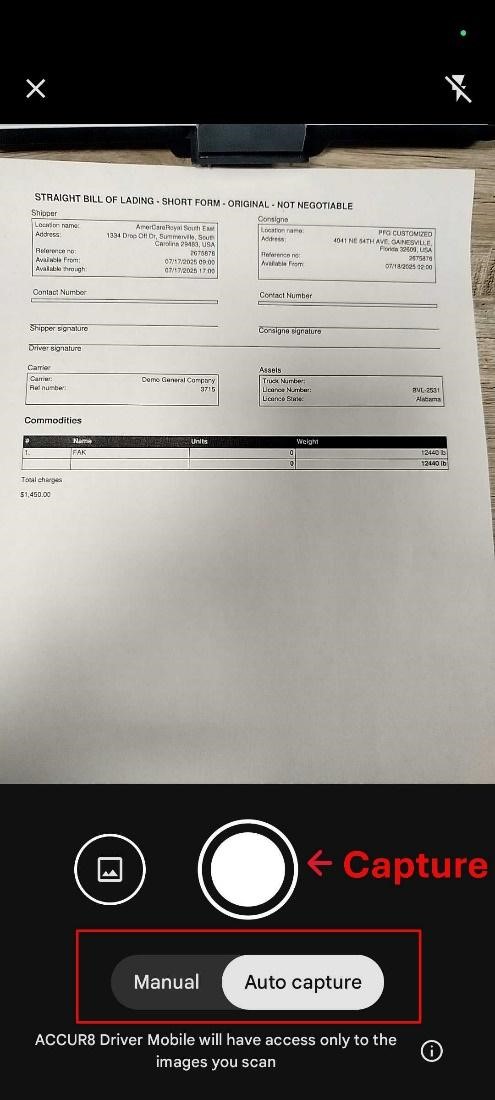
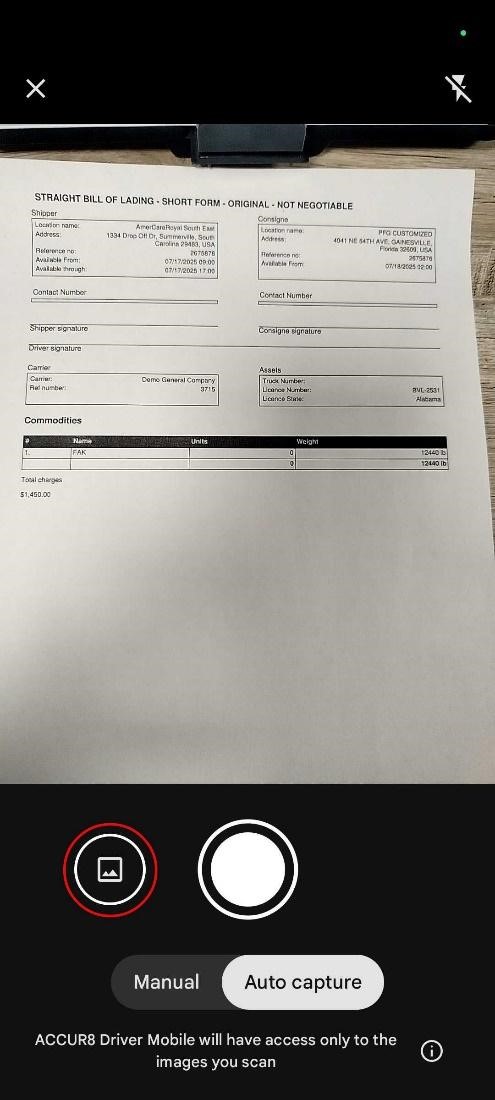
To upload a document, click the corresponding button. You will see a Capture button, along with two options below for taking a picture: Manual and Auto Capture.
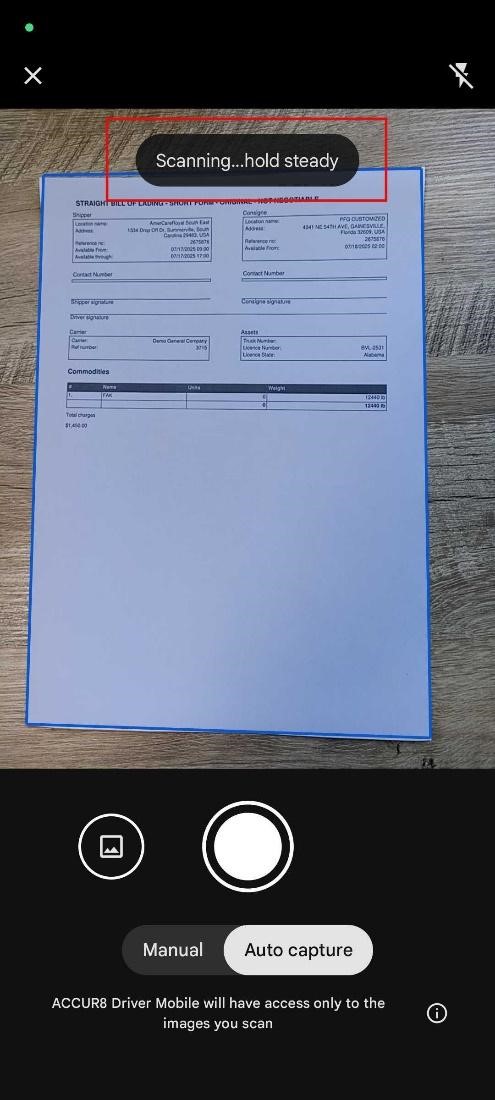
– The Auto Capture option will automatically take an image of your document. First, you’ll see a note at the top that says, Position document in frame. Immediately after that, another message will appear: Scanning… hold steady. Please hold your phone still while capturing the document.
– If you prefer to use the Manual option, tap the corresponding button to take a picture of your document. Position the document within the frame, and then press the Capture button located above it.

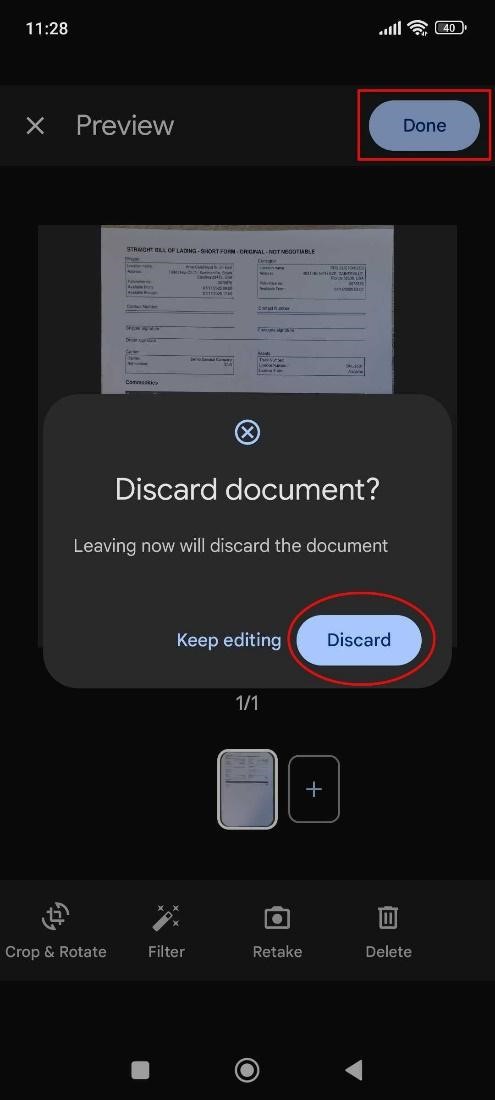
After taking a picture, a preview screen will be displayed. If you want to delete the picture, click the X button at the top left corner. A pop-up window labeled Discard Document will appear, and by clicking the Discard button, you will delete the picture. If you are satisfied with the image, click the Done button.
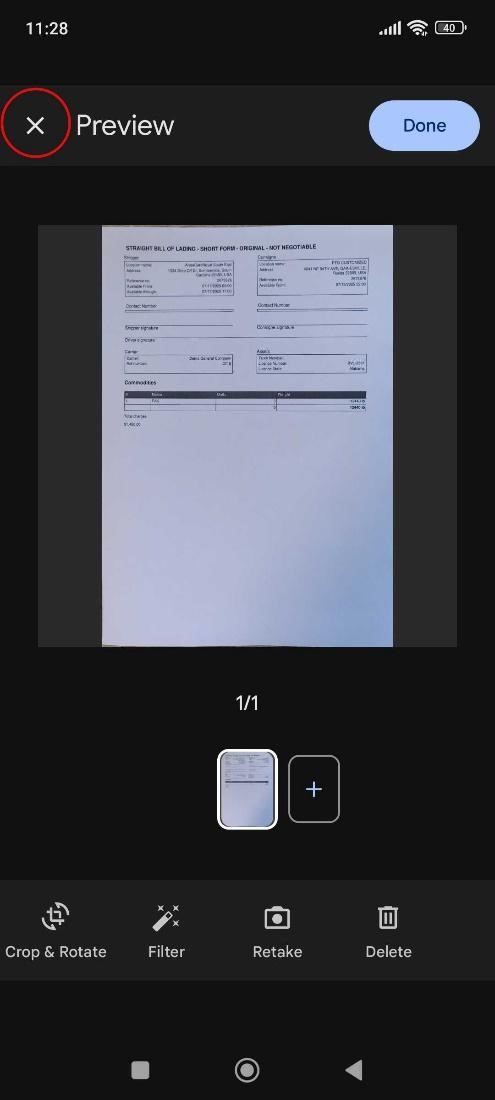
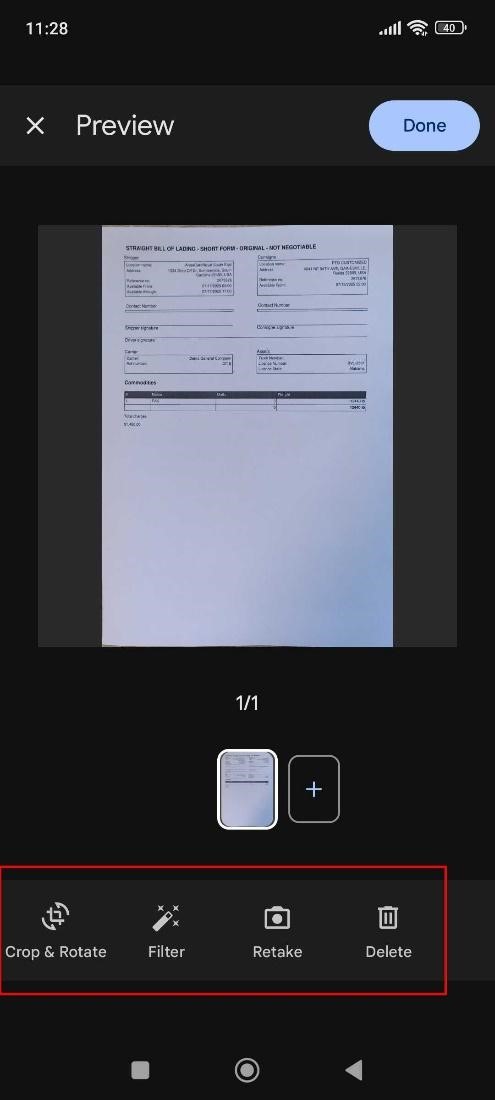
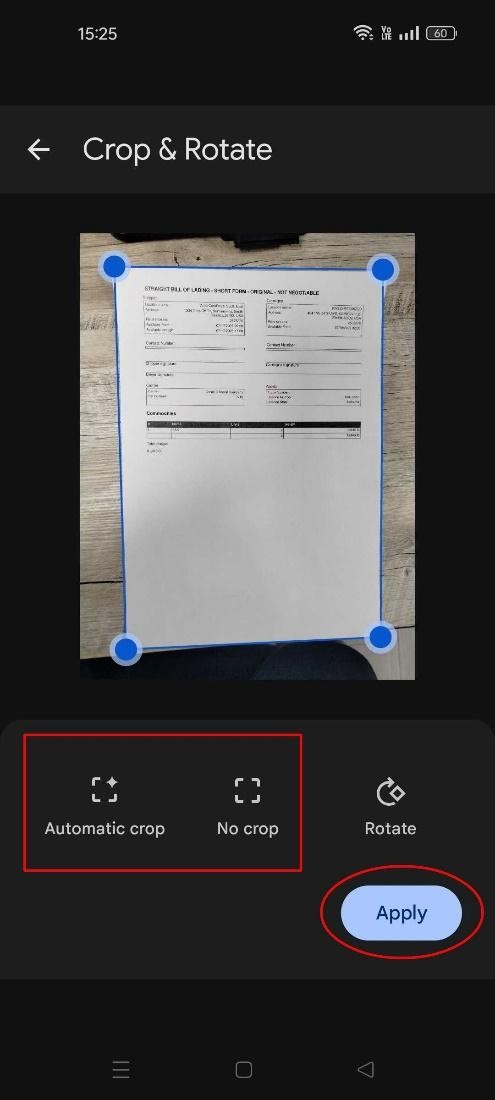
If you want to modify your photo, the app provides several editing options at the bottom of the screen. You can choose to Crop and Rotate the picture, apply a Filter, Retake another picture, or Delete the current image. Click the Crop & rotate button to crop or rotate a photo. You will find an Automatic Crop feature that will automatically remove the background from the picture. The No crop feature will display the picture with its original background. Once you’ve finished editing, click the Apply button.
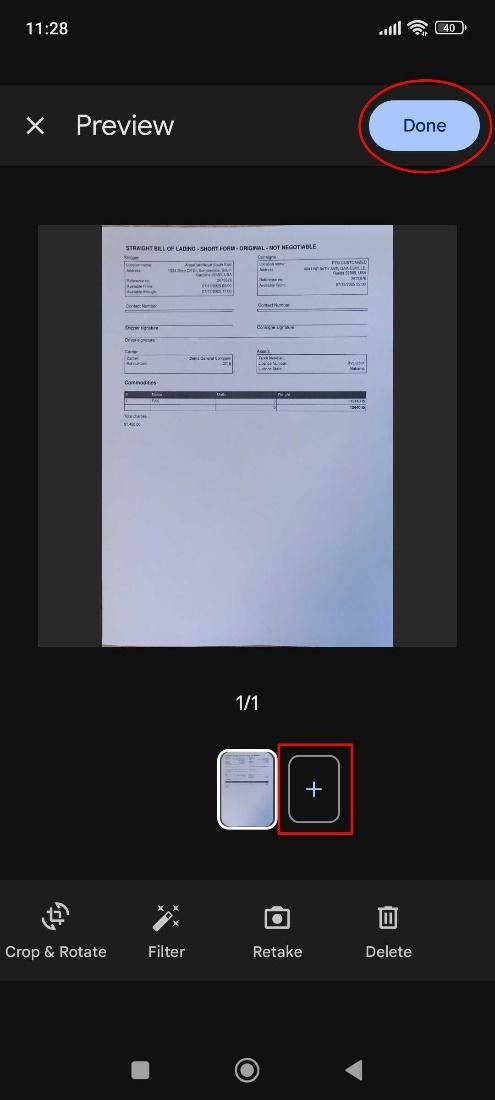
To add another image, click the + (plus) button and follow the previously explained steps. When you’re ready to save all your pictures, click the Done button at the upper-right corner.
You will then see options to either Add More Images or Finish Upload. If you want to add more pictures, click Add More Images and repeat the steps previously explained. If you are finished adding images, click Finish Upload. Please wait until the pictures are fully uploaded. You will see a message on the screen that says: Loading in process… Please do not close the app!
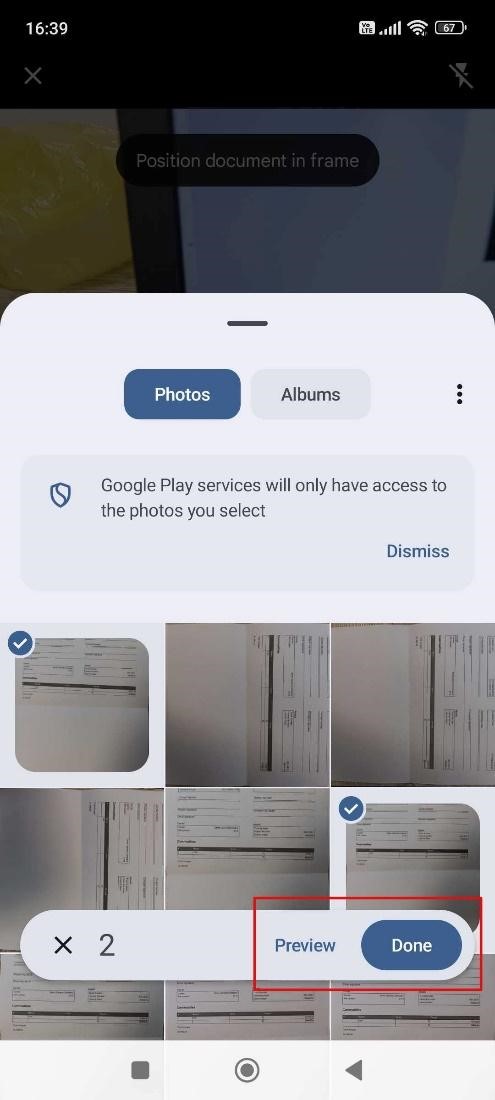
– To select a previously taken picture from your phone’s gallery, click the Gallery button on the left side of the screen. This will open your phone’s gallery, allowing you to choose photos. After making your selection, the Preview and Done buttons will appear at the bottom left corner of the screen. Click the Done button to complete your selection, and then click the same button again at the top-right corner.
To edit the image or add another one, follow the steps outlined above.
After that, you can choose your next step: to View uploaded document or to Upload another document. When you select the first option, you will see all your uploaded documents along with their statuses, indicating whether they are still under review, accepted, or rejected.
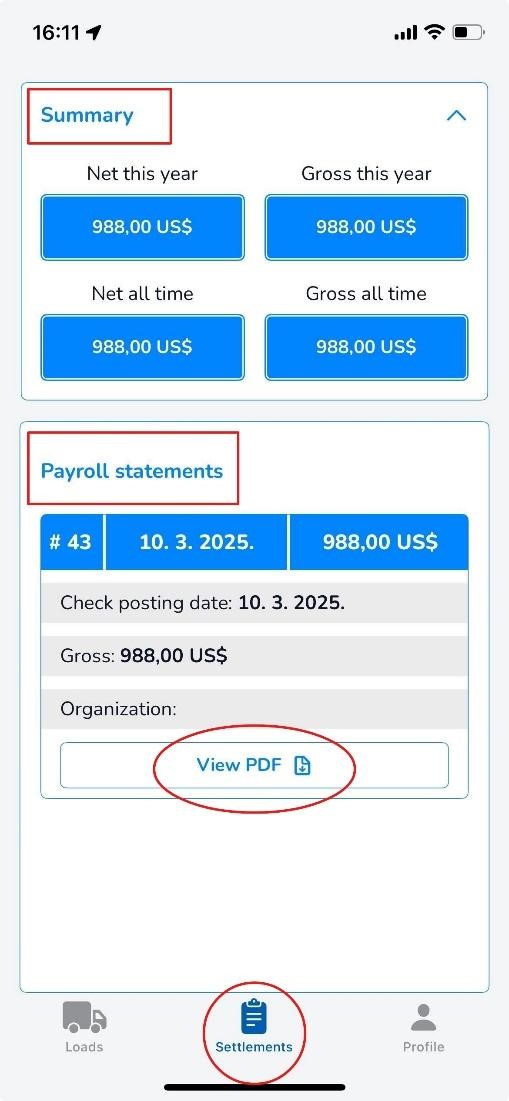
In the Settlements section, you will find a Summary of all your incomes. Under the Payroll statements, there will be a list of all your statements, and you can view each statement as a PDF document by clicking the View PDF button.
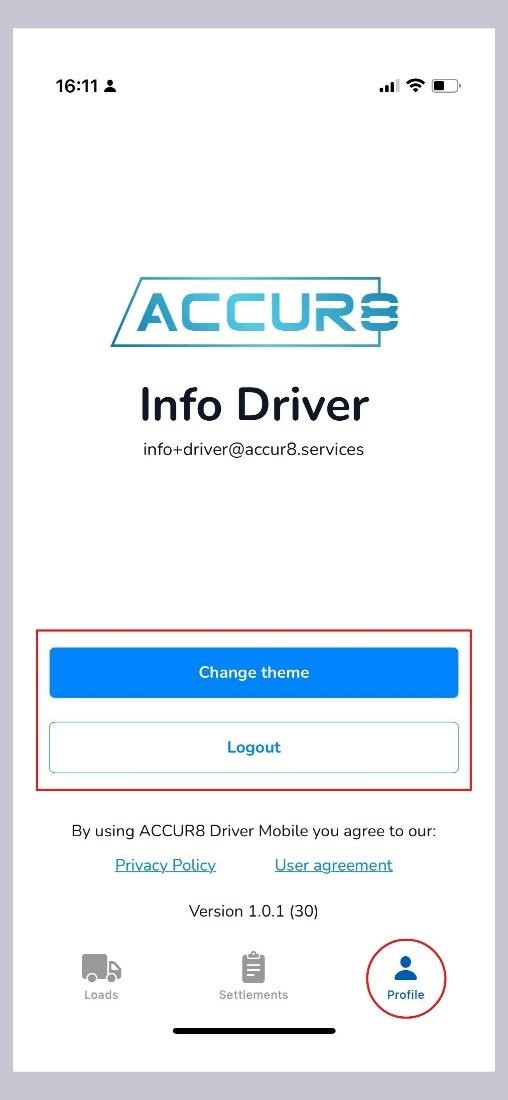
Finally, in the Profile section, you will see the Change theme button, which allows you to customize the color of your buttons and titles. Below this, you will find the Logout button.