
Load Creation Carrier Mode #
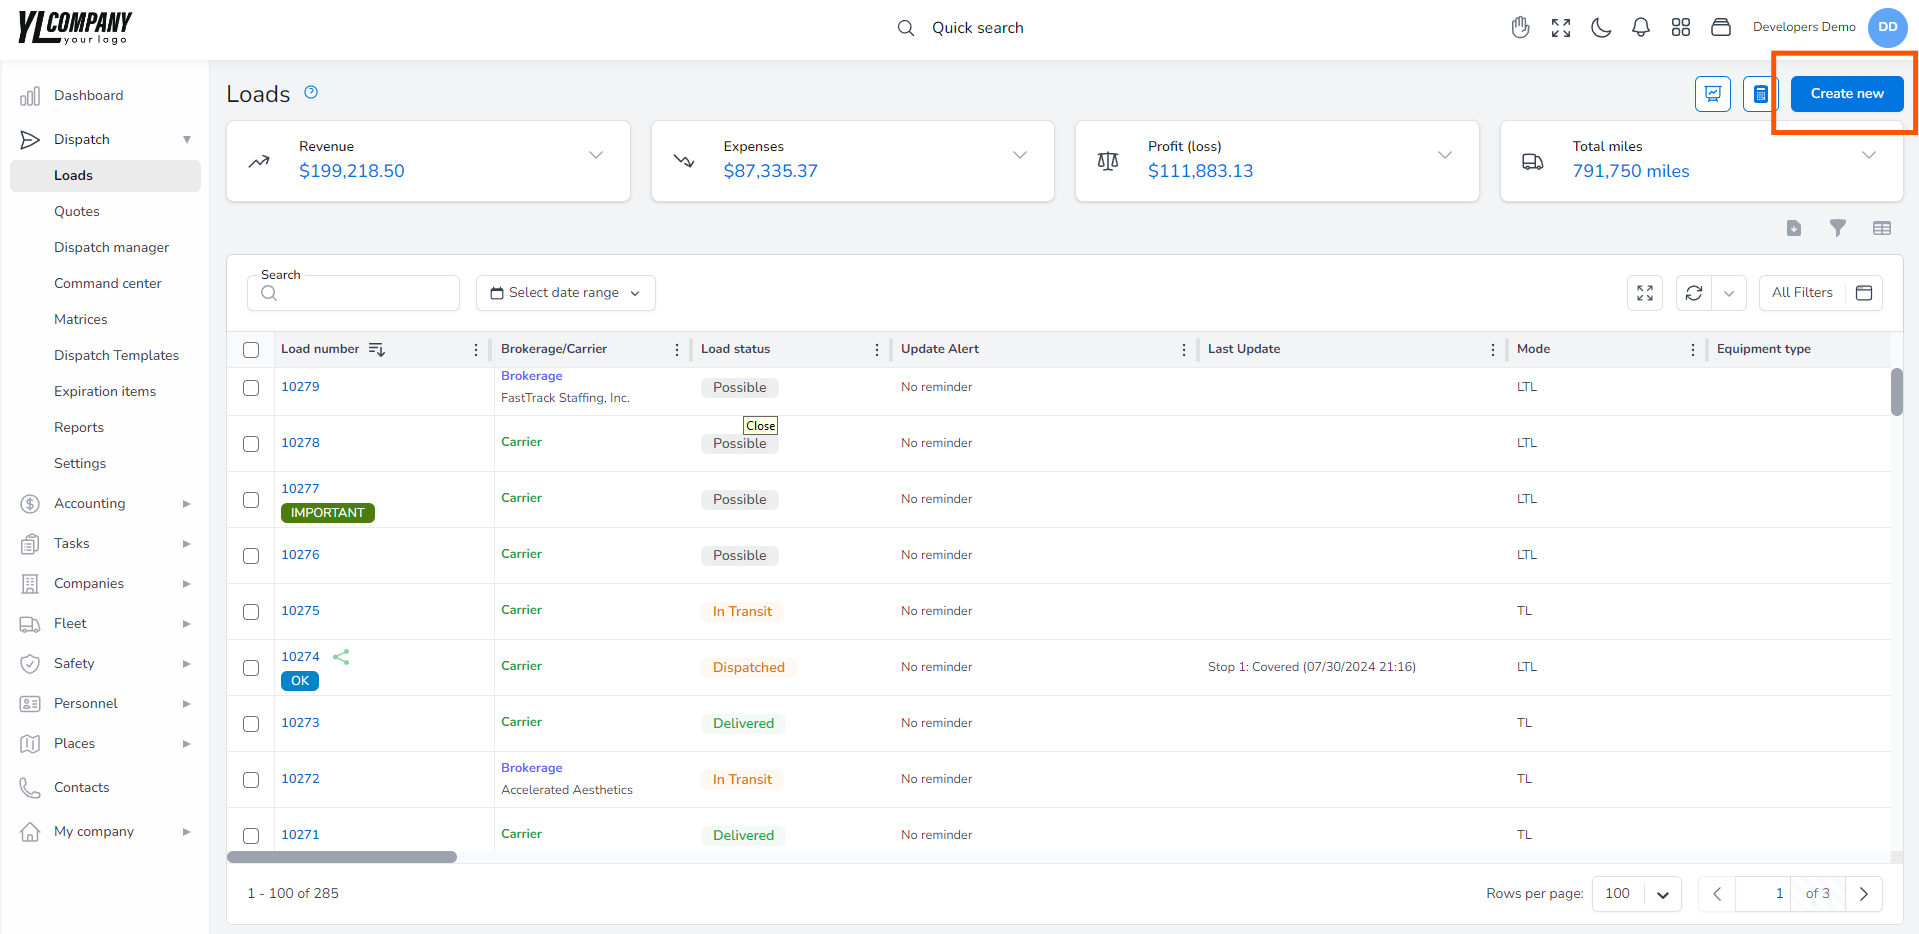
To create a new load, visit the Loads page at https://tms.accur8.services/loads/create. You can also access this page from the landing page by using the left sidebar to navigate through the different system sections. Expand the DISPATCH section to reveal its subsections, then click the LOADS to open the Loads page on the right. On this page, you’ll find an overview of all current loads in the system. To create a new load, click the CREATE NEW button located at the upper right corner of the load page.
Required Fields for Load Creation #
ACCUR8 TMS offers various options for load creation, allowing you to customize each detail to meet your specific needs. However, certain mandatory fields must be completed to create a load and move forward.
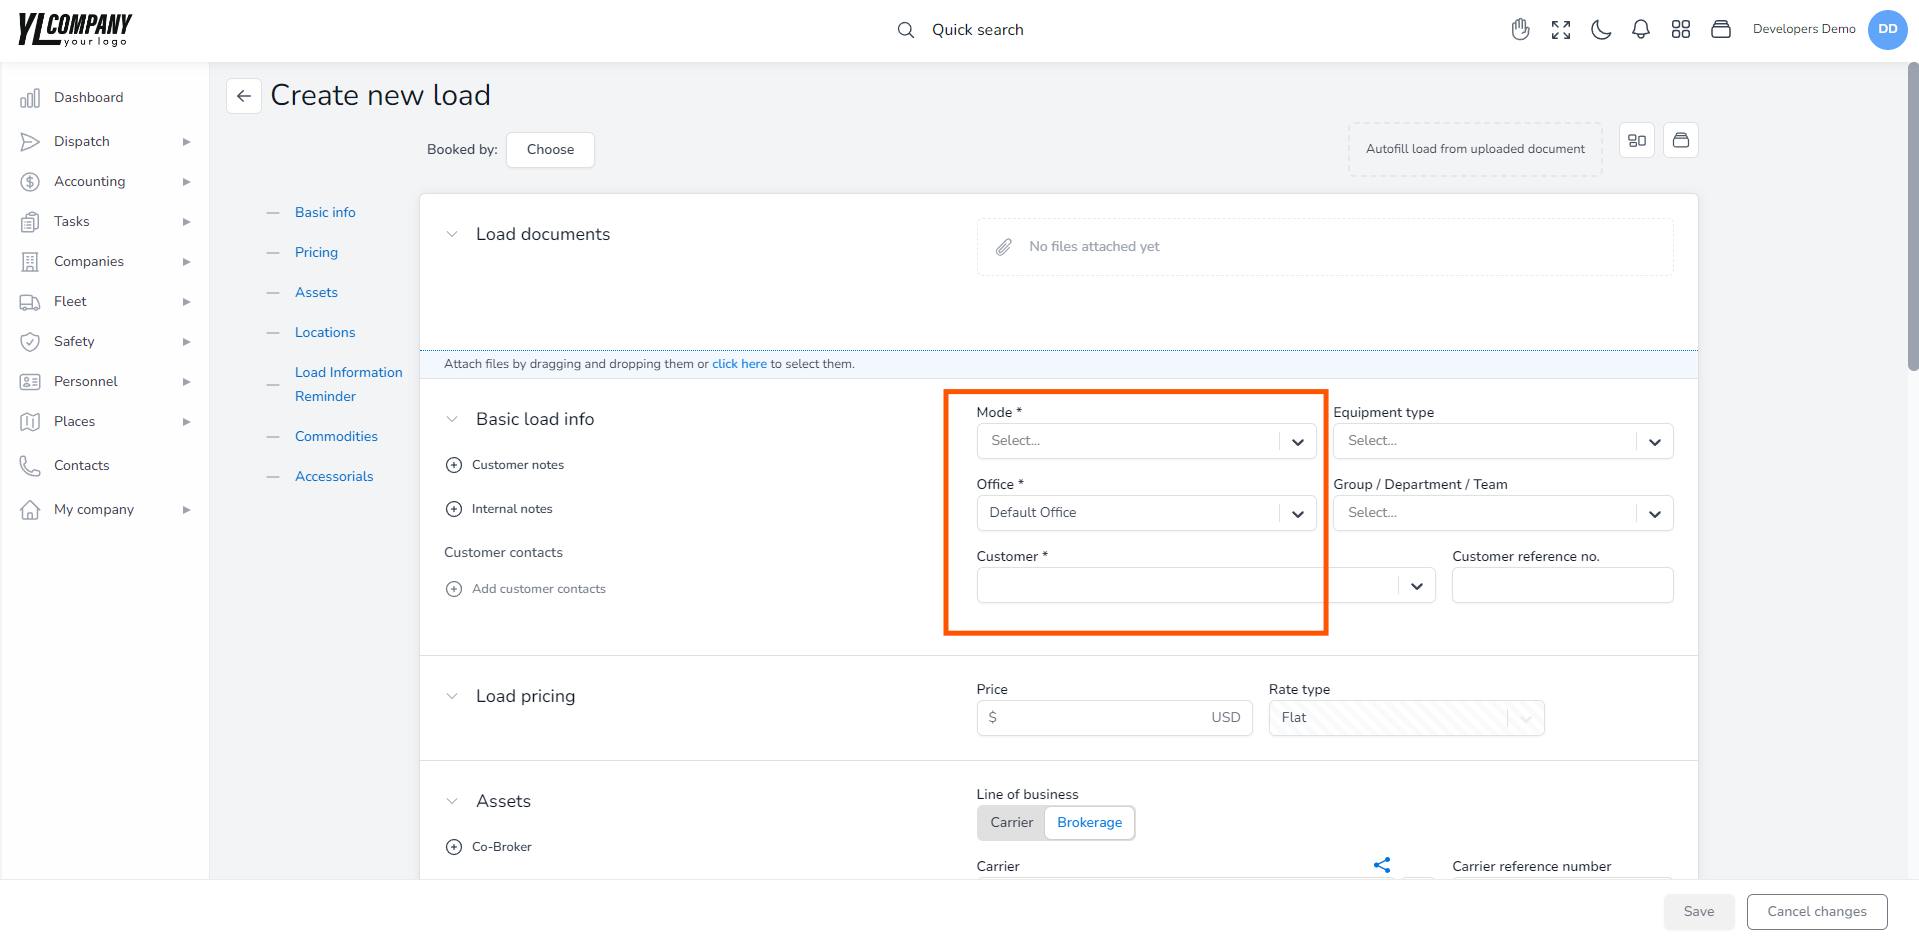
On the Create new load page, you will find several required fields marked with an asterisk that must be filled out before you can proceed: Transportation mode, Office, and Customer. Once you have completed these fields, the default status of your load will automatically be set to “Possible.”
Load Entry using AI Technology #
The ACCUR8 TMS system has integrated AI technology, allowing you to fill out all load information automatically. This Data Entry Automation can easily streamline your load data entry, reducing manual entry errors and speeding up data processing.
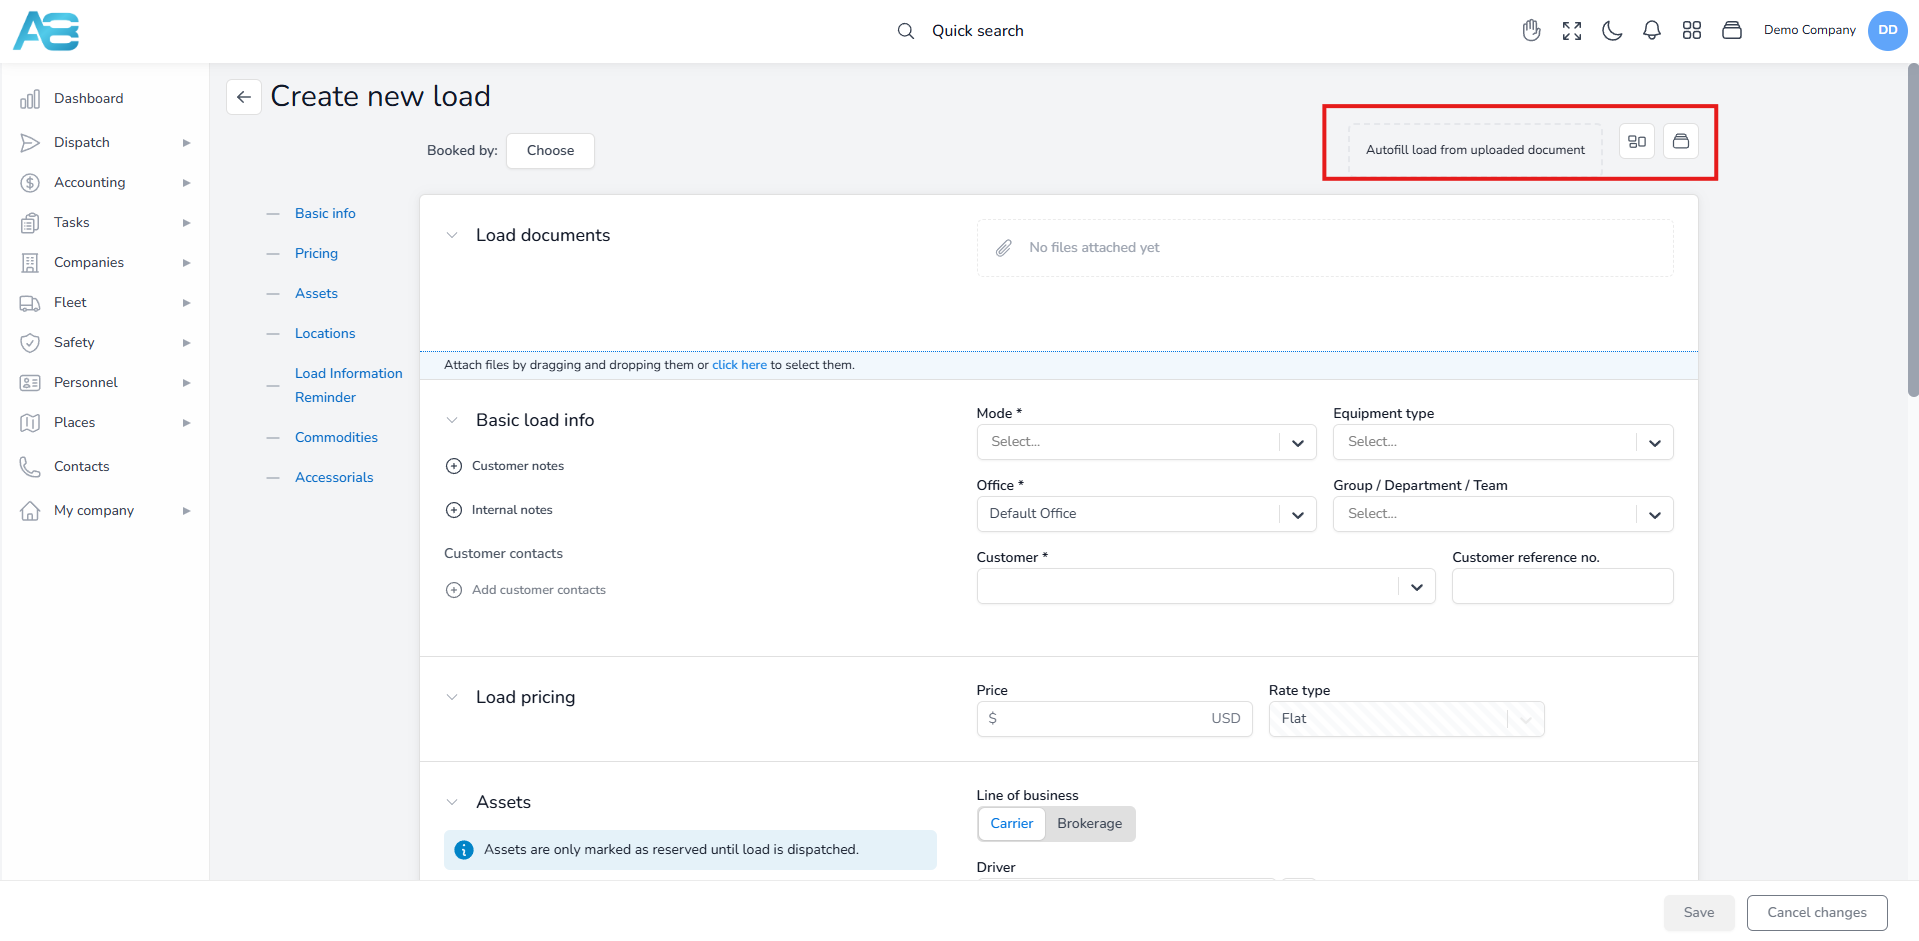
So, at the top right corner of the page, you will see the Autofill load from the uploaded document field. You can upload your document by either dragging and dropping it into the field or by clicking the field and uploading it from your computer. After that, a new window will open where the system will automatically extract load details from the uploaded file. If the AI misses any details, you can manually drag the relevant information from the document on the left to the input fields on the right, and the system will automatically populate the data for you, reducing all potential errors. Finally, once all information is complete, click the Save button. A pop-up AI report will confirm whether all necessary data has been successfully saved or notify you if any required documents are missing.
Viewing and Managing Submitted Documents #
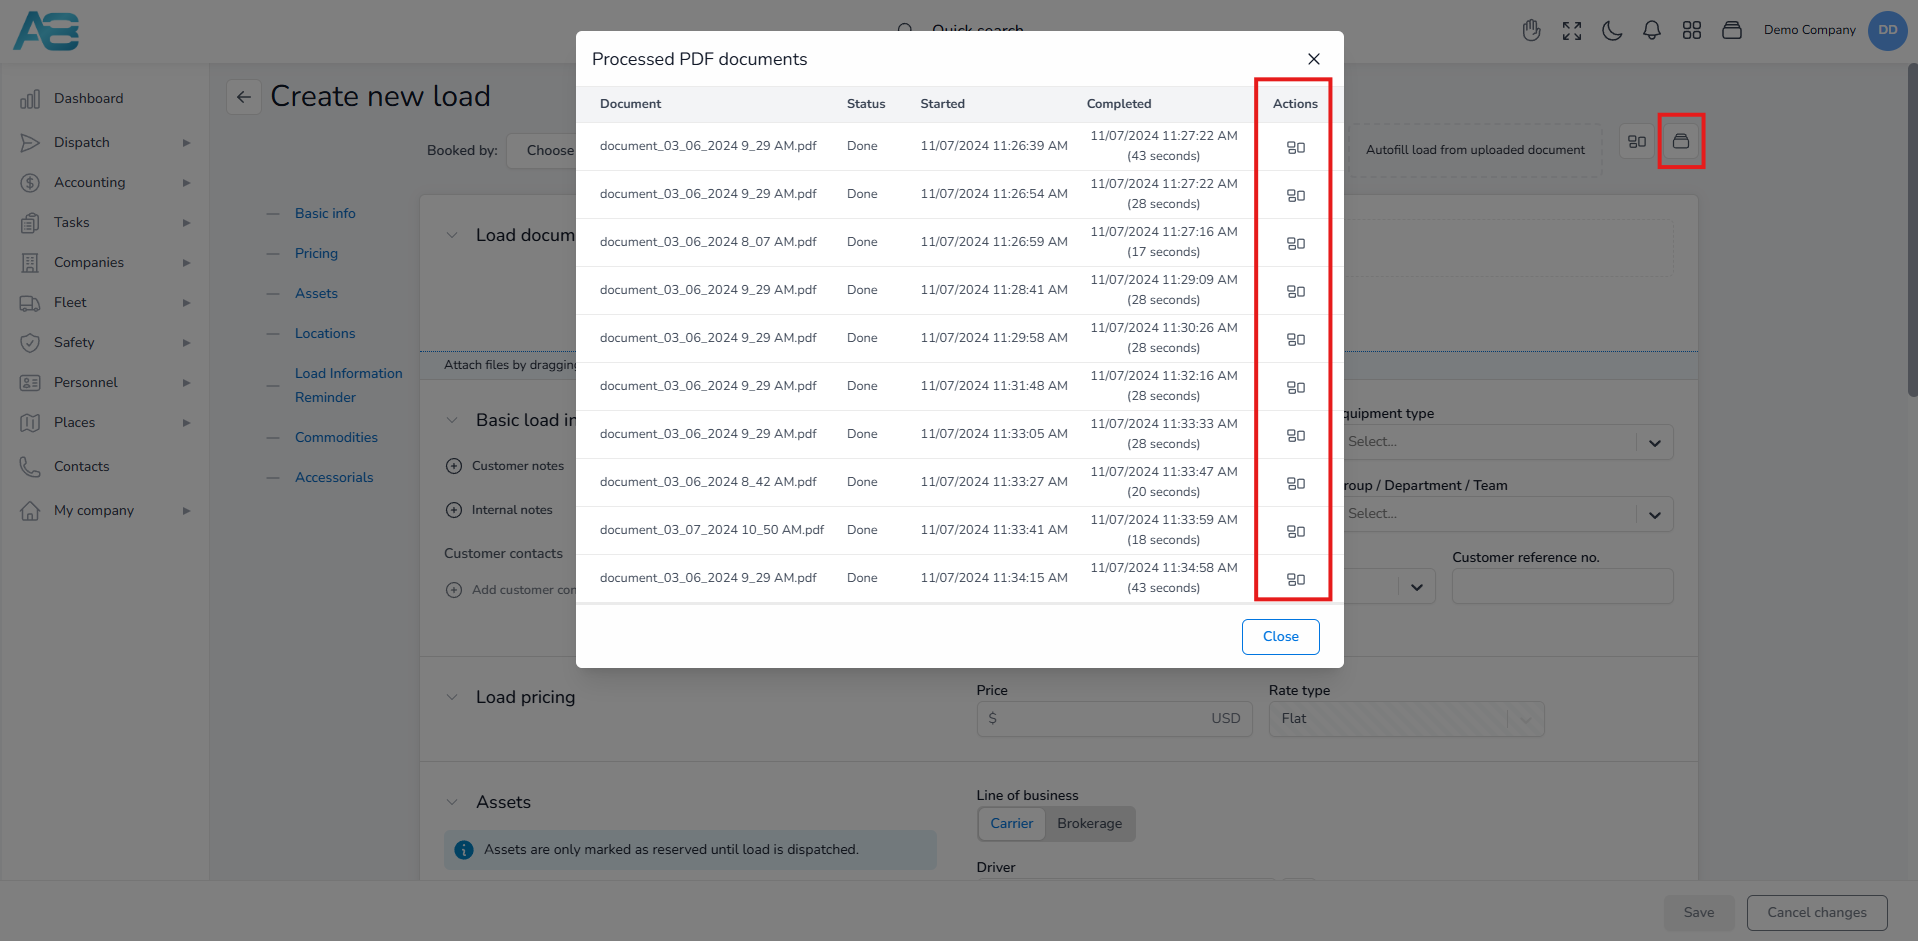
The system allows you to view and manage all previously submitted documents through the view listing and status, enabling you to track and reuse them as needed easily.
To reuse a document, click the Open OCR Dialog button located in the action column of the document listing. This allows you to incorporate the selected document into your current workflow efficiently.
How to Attach Load Documents Properly #
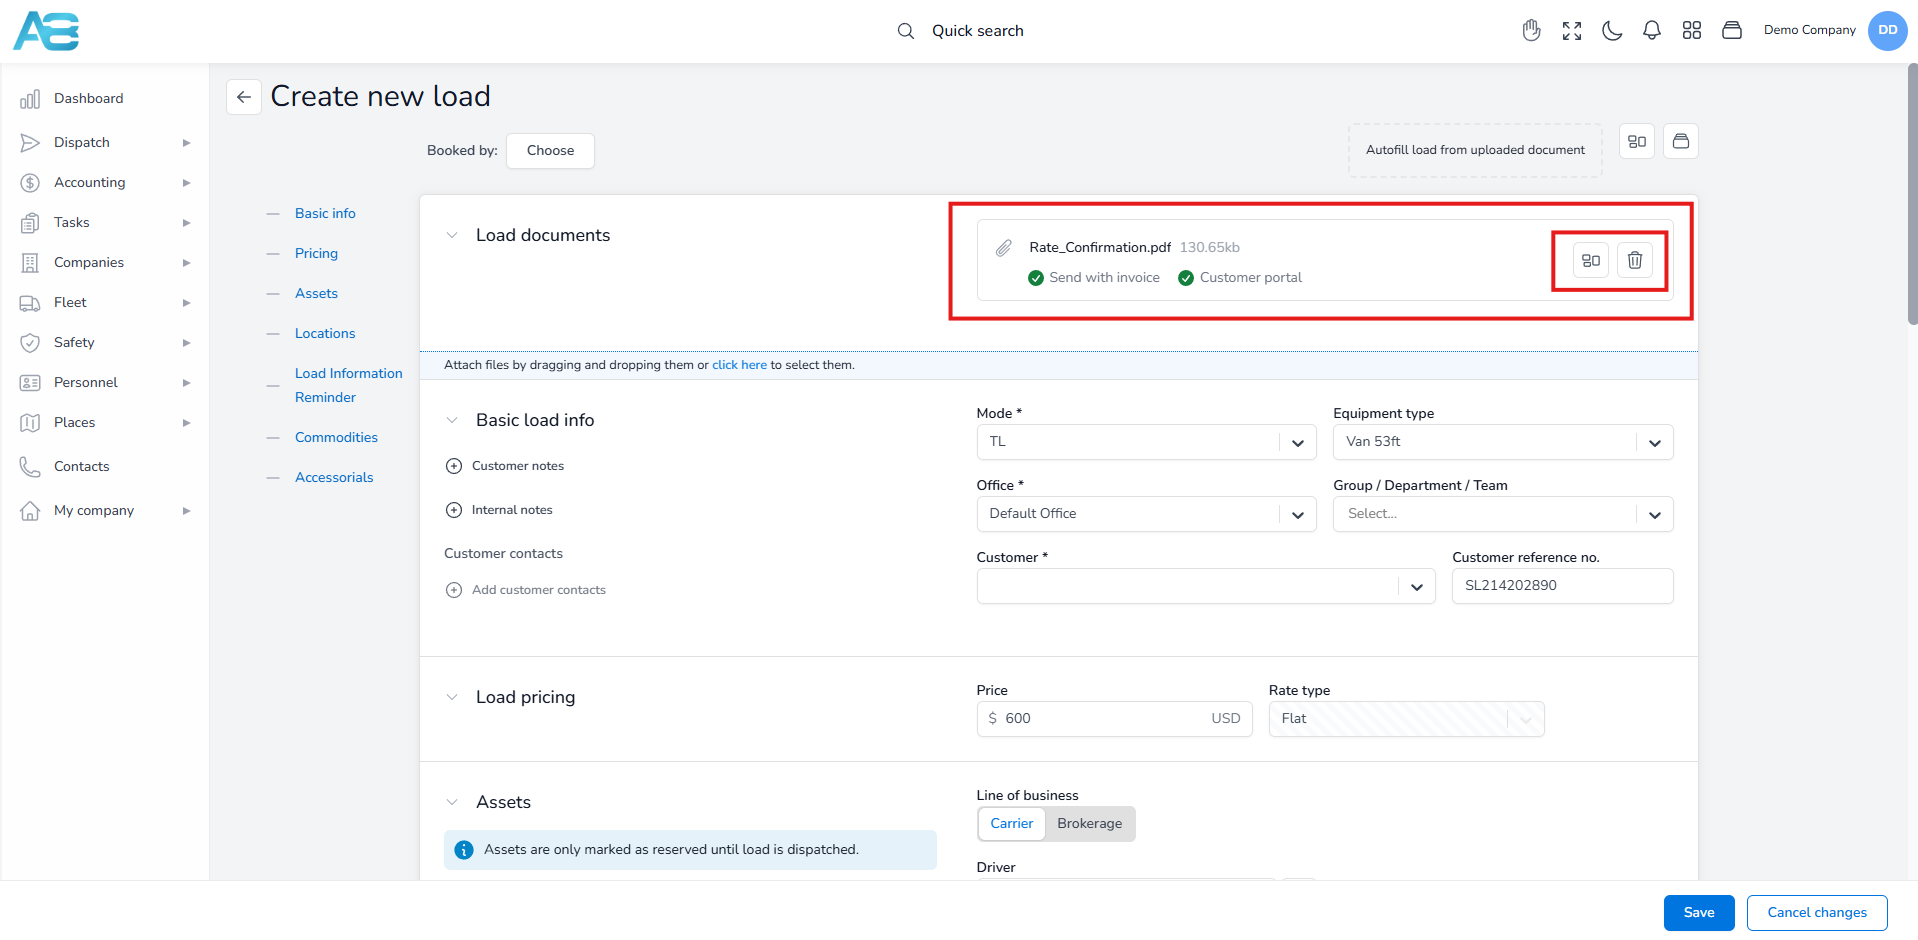
Using the paper clip button, you can attach additional documents to your load. This allows you to upload files from your computer and assign them to a specific document category. To add the document to an invoice, select the Send with Invoice checkbox.
To share the document with your customers, select the Customer Online Portal checkbox. The system will send a share link to your customers, allowing them to see it as well.
The system also provides an Autofill Load from PDF feature. By clicking this button, you can upload relevant information from the attached documents.
Before attaching documents, ensure that the document categories are defined under the Document Category tab in the Dispatched Settings section. If no category is specified, the system will, by default, set any document to the Rate Confirmation category.
Customer Selection: Automatic Office and Group Assignment #
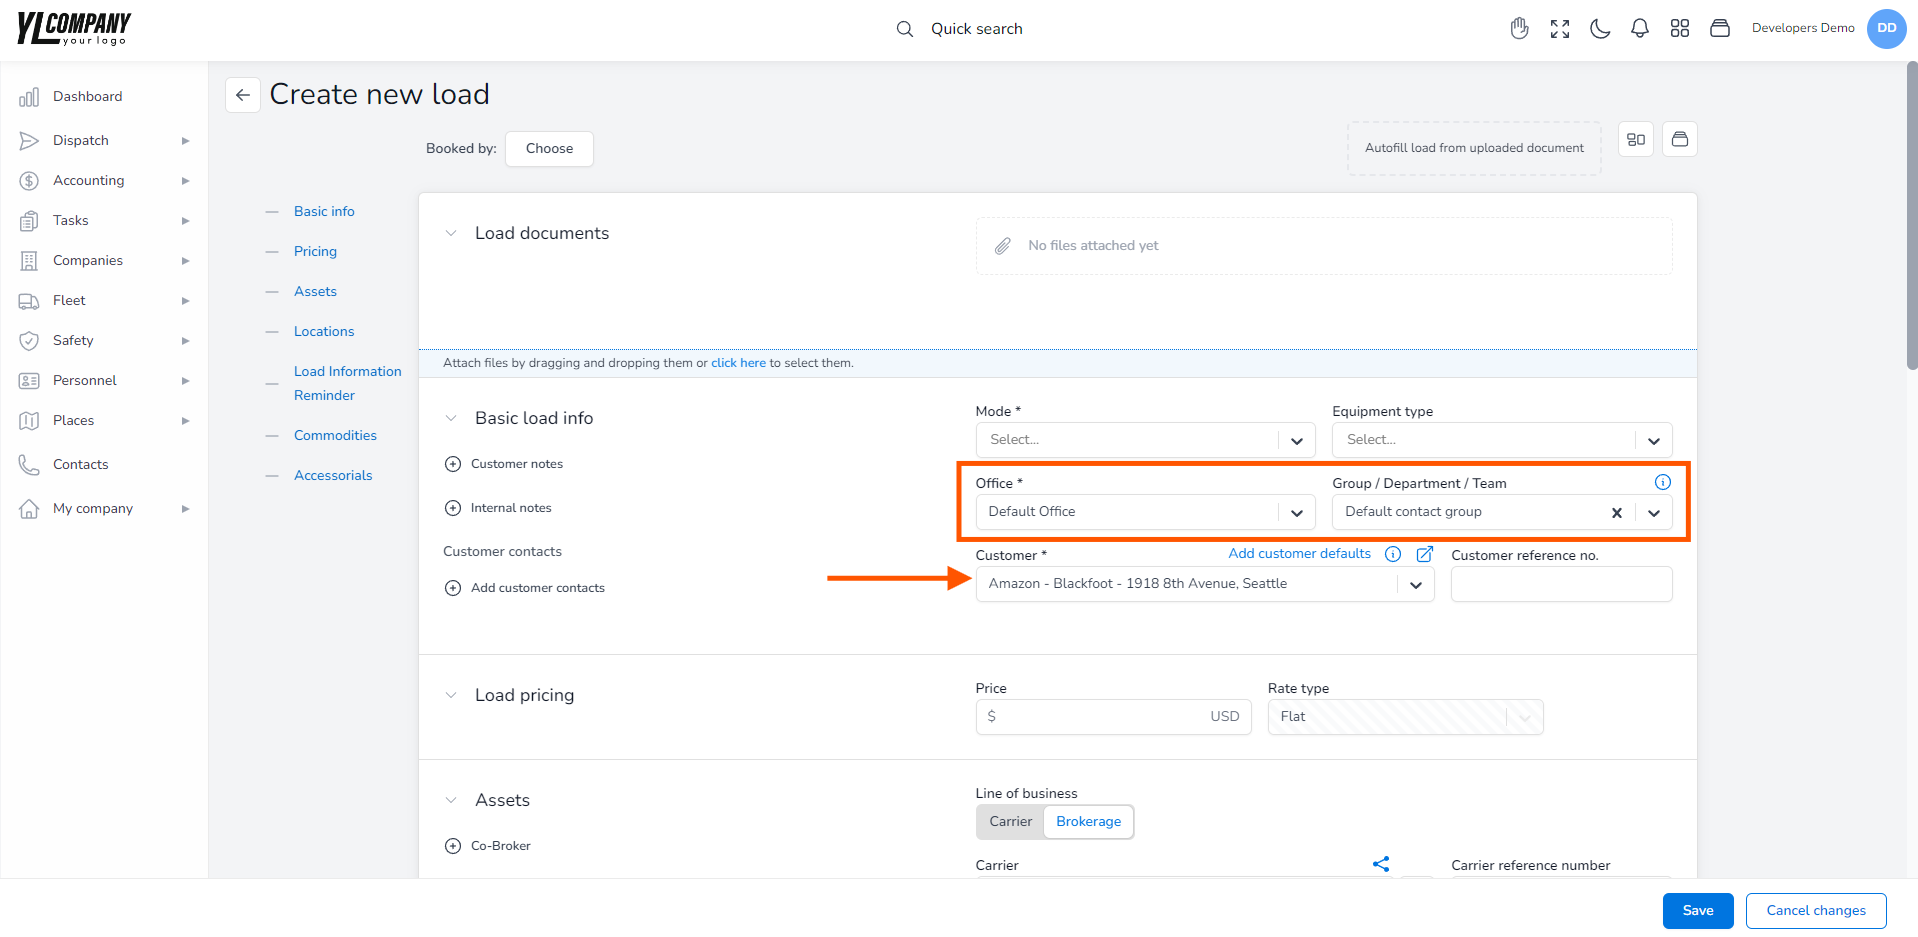
When you select a customer, please note that the system will automatically assign both the Office and Group. These details are copied directly from the selected customer’s profile, ensuring that all the details are accurately transferred.
Note:
Keep in mind that all users within the same Group can see the created load in the list. They can also access it, provided they have the necessary permissions.
Also, when you select an Office, all related contact information will be automatically transferred to the header of invoices, as well as other documents, streamlining the process and ensuring accuracy.
Selecting Customer – Display of Instructions (Optional) #
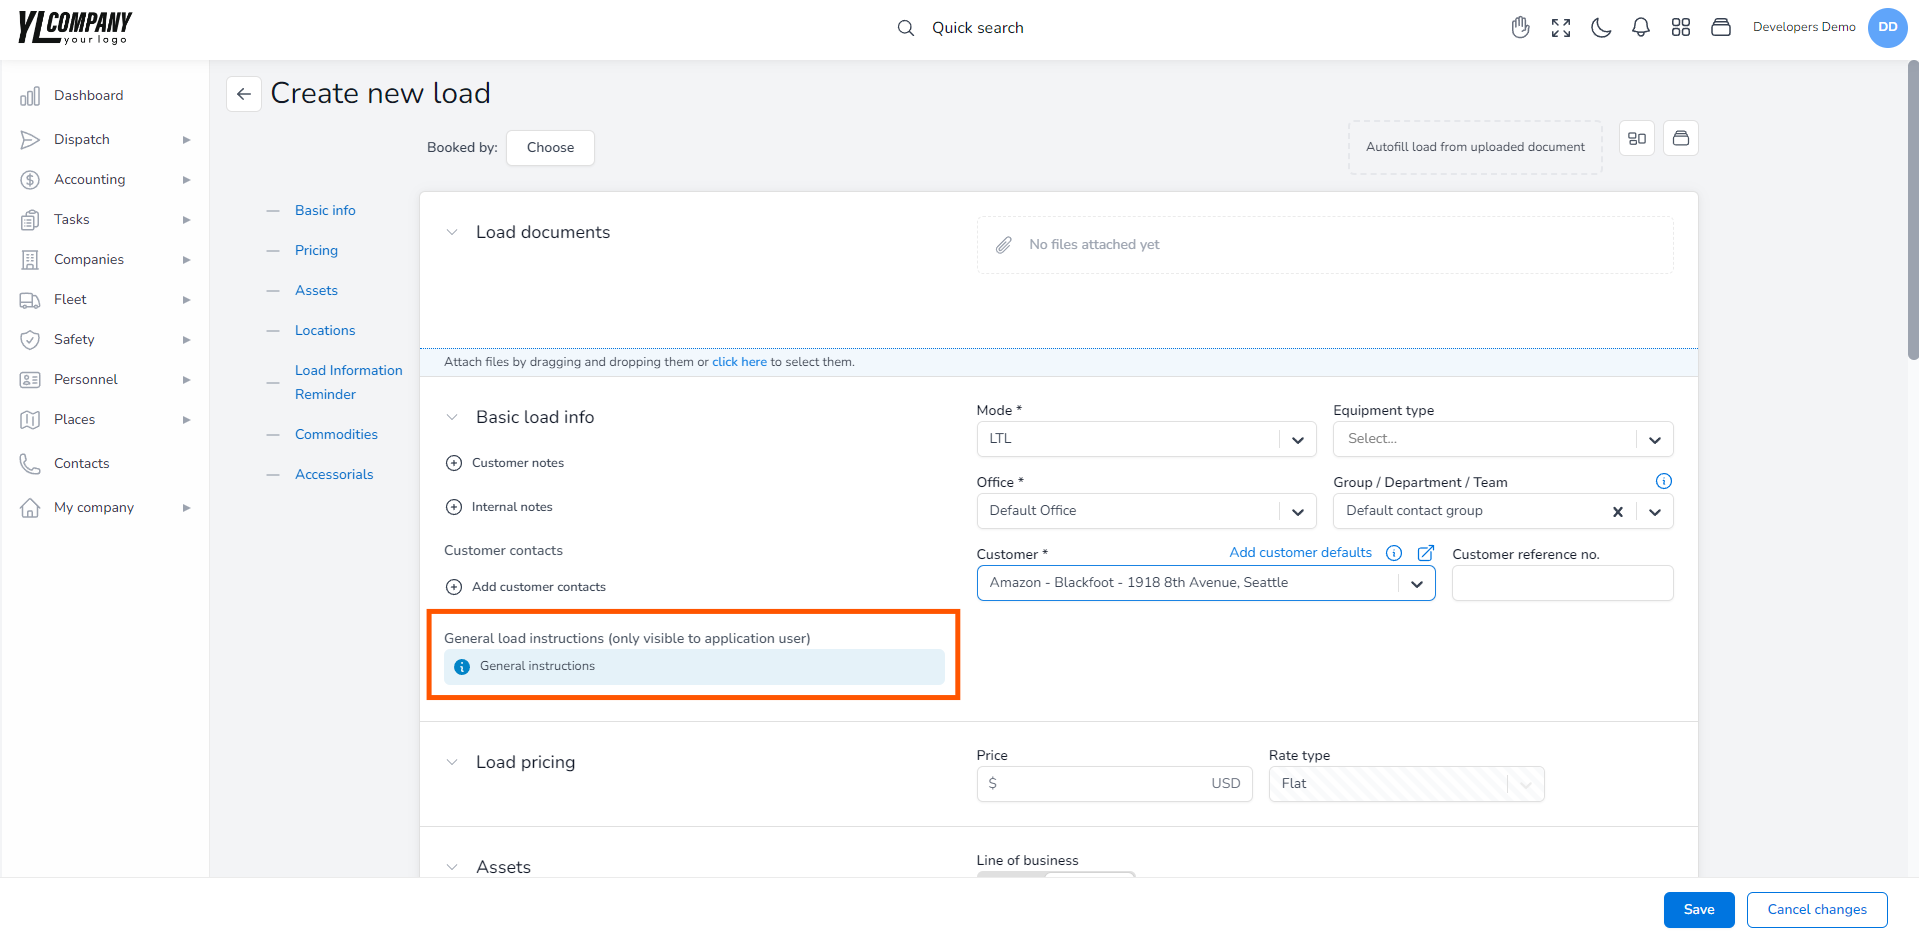
If the Customer has predefined general load instructions in the Settings tab, the system will automatically display a blue notification next to the customer selection field.
You tried to enter a reference that already exists in the system #
To prevent duplicate customer references, ensure the Prevent duplicate customer references option is enabled in the Dispatch Settings tab.
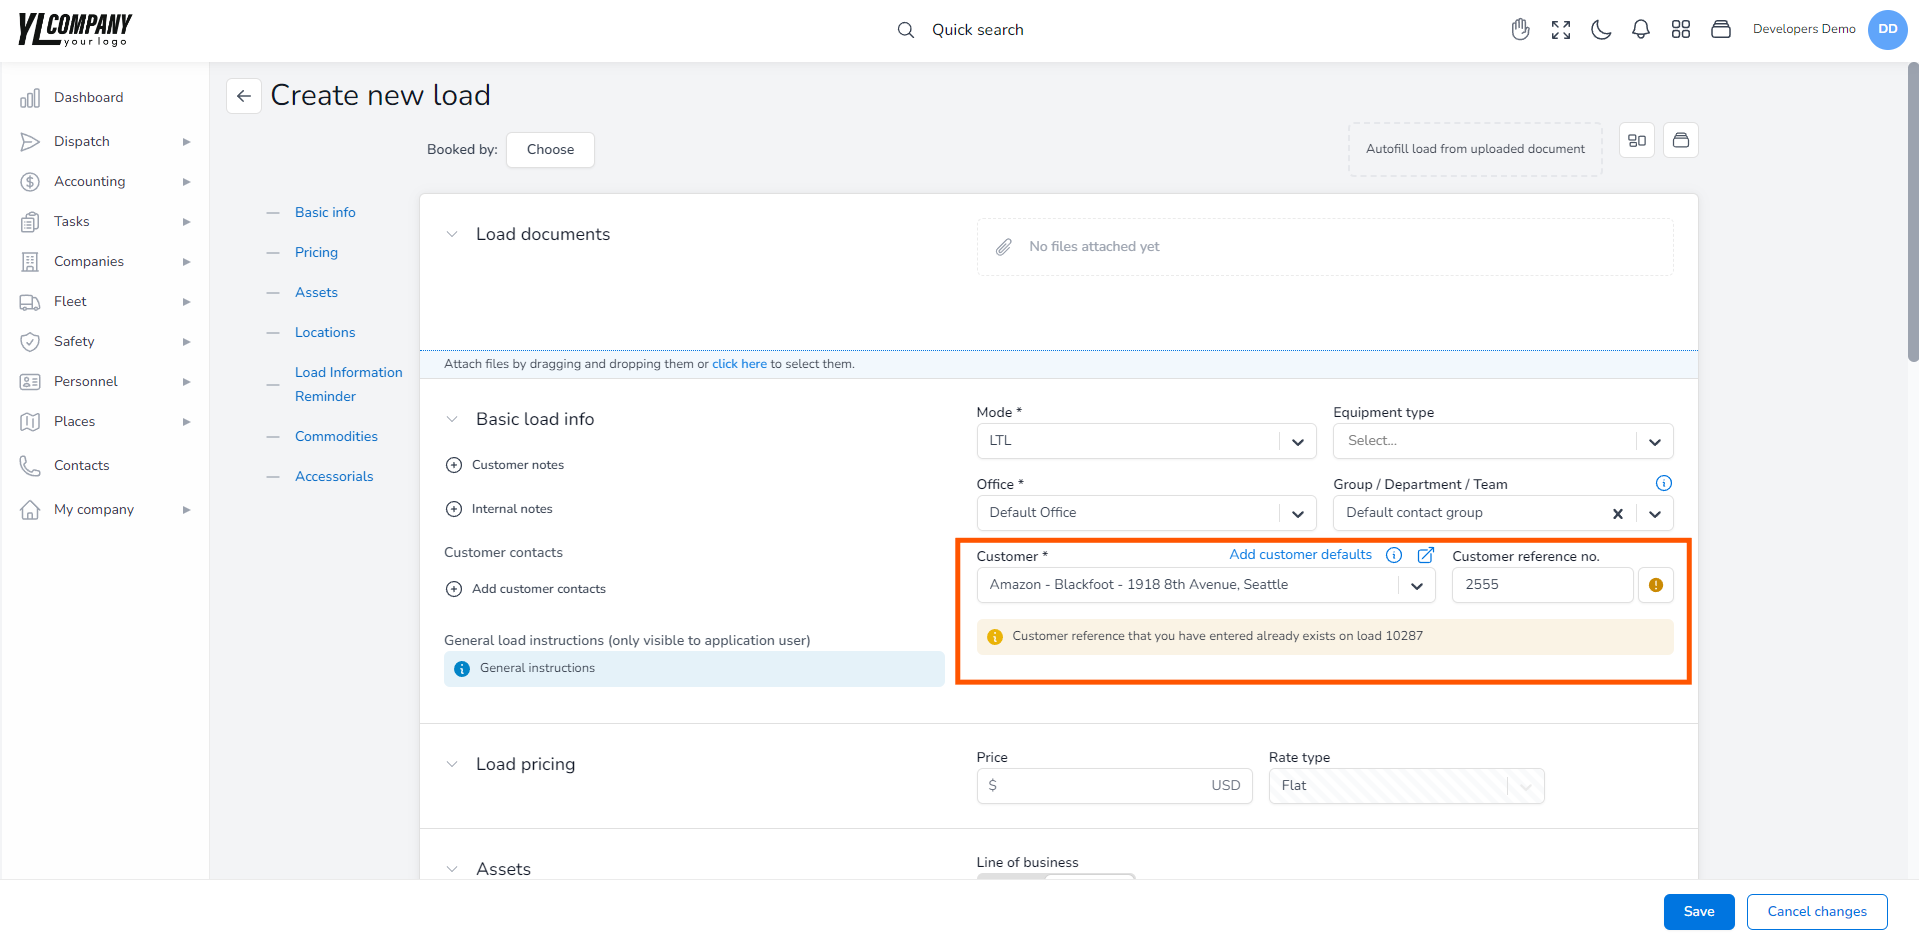
If you attempt to enter a customer reference that already exists for the selected customer, the system will notify you with a yellow warning message at the bottom of the “Basic load info” section:
“Customer reference that you have entered already exists on load {LoadNumber}.”
Clicking this message opens the relevant load in a new tab for your review. Additionally, a matching yellow warning will appear next to the Customer Reference Number field, drawing your attention to the duplicate entry.
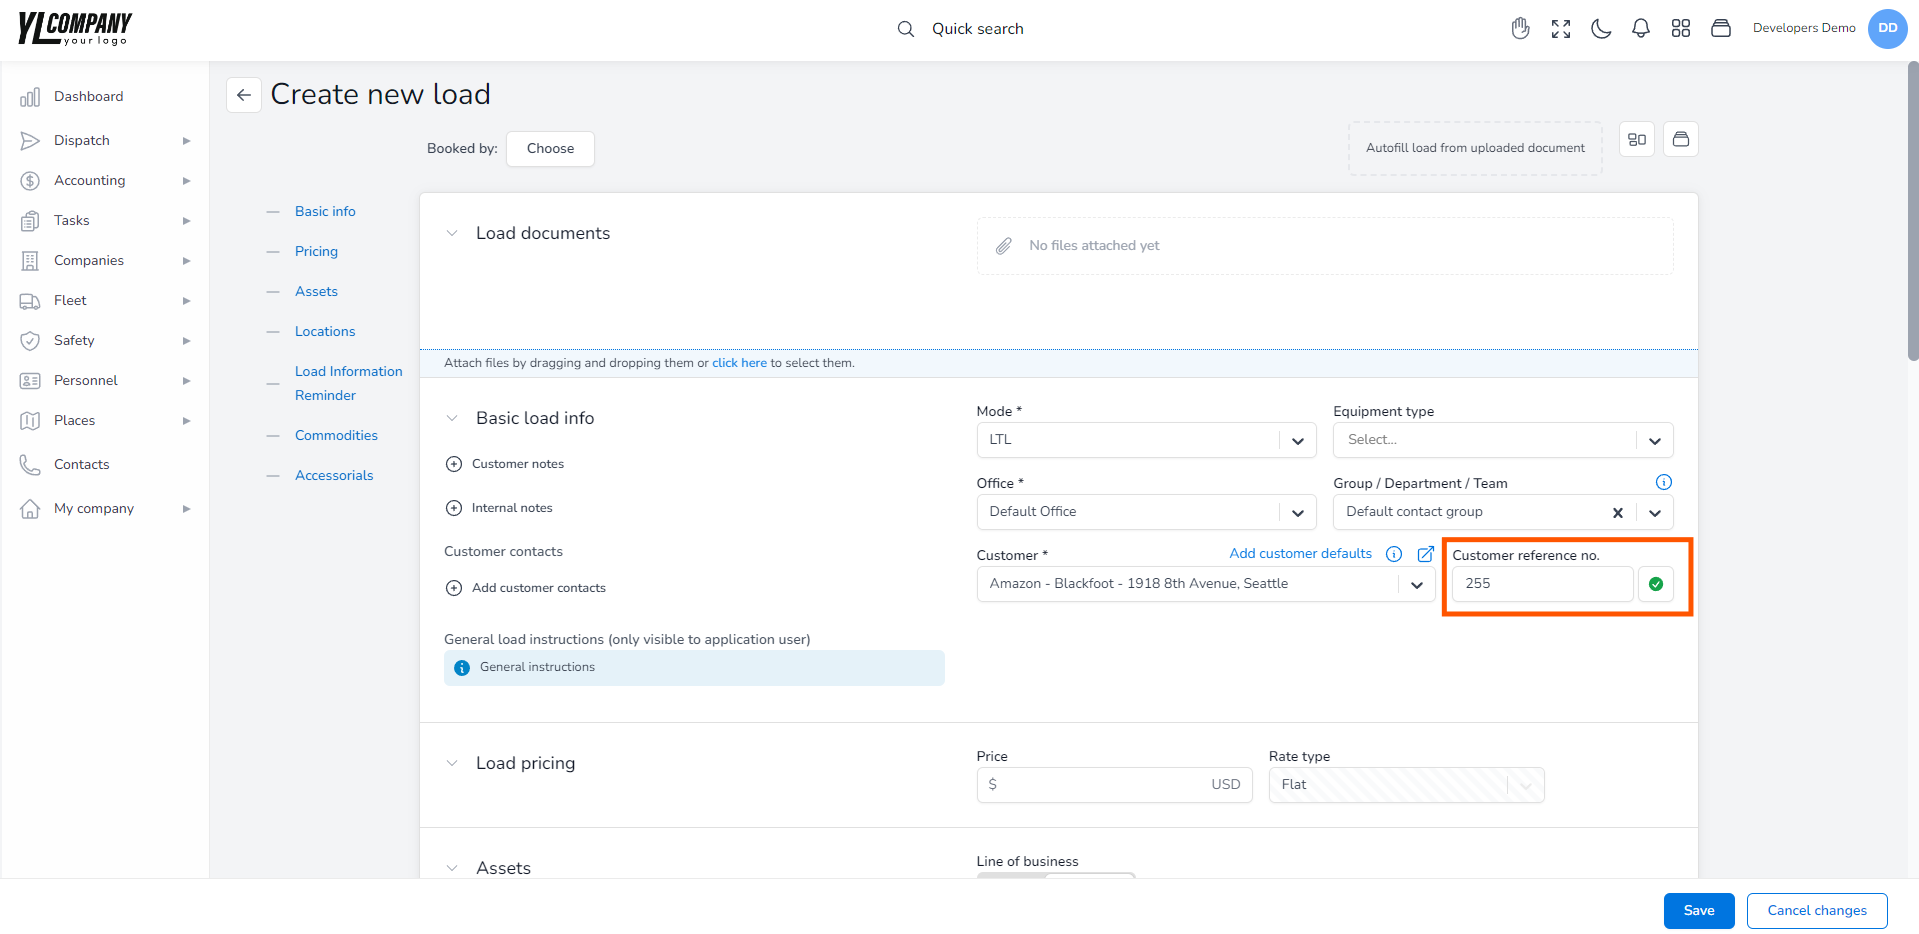
However, if the customer reference number you’re entering is unique, a green checkmark will appear instead, reassuring you that the entry is valid and no duplicates exist.
Selecting Customers on Credit Hold #
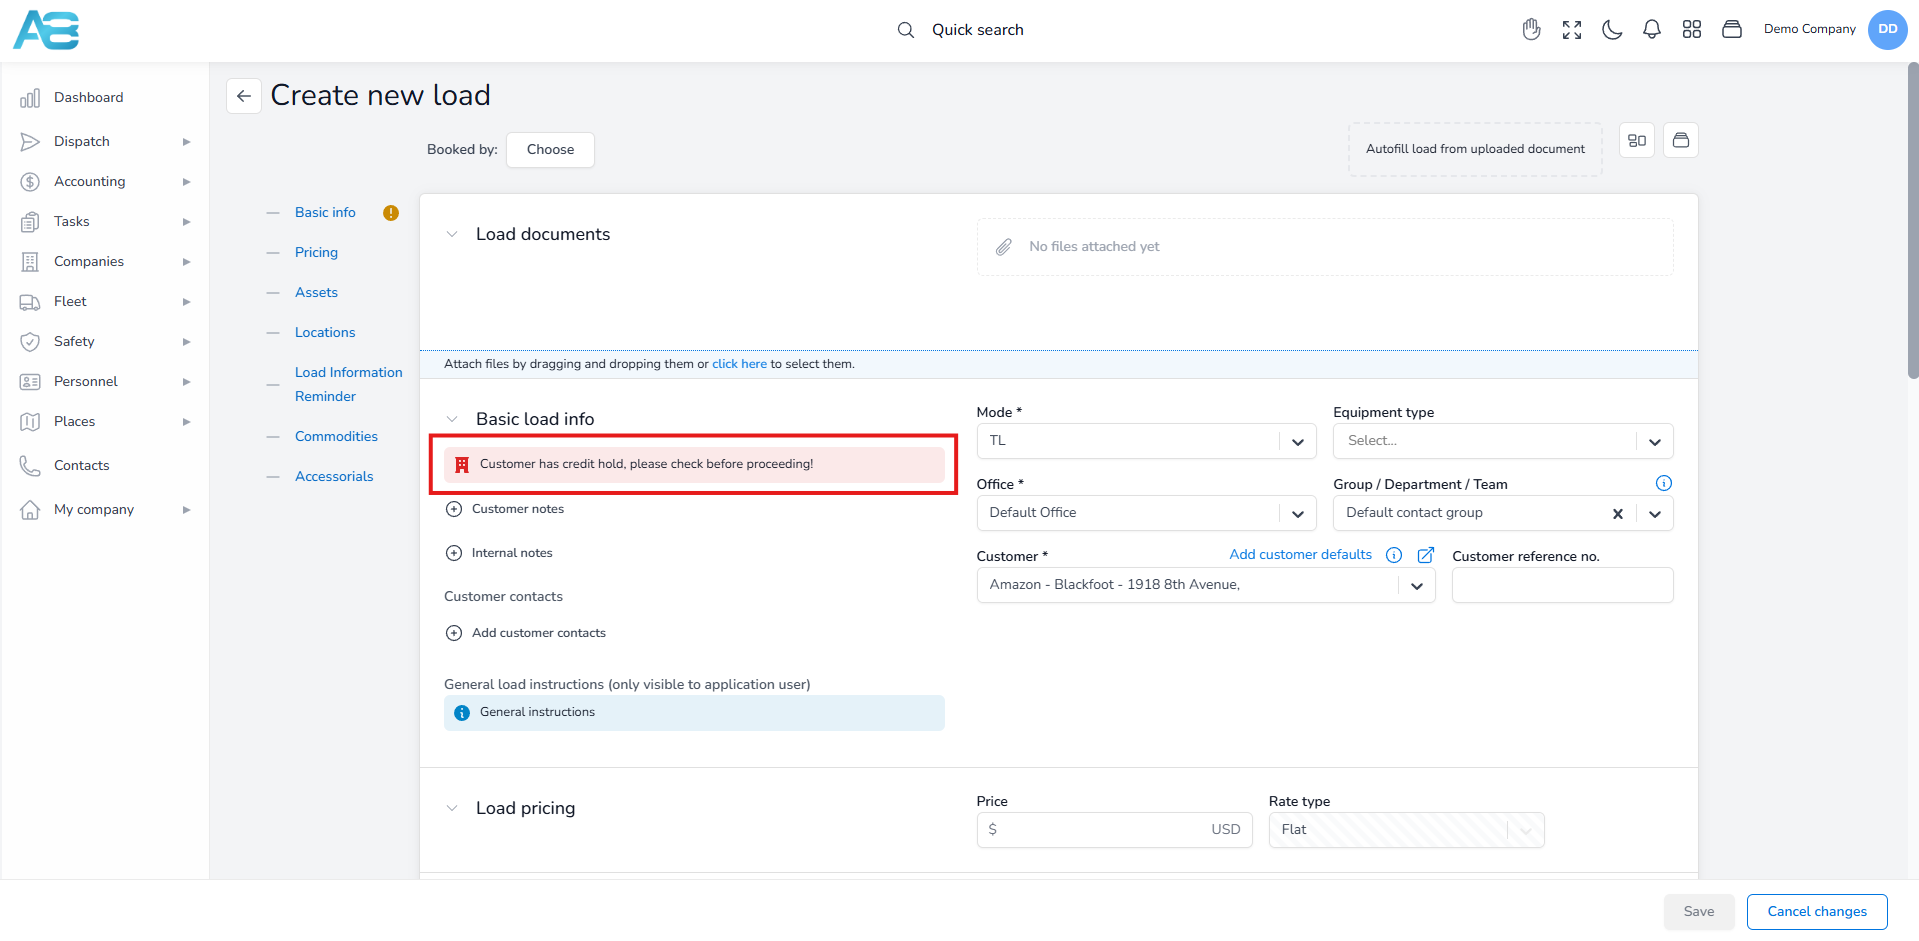
If you attempt to create a load for a customer with a credit hold, the system will automatically display a red warning message: “Customer has credit hold, please check before proceeding!” This alert prevents you from creating a load under these conditions.
This occurs when a customer has a temporary suspension of credit or a reduction in credit limits already set within the ‘Customer Credit’ tab. You can review these details under the Customer Credit tab.
Adding Price Above the Allowed Set Credit Limit for Selected Customer #
When creating a load, the system monitors whether the customer has exceeded its credit limit. If you try to enter a price exceeding the allowed limit, a red warning message will instantly appear, notifying you of this issue. This alert prevents load creation under these conditions.
The credit limit is determined by the settings in the ‘Customer Credit Limit’ tab, and if the dispatch settings pricing option is disabled to allow overrides.
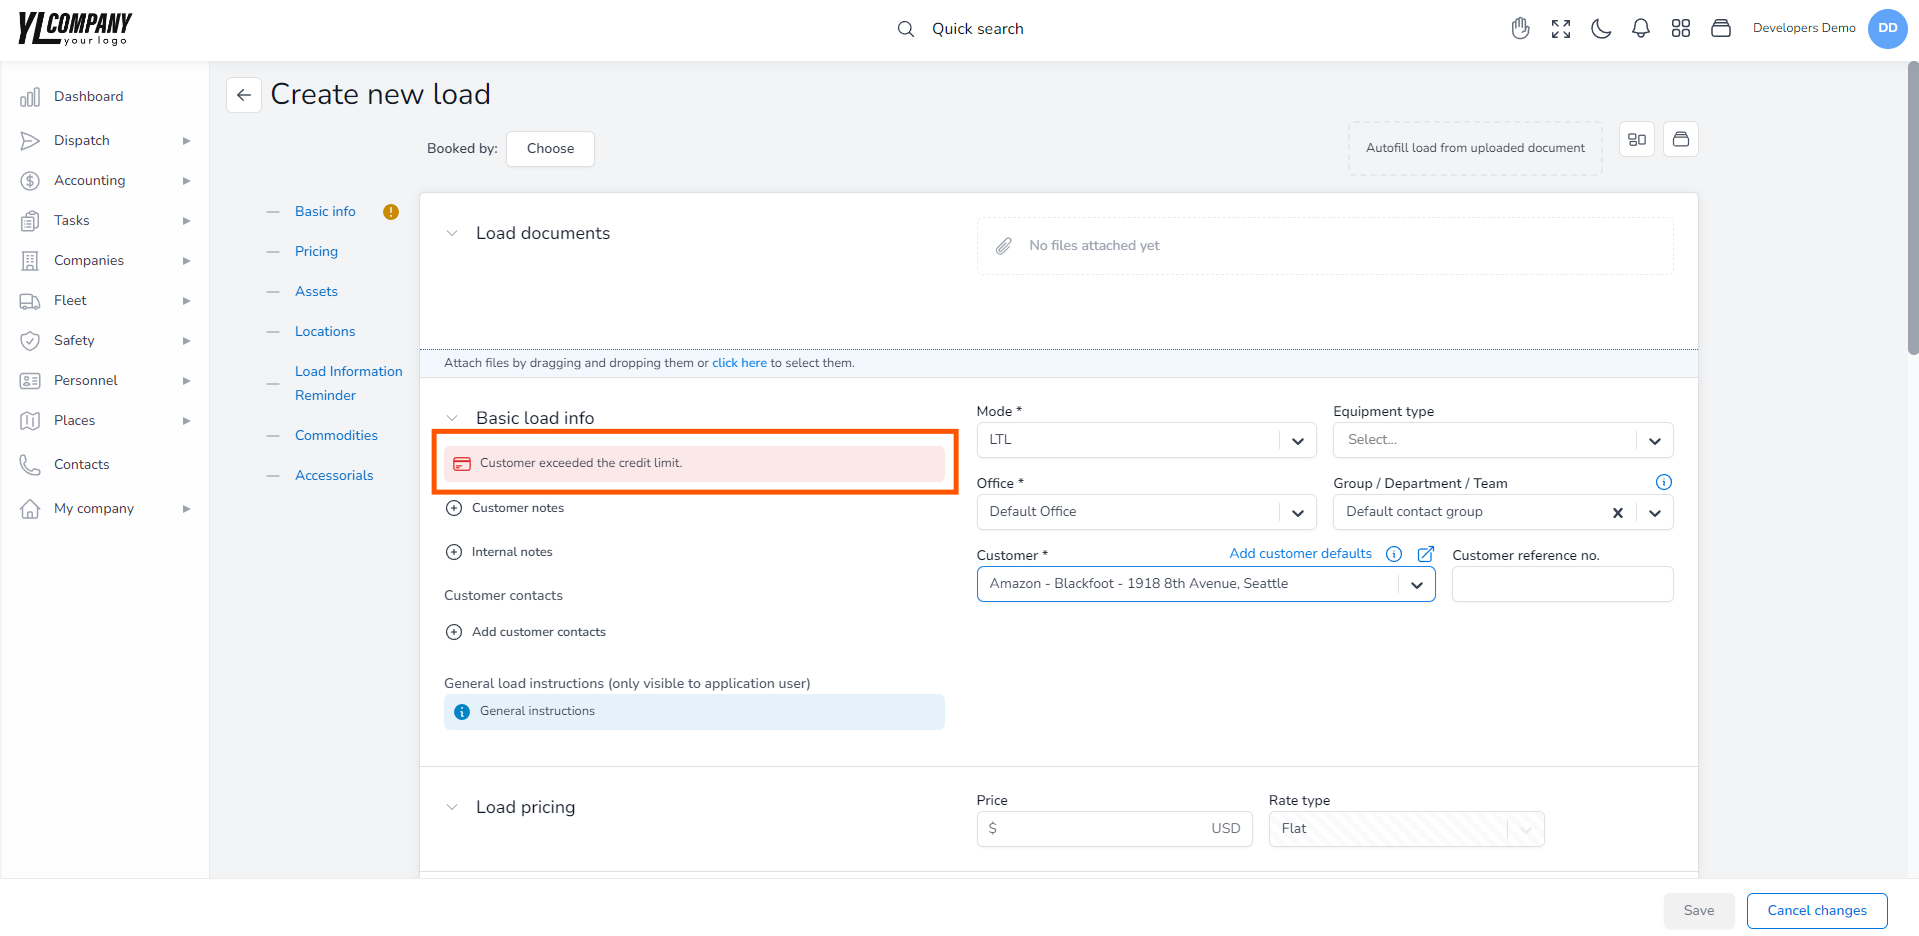
However, if the dispatch settings pricing option is set to allow overrides, you will see only a warning, but you will be allowed to continue with a load creation.
Default pricing entry when setting driver during load creation #
When you create a load and assign a driver, the system will automatically apply the default pricing set for that driver. This pricing is configured under the Payroll Setup tab on the driver’s page. If needed, you can add this pricing entry by selecting a load payment plan.
Default pricing entry during load creation with a customer that has a default commission structure set #
When you create a load and select a customer, the system will automatically add the default commission for that customer set previously under the sales tab on the customer’s page.
Default watcher list from customer commission list #
If you need to check the default watchers list, navigate to the Watchers tab on the load detail page. The default watcher list contains both the person who created the customer commission pricing and the customer who receives the commission, as they automatically become the load watchers.
Default watcher notifications #
Default watchers will be notified about any changes related to the load, including the load status updates and messages from carriers or customers. Remember that adding a user as a watcher doesn’t mean he can see that load. Only users with the necessary permission can access that information.